Shanku Kolam Designs For is a beautiful kolam pattern you can draw right at your doorstep — perfect for beginners and seasoned rangoli artists alike.

For another beginner-friendly variation, try Simple 10 2 Dots Rangoli Design.
Learn more about the tradition of Rangoli on Wikipedia.
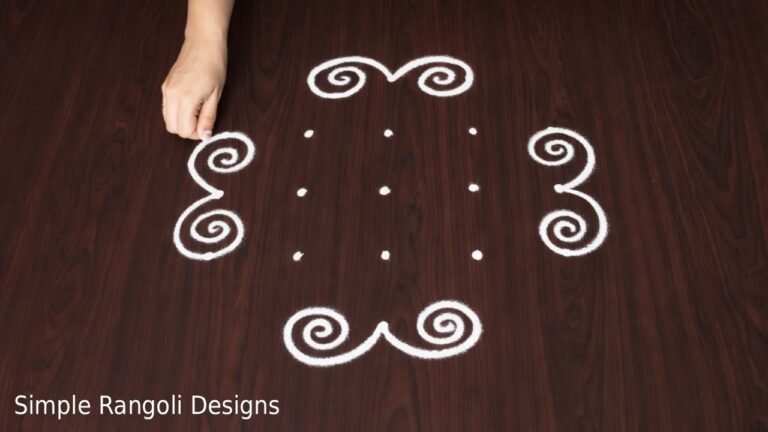
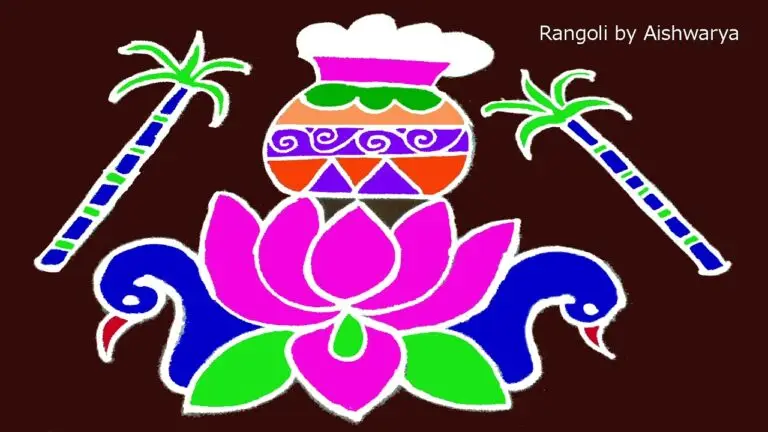
Want to draw a simple Shankh kolam using dots? This 7 to 4 dots Shanku chukkala muggu is perfect for beginners and small pooja spaces. In this video, I guide you step by step to create a 7 to 4 decreasing dot grid Shankh rangoli that is neat, symmetrical, and easy to follow. The compact dot layout makes it beginner-friendly, while the smooth conch curves give the kolam a devotional and traditional appearance.
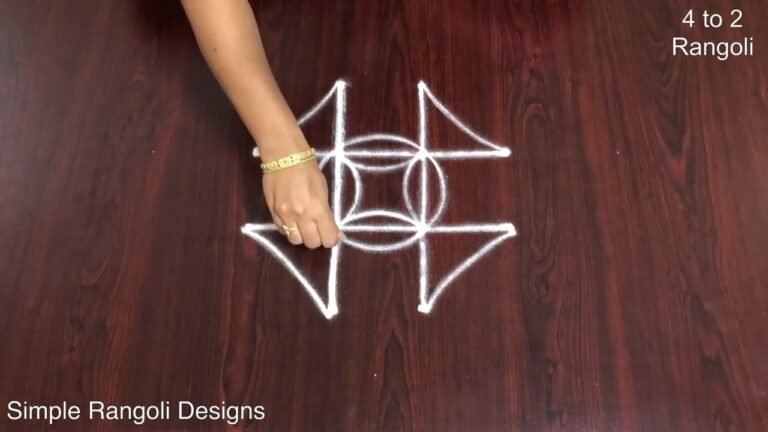
We begin by placing a clear 7 to 4 straight dot structure, ensuring proper spacing for balance. Then, the outer Shankh shape is formed gradually by connecting the dots into curved lines. Inner detailing enhances the conch design and gives the kolam a complete and refined finish. How to construct a proper 7–4 decreasing dot grid How to shape smooth Shankh curves using dots
How to maintain symmetry in small kolams Tips to keep beginner designs neat and proportionate This Shanku kolam is ideal for pooja areas, devotional decorations, and traditional entrances. Its small size makes it suitable for compact spaces while still looking meaningful and elegant.
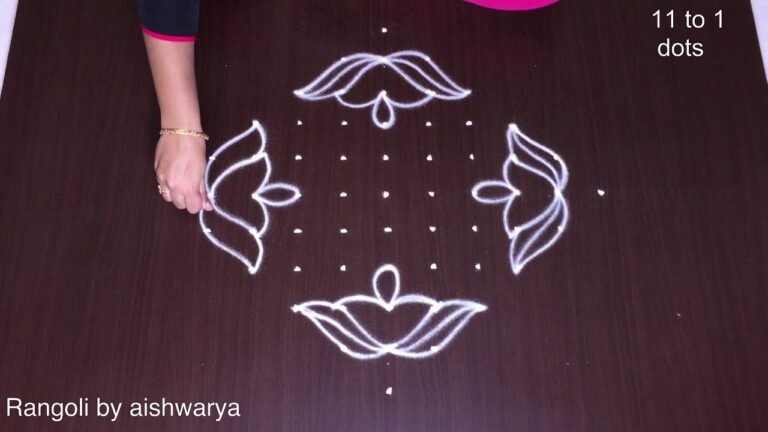
Watch till the end to see the full transformation from simple dots to a complete Shankh rangoli — the final reveal highlights a beautifully balanced devotional design. If you enjoy structured dot kolams, explore more 7 to 4 dots rangoli, Shankh muggulu, and beginner-friendly traditional designs on the channel.
Tip: Work from the centre outward. It keeps the symmetry honest and prevents the design from drifting off-balance.
About this design: Shanku Kolam Designs is a beginner-friendly pattern that comes together in just a few minutes. Once you have practised the shanku kolam designs dot grid, you can scale it up for festival mornings or scale it down for a daily doorstep. Many learners on our channel make this shanku kolam designs their go-to design once they get the rhythm of the curves.
Shanku Kolam Designs — Step by Step Guide
Below is the step-by-step breakdown. The video covers the same sequence in real time.
- Clear a flat surface and set down your dot grid using rice flour or chalk.
- Confirm the dot spacing is even — uneven dots are the biggest cause of wobbly curves.
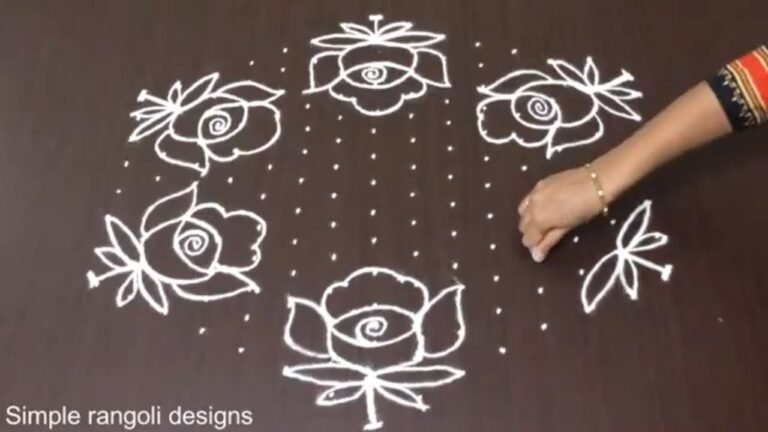
- Begin tracing from the centre outward, following the curves shown in the video above.
- Fill the petals and sections with your chosen colours, working one area at a time.
- Finish the edges with a fine line for a sharp, photograph-ready result.
What You Will Learn
- 7 To 4 Dots Rangoli
- Shankh Chukkala Muggu Designs
- Shankh Rangoli With Dots
- Traditional Shankh Kolam
- Shankh Kolam 7 To 4 Dots
- Shanku Chukkala Muggu Design
Frequently Asked Questions
How do I draw this rangoli?
Start by marking an even dot grid on a flat, clean surface. Once the grid is in place, connect the dots following the curves shown in the video. Even spacing between dots is the single biggest factor for a clean finish.
Is this suitable for beginners?
Beginner-friendly is exactly the right description. The video walks through every line clearly and you can match the pace.
What materials do I need?
Powder (white for outlines, colours for filling), a flat surface, and a dot stencil if you want absolute precision. Beyond that, just your hand and a steady pace.
How long does it take?
The full demonstration takes 2 min 23 sec. Most people find their own drawing time settles to about 15 minutes once the grid is familiar.
Whenever you finish your version, share a photo with us. Seeing your work is the best part of running this channel.
Leave a Reply