5 To 3 Dots is a beautiful kolam pattern you can draw right at your doorstep — perfect for beginners and seasoned rangoli artists alike.
Kolam Rangoli Designs for Festivals 🌸 5 to 3 dots Sankranthi Muggulu 🌸 Alagana Kolangal Thank you so much for watching Channel
Chapters: 0:00 Intro 0:05 Kolam Rangoli Designs for Festivals
2:07 Alagana Kolangal My Simple Rangoli Designs Channel Contains : Rangoli designs
Sankranthi muggulu Diwali rangoli Kolam designs
Simple rangoli Easy rangoli designs Pongal kolams
New year rangoli designs Ratham muggulu Muggulu designs
Tip: Keep your powder bowl close to your dominant hand. Small movements give cleaner curves.
This design belongs to the broader tradition of rangoli and kolam art practised across South India. Explore more in our 5 to 3 dots Rangoli Designs collection.
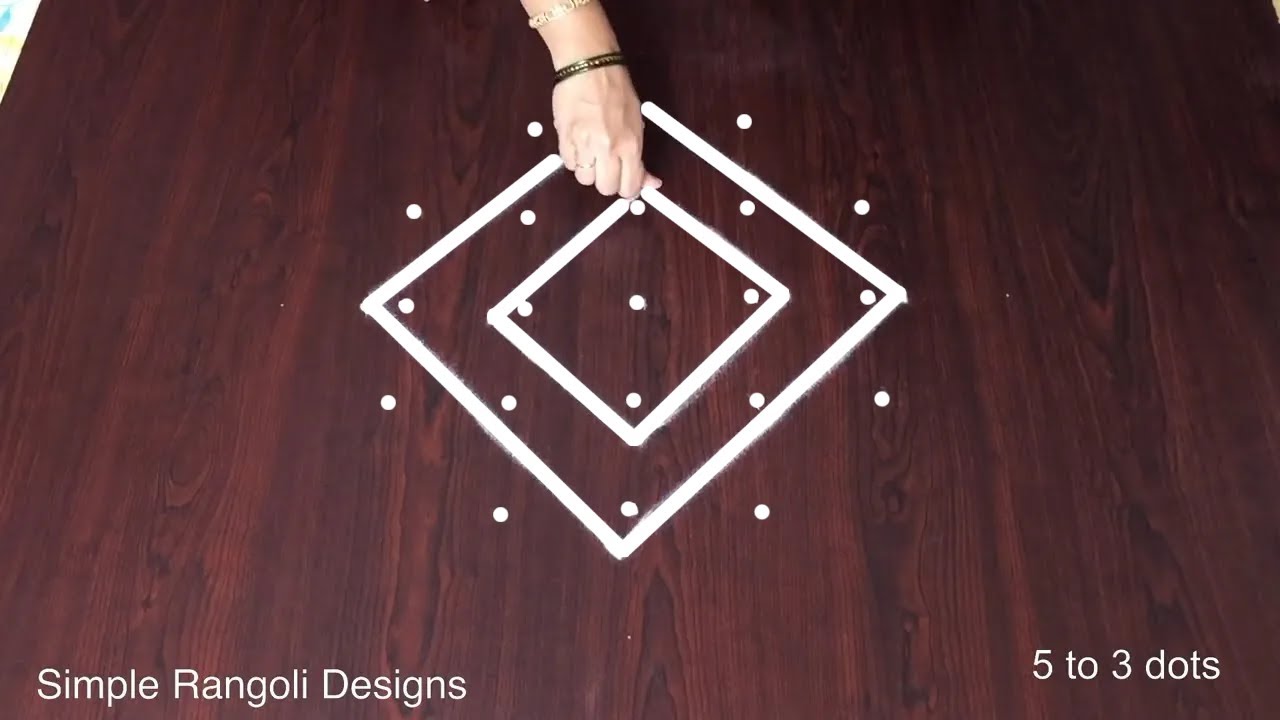
The 5 to 3 dots Sankranthi Muggulu is a charming design that captures the spirit of the festival with its simplicity and elegance. Typically created using five dots in the first row and three in the second, this rangoli is perfect for beginners. The design often features traditional motifs that symbolize prosperity and joy, making it a beautiful addition to any home during Sankranthi. For those interested in exploring more complex designs, you might enjoy the Easy Rangoli Designs for Diwali With 5 to 5 Dots.
This muggulu style, known for its geometric precision, also allows for personal creativity in color choices and embellishments. The vibrant colors used can reflect the festivity of Sankranthi, with yellows and greens being particularly popular. Incorporating this design into your home will not only beautify the entrance but also welcome blessings for the season. If you’re looking for more inspiration, consider the Simple Rose Flower Muggulu for a floral touch. For more insights on rangoli, check out this page.
5 To 3 Dots — Step by Step Guide
The video above shows the full sequence; the steps below summarise each stage so you can glance back as you draw.
- Clear a flat surface and set down your dot grid using rice flour or chalk.
- Confirm the dot spacing is even — uneven dots are the biggest cause of wobbly curves.
- Begin tracing from the centre outward, following the curves shown in the video above.
- Fill the petals and sections with your chosen colours, working one area at a time.
- Finish the edges with a fine line for a sharp, photograph-ready result.
What You Will Learn
- Simple Rangoli Designs
- Rangoli
- Muggulu
- Rangoli Designs
- Rangoli Kolam
- Kolam
Frequently Asked Questions
How do I draw this rangoli?
Start by marking an even dot grid on a flat, clean surface. Once the grid is in place, connect the dots following the curves shown in the video. Even spacing between dots is the single biggest factor for a clean finish.
Is this suitable for beginners?
Yes, and it is one we recommend to first-timers. The small grid keeps the design manageable while still teaching the core technique.
What materials do I need?
Rice flour, coloured rangoli powders, and a clean stretch of floor or paper. Some draw with chalk first to set the grid before powdering over it.
How long does it take?
5 min 18 sec of video, perhaps 20 minutes of practice. The curves take a couple of attempts to feel natural, then it speeds up considerably.
If you draw this and would like a follow-up design at the same skill level, leave a comment on the video — we read every one and queue up requests.


Leave a Reply