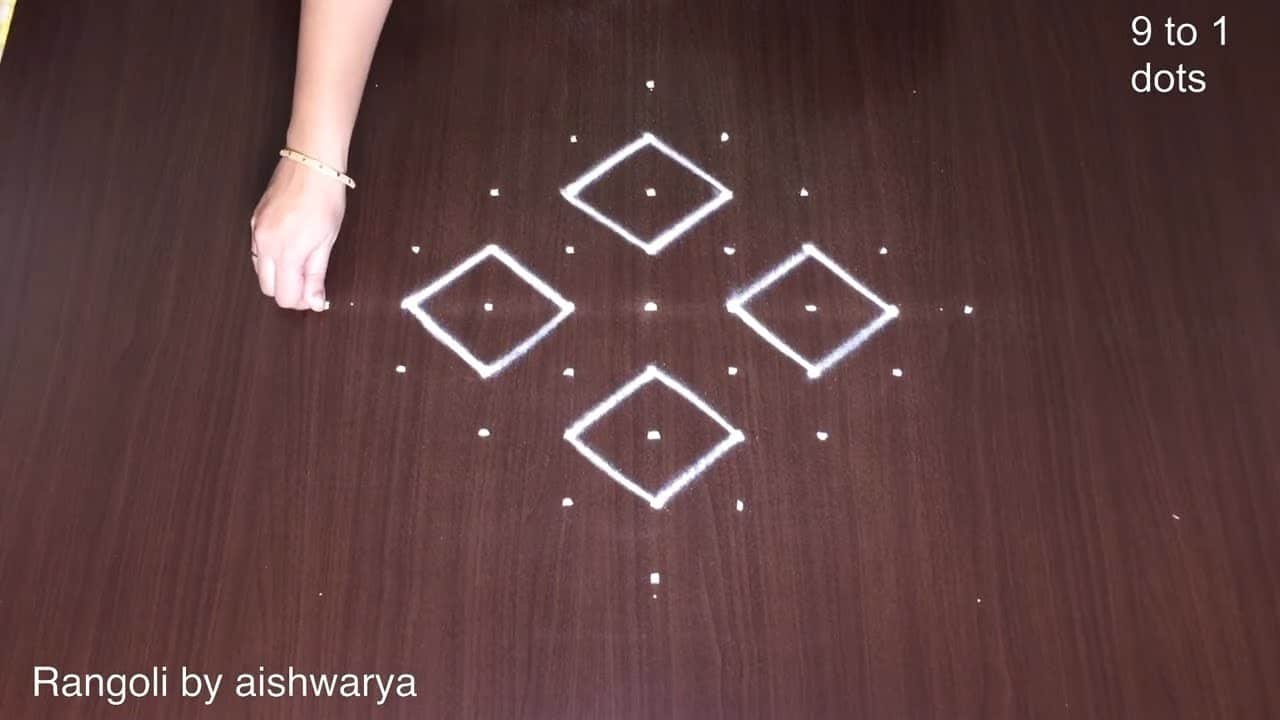
Rangoli With Geometrical Shapes

Advanced ⏱ 9 min Updated Apr 29, 2026

9 to 1 dots Rangoli Designs · August 30, 2025

Whether you are decorating for a festival or your daily morning ritual, Rangoli With Geometrical Shapes is an excellent design to keep handy.

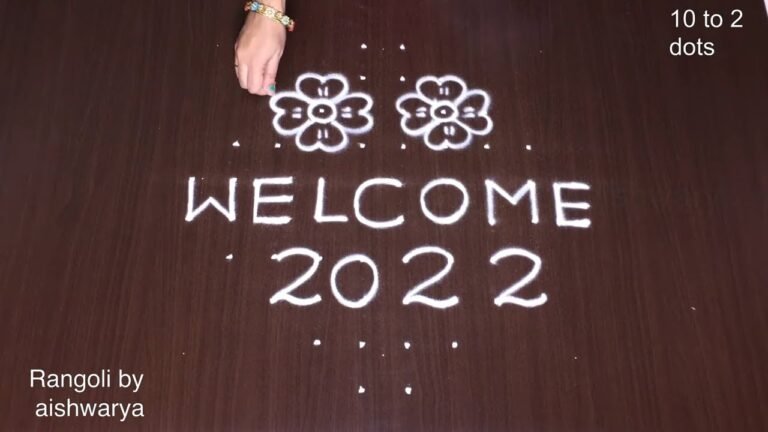
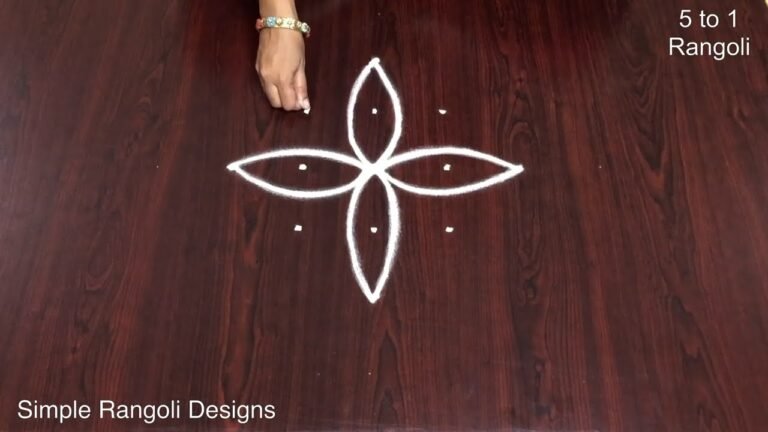
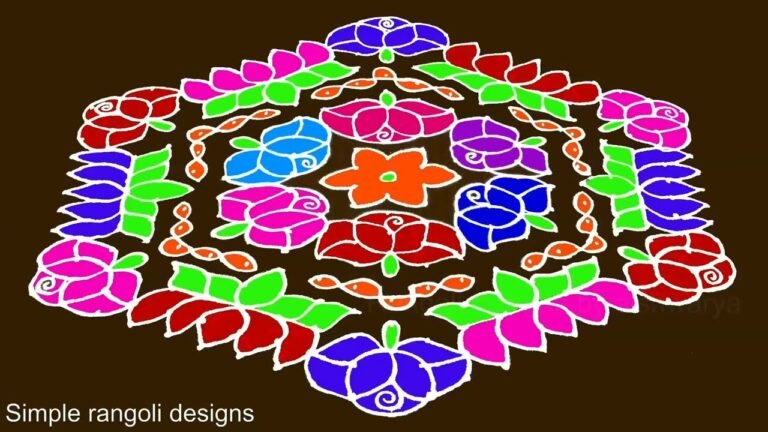
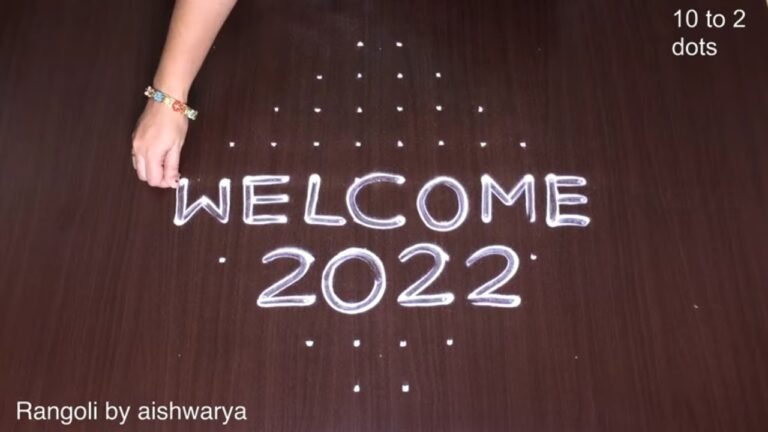
Rangoli With Geometrical Shapes | Very Simple Kolam 9 Into 1 Dots Manchi Muggulu. This tutorial will show you how to draw Beautiful Indian traditional art Diwali Rangoli patterns using materials such as dry rice flour, colored sand or flower petals Rangoli designs by Aishwarya. Simple rangoli Kutti Kolam pattern is created on the floor in living rooms or courtyards. Draw the Lines step by step as it is shown in this video and will be awesome Rangoli Design. 😲 The Diwali rangoli pattern here is one of the amazing latest flower kolangal designs. Simple Rangoli Designs and easy rangoli designs by Aishwarya with dots for beginners and intermediate.

1. Diwali Rangoli 2. Pongal kolams 3. Pongal rangoli designs

4. Sankranthi designs 5. Easy rangoli for sankranthi 6. Pongal designs

7. Latest rangoli for sankranthi 8. Marzaghi kolams 9. Best kolangal

10. Easy rangoli designs 11. Rangoli Designs for Bhaubeej 12. Thipkyanchi Rangoli Designs

13. Simple Karthigai Kolam 14. Karthika Masam Chukkala Muggulu 15. Tulasi Kota Muggulu

Tip: Work from the centre outward. It keeps the symmetry honest and prevents the design from drifting off-balance.

This rangoli with geometrical shapes features a simple yet captivating design created with 9 to 1 dots, making it perfect for Diwali celebrations. The use of geometric patterns not only adds a modern touch but also allows beginners to practice their skills in a structured manner. These designs can be easily made using materials like rice flour or colored sand and are often placed at the entrance of homes to welcome guests. For more inspiration, you might enjoy exploring the Simple Easy Rangoli for Diwali post.

The charm of this rangoli lies in its ability to blend tradition with creativity. By using a systematic approach to draw geometric patterns, anyone can create a beautiful piece of art that enhances the festive spirit. This design also serves as a great starting point for those interested in experimenting with more intricate patterns seen in other posts, such as the 7 Se 7 Flower Rangoli. To learn more about the history and significance of this art form, you can visit this article on Rangoli.

Step by Step Guide

These steps are written for absolute beginners. Watch once, draw once, then watch again — that is how the pattern locks in.

  1. Clear a flat surface and set down your dot grid using rice flour or chalk.
  2. Confirm the dot spacing is even — uneven dots are the biggest cause of wobbly curves.
  3. Begin tracing from the centre outward, following the curves shown in the video above.
  4. Fill the petals and sections with your chosen colours, working one area at a time.
  5. Finish the edges with a fine line for a sharp, photograph-ready result.

What You Will Learn

  • Simple Rangoli Designs
  • Rangoli
  • Muggulu
  • Rangoli Designs
  • Rangoli Kolam
  • Kolam

Frequently Asked Questions

How do I draw this rangoli?

Begin with the dot grid — this is the skeleton of the design. With rice flour or chalk, place each dot at equal intervals. Then trace the curves slowly, one section at a time.

Is this suitable for beginners?

Yes — this design is shaped specifically with newcomers in mind. The dot grid is small enough to manage, and the curves are gentle. Most learners get it right by the second try.

What materials do I need?

You will need rice flour or rangoli powder (white, plus your choice of colours), a flat surface like a clean floor or courtyard, and optionally a dot stencil if you are new to grid-drawing.

How long does it take?

Plan for roughly 8 min 8 sec to watch and 15 minutes to draw. The second attempt is always cleaner than the first — that is the nature of dot kolam.

If you enjoyed this design, browse our other dot-pattern tutorials — they share the same approach and build naturally on the techniques here.

Leave a Reply

Your email address will not be published. Required fields are marked *