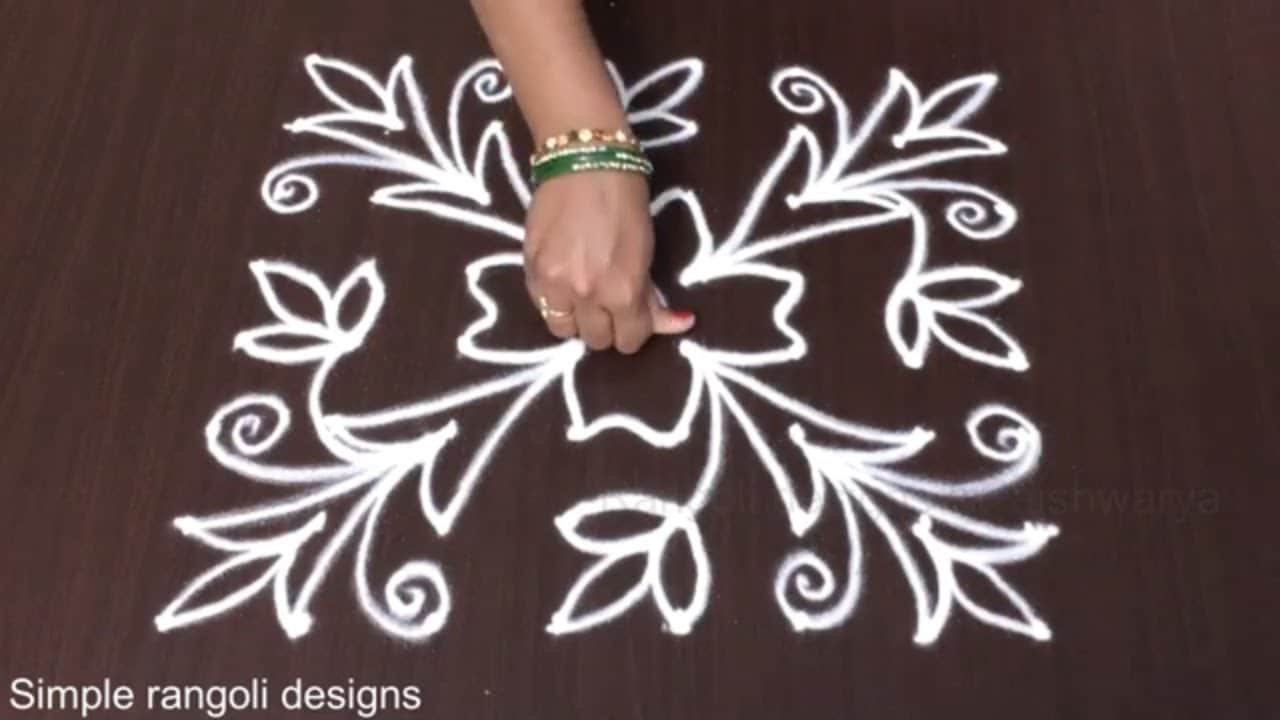
There is something timeless about Easy Simple Rangoli Designs — the symmetry, the rhythm of the dots, and the soft curves it produces.
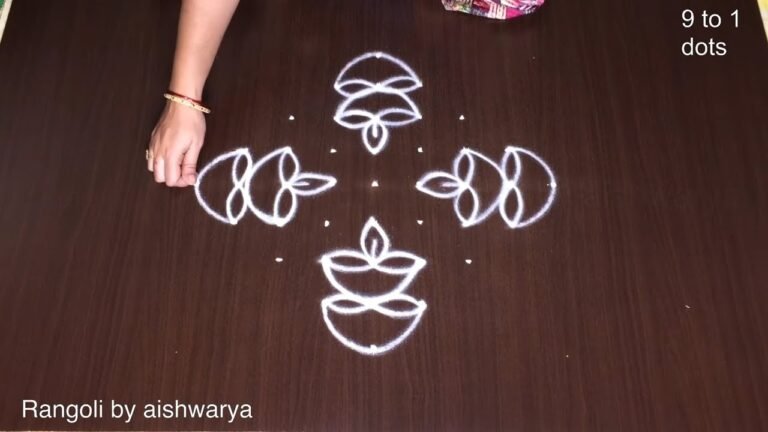
Looking for a quick and beautiful 5 dots kolam? This simple chukkala muggulu is perfect for small spaces and easy decoration. In this video, I guide you step by step to draw a 5 dots structured rangoli design that is neat, symmetrical, and beginner-friendly. The compact layout makes it easy to complete in a short time, while the smooth connecting curves create an elegant and traditional appearance.
We begin by placing a clear 5 dots layout, ensuring proper spacing and alignment. Then, the dots are connected gradually to form a balanced and attractive pattern. Even though the grid is small, the final kolam looks refined and complete. How to place and align a 5-dot structure correctly How to create symmetrical patterns using a small grid
How to connect dots neatly for a clean finish Tips to make small chukkala muggulu look polished This design is ideal for entrances, verandas, and compact areas. Its manageable size makes it suitable for beginners while still looking elegant and decorative.
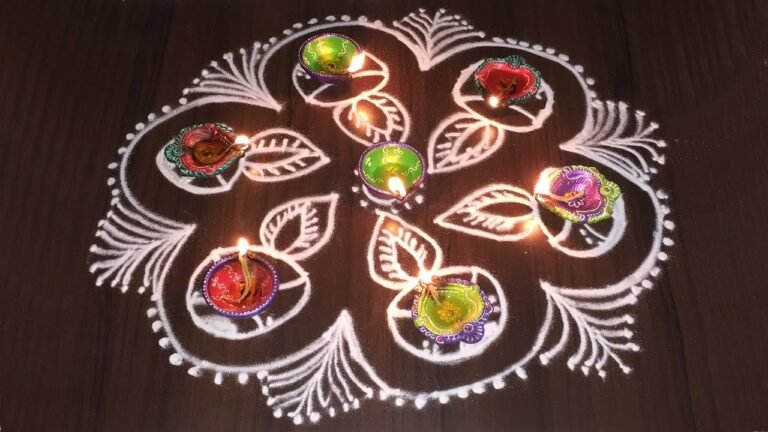
Watch till the end to see the full transformation from simple dots to a complete small kolam — the final reveal highlights a beautifully balanced and easy design. If you enjoy small dot kolams, explore more 5 dots rangoli, easy chukkala muggulu, and simple traditional patterns on the channel.
Tip: Work from the centre outward. It keeps the symmetry honest and prevents the design from drifting off-balance.
This easy simple rangoli design featuring a 5-dot structure is perfect for beginners who want to create something beautiful in a compact space. The design is ideal for festive occasions or daily decoration, allowing you to enhance your entrance or veranda effortlessly. By connecting the dots with smooth curves, you can achieve a refined look that feels both traditional and elegant. If you enjoy this kind of design, you might also appreciate the Latest Happy New Year Muggulu for festive inspiration.
Completing a 5-dot muggulu not only builds your confidence but also allows for creativity in a small area. The step-by-step process of placing and aligning the dots ensures that even those new to kolam art can achieve a polished final result. This design emphasizes symmetry and balance, making it a delightful addition to your daily decor. For more ideas on simple patterns, check out our guide on Every Day Morning Rangoli. For a deeper understanding of rangoli, visit this informative page.
About this design: Easy Simple Rangoli Designs is a beginner-friendly pattern that comes together in just a few minutes. Once you have practised the easy simple rangoli designs dot grid, you can scale it up for festival mornings or scale it down for a daily doorstep. Many learners on our channel make this easy simple rangoli designs their go-to design once they get the rhythm of the curves.
Easy Simple Rangoli Designs — Step by Step Guide
These steps are written for absolute beginners. Watch once, draw once, then watch again — that is how the pattern locks in.
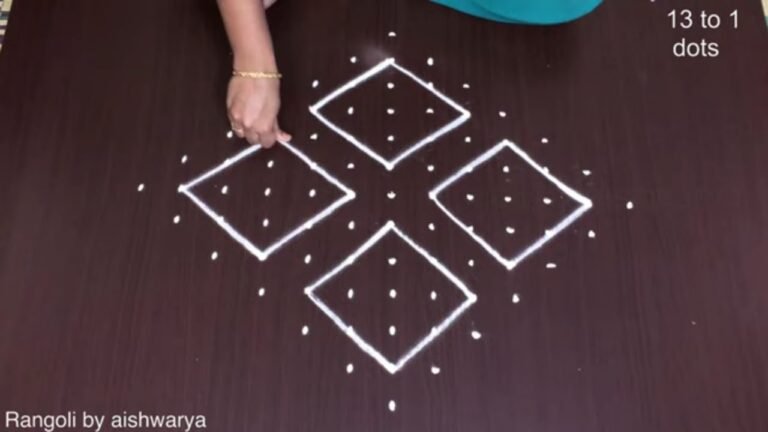
- Clear a flat surface and set down your dot grid using rice flour or chalk.
- Confirm the dot spacing is even — uneven dots are the biggest cause of wobbly curves.
- Begin tracing from the centre outward, following the curves shown in the video above.
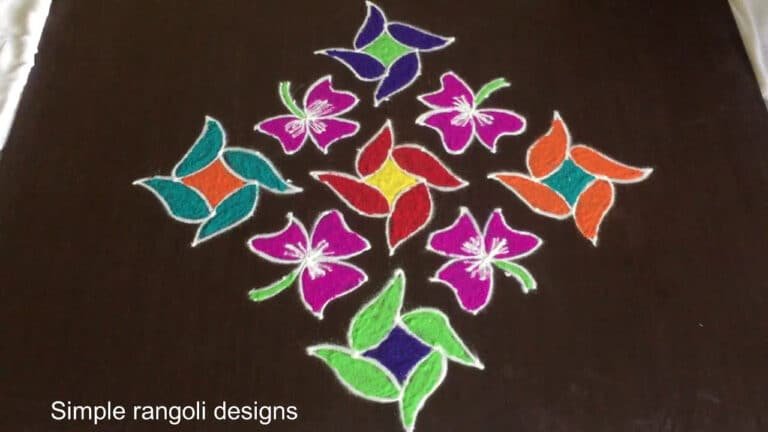
- Fill the petals and sections with your chosen colours, working one area at a time.
- Finish the edges with a fine line for a sharp, photograph-ready result.
What You Will Learn
- 5 Dots Rangoli Design
- Easy 5 Dots Kolam
- Simple Chukkala Muggulu
- Beautiful Small Dot Rangoli
- 5 Chukkala Muggulu
- Small Dot Grid Kolam
Frequently Asked Questions
How do I draw this rangoli?
Start by marking an even dot grid on a flat, clean surface. Once the grid is in place, connect the dots following the curves shown in the video. Even spacing between dots is the single biggest factor for a clean finish.
Is this suitable for beginners?
Yes, and it is one we recommend to first-timers. The small grid keeps the design manageable while still teaching the core technique.
What materials do I need?
White rice flour for the outline, coloured powders for the fill, and a clean dry floor. That is the essentials list — you can add a stencil if you prefer.
How long does it take?
Roughly 3 min 3 sec to watch end-to-end, and 10–20 minutes to draw yourself depending on grid size and how careful you are with the curves.
If you draw this and would like a follow-up design at the same skill level, leave a comment on the video — we read every one and queue up requests.


Leave a Reply