This to 8 dots muggulu tutorial walks you through every step from the dot grid to the final pattern.

Add a touch of charm to your doorway with Interesting 8 To 8 — clean lines, balanced symmetry, and easy to scale.
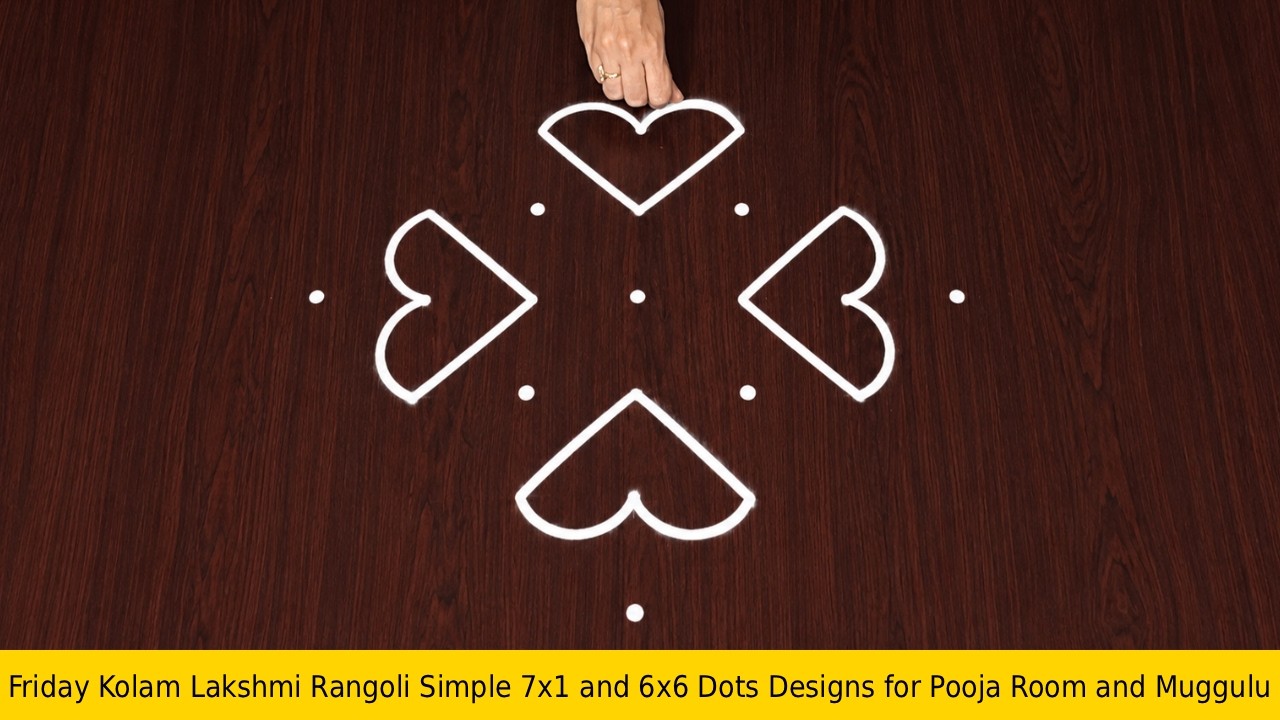
Interesting 8 to 8 Dots Flower Kolam | Chukkala Muggulu Designs Super Rangoli | RamRangoli Aishwarya Thank you so much for watching Channel
My Ram Rangoli Channel Contains : Rangoli Designs Sankranthi Muggulu
Diwali Rangoli Ratham Muggulu Kolam Designs
Muggulu Designs Chukkala Muggulu Easy Rangoli
Simple Rangoli Easy Rangoli Designs Dhanurmasam Muggulu
Melikala Muggulu Geethala Muggulu Sivarathri Muggulu
Tip: Practice on paper first if you are new to dot kolam. The grid is the same; only the surface changes.
The interesting 8 to 8 dots muggulu design showcases a beautiful and intricate arrangement, perfect for festivals like Pongal or Diwali. This pattern emphasizes symmetry and creativity, inspiring beginners to explore their artistic side with simple yet captivating elements. The use of vibrant colors can really bring this design to life, making it an attractive addition to any celebration. For those looking for more inspiration, check out Easy Rangoli Designs for Diwali With 5 to 5 Dots for some festive ideas.
Incorporating floral motifs is a common theme in 8 to 8 dot muggulu, allowing artists to play with shapes and colors to create stunning visual effects. This design not only enhances the beauty of the entrance but also invites positivity and good fortune into the home. For those interested in exploring more floral patterns, take a look at Simple Rose Flower Muggulu. To learn more about the rich heritage of this art form, you can visit this page on Rangoli.
About this design: To 8 Dots Muggulu is a beginner-friendly pattern that comes together in just a few minutes. Once you have practised the to 8 dots muggulu dot grid, you can scale it up for festival mornings or scale it down for a daily doorstep. Many learners on our channel make this to 8 dots muggulu their go-to design once they get the rhythm of the curves.
To 8 Dots Muggulu — Step by Step Guide
Pace yourself through the steps — kolam rewards patience more than speed.
- Clear a flat surface and set down your dot grid using rice flour or chalk.
- Confirm the dot spacing is even — uneven dots are the biggest cause of wobbly curves.
- Begin tracing from the centre outward, following the curves shown in the video above.
- Fill the petals and sections with your chosen colours, working one area at a time.
- Finish the edges with a fine line for a sharp, photograph-ready result.
What You Will Learn
- Simple Rangoli Designs
- Rangoli
- Muggulu
- Rangoli Designs
- Rangoli Kolam
- Kolam
Frequently Asked Questions
How do I draw this rangoli?
Set down the dot grid in pencil or chalk, then follow the loops one petal at a time. If a curve goes off, wipe it and retry — kolam is forgiving.
Is this suitable for beginners?
Yes, and it is one we recommend to first-timers. The small grid keeps the design manageable while still teaching the core technique.
What materials do I need?
White rice flour for the outline, coloured powders for the fill, and a clean dry floor. That is the essentials list — you can add a stencil if you prefer.
How long does it take?
The video runs 3 min 56 sec. In practice, most learners take between 10 and 20 minutes — a little longer the first time, faster as the pattern becomes familiar.
Half the skill of kolam is learning to slow down. Put on some music, give yourself the time, and let the curves come naturally.


Leave a Reply