Easy Apartment Kolam Dizains combines tradition with simplicity, making it one of the most rewarding designs to practice at home.
Easy Apartment Kolam Dizains New Patterns | Rangoli Ideas and Muggulu Roju Vari Rangoli | RamRangoli Thank you so much for watching Channel
My Ram Rangoli Channel Contains : Rangoli Designs Sankranthi Muggulu
Diwali Rangoli Ratham Muggulu Kolam Designs
Muggulu Designs Chukkala Muggulu Easy Rangoli
Simple Rangoli Easy Rangoli Designs Dhanurmasam Muggulu
Melikala Muggulu Geethala Muggulu Sivarathri Muggulu
Tip: Keep your powder bowl close to your dominant hand. Small movements give cleaner curves.
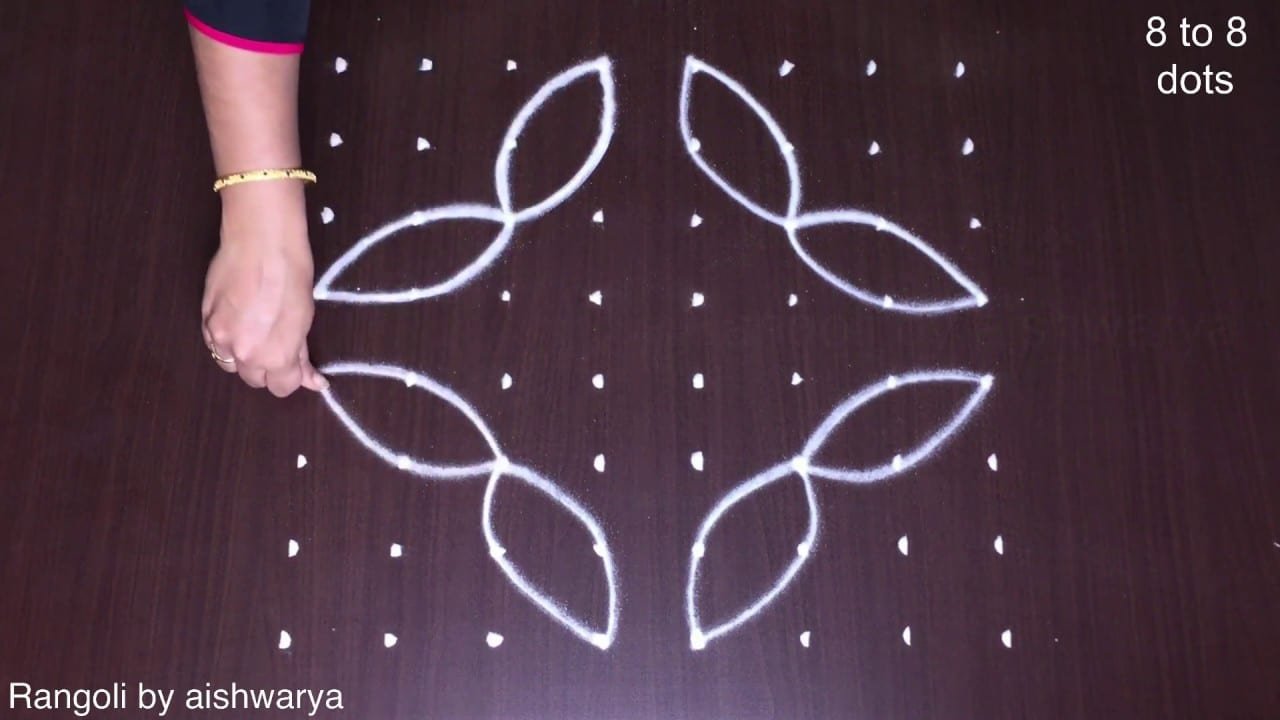
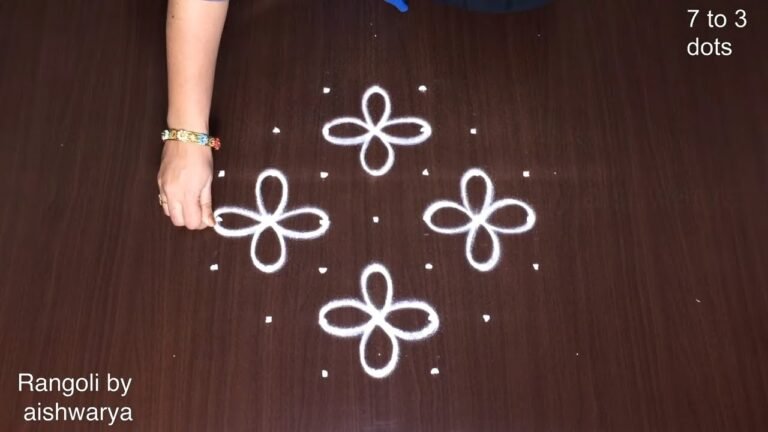
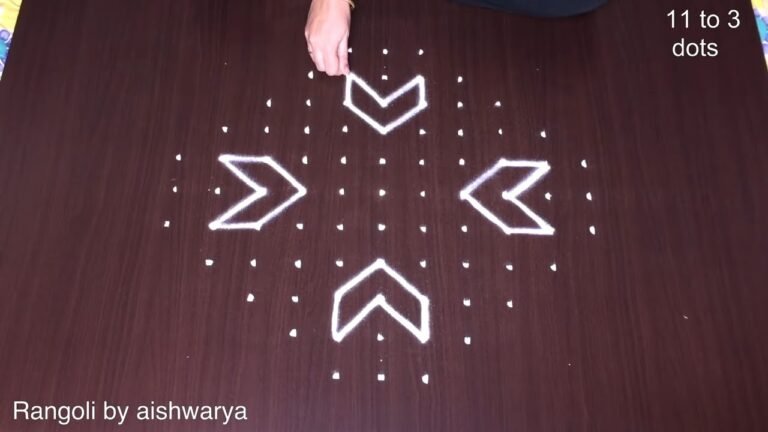
The easy apartment kolam dizains featured in this video are designed using 8 to 8 dots, making them accessible for beginners and perfect for daily decoration. These kolams often embody simple yet elegant patterns that add a touch of charm to any apartment entrance. They are especially popular during festive occasions, providing a warm and inviting welcome to guests. For those looking to explore more intricate designs, the Big Creative Deepam Rangoli offers a delightful challenge.
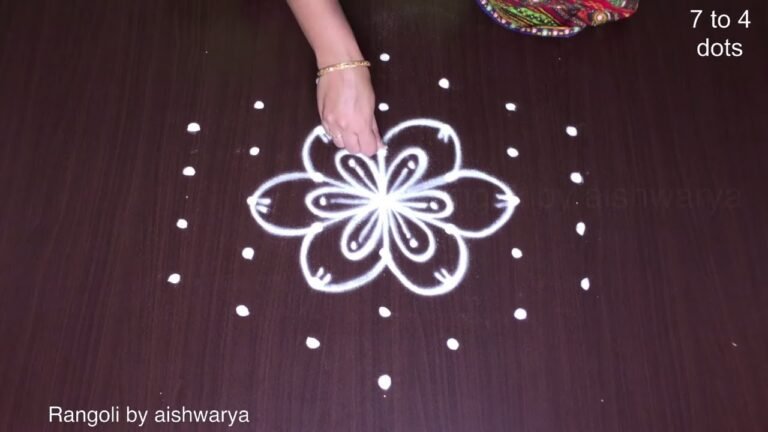
Kolams typically reflect regional art styles and cultural significance, and this design is no exception. The symmetry and careful placement of dots create stunning visuals that can uplift any space. In addition to the 8 to 8 dots design, you might also enjoy trying the 9 to 3 Dots Roja Puvvula Muggulu, which showcases different dot arrangements and themes. For more information on this beautiful tradition, visit this Wikipedia page.
Easy Apartment Kolam Dizains — Step by Step Guide
The video above shows the full sequence; the steps below summarise each stage so you can glance back as you draw.
- Mark the 8-by-8 dot grid (8 rows of 8 dots) and keep the single central dot free.
- In each of the four quadrants draw a rose: a tight spiral coil wrapped in a cloud-like scalloped outline.
- Beside each rose draw a long pointed leaf and fill it with a central vein and slanted herringbone hatching.
- Angle the four rose-and-leaf units so they rotate evenly around the centre dot for rotational symmetry.
- Tidy the join lines so all four motifs meet neatly at the middle.
- Finish in plain white.
What You Will Learn
- Simple Rangoli Designs
- Rangoli
- Muggulu
- Rangoli Designs
- Rangoli Kolam
- Kolam
Frequently Asked Questions
How do I draw this rangoli?
The grid comes first. Use a soft chalk to dot the surface, count twice to confirm the spacing, then start connecting them following the video. Work from the centre outward.
Is this suitable for beginners?
Yes — this design is shaped specifically with newcomers in mind. The dot grid is small enough to manage, and the curves are gentle. Most learners get it right by the second try.
What materials do I need?
Rice flour, coloured rangoli powders, and a clean stretch of floor or paper. Some draw with chalk first to set the grid before powdering over it.
How long does it take?
A 3 min 16 sec video shows the complete sequence. On paper or floor, expect to spend around a quarter of an hour from grid to finished pattern.
Pin this for later or share with a friend learning kolam — and let us know in the comments which design you would like next.
Leave a Reply