New Sankranthi Muggulu 15 combines tradition with simplicity, making it one of the most rewarding designs to practice at home.
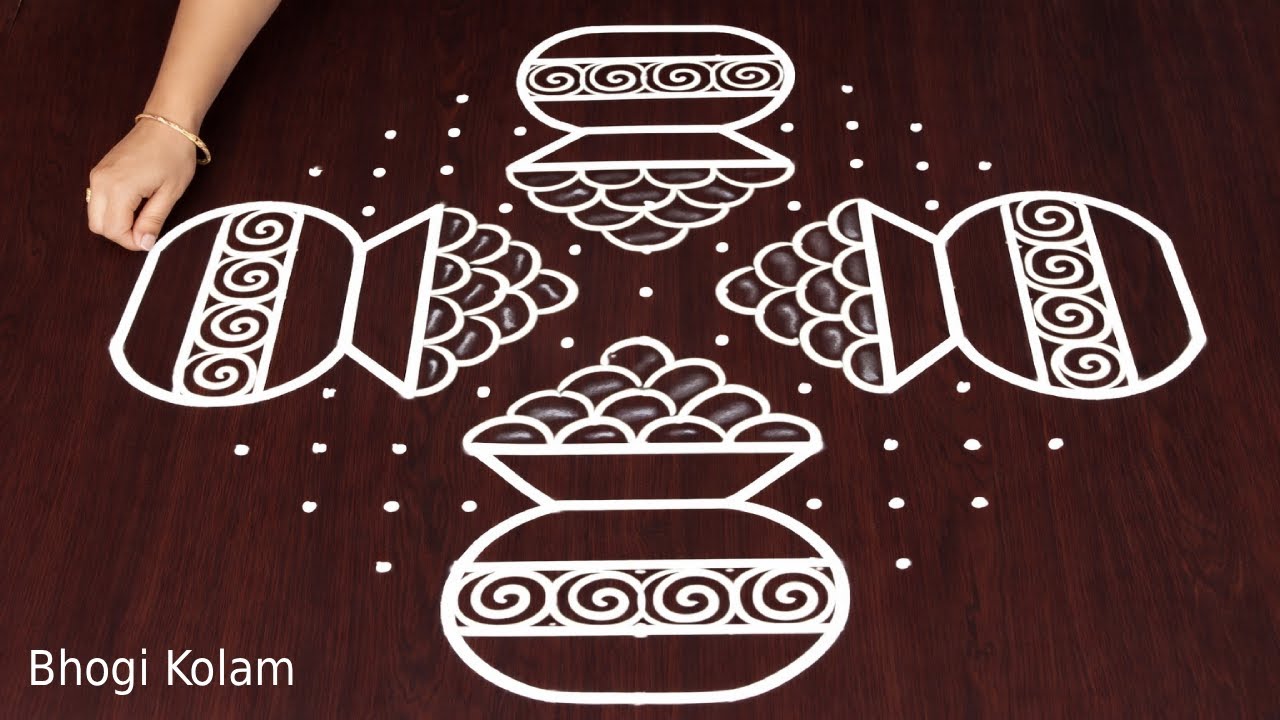
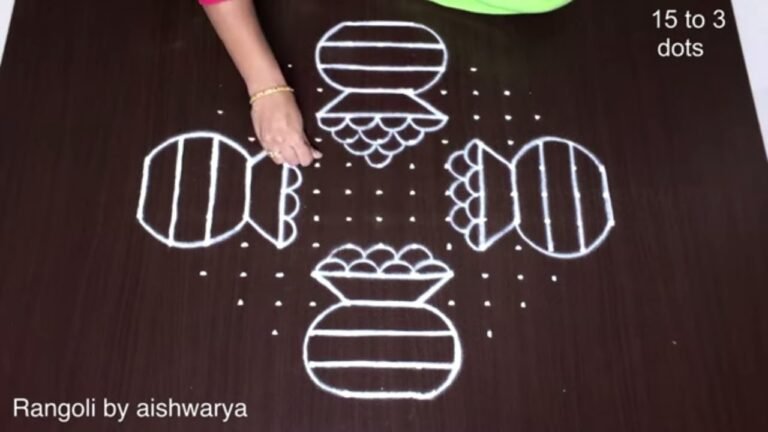
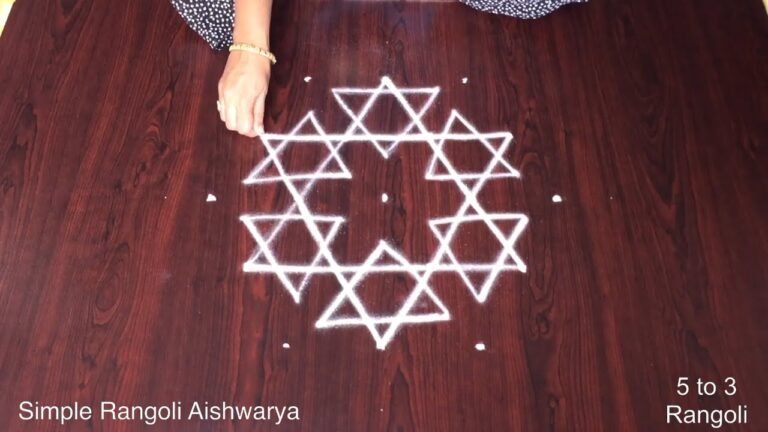
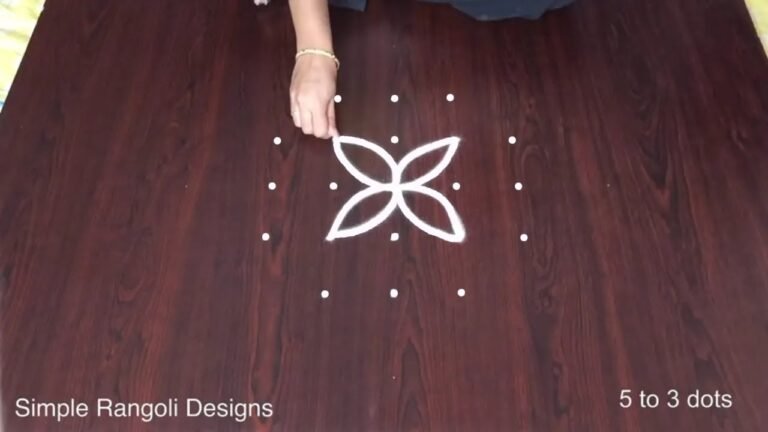
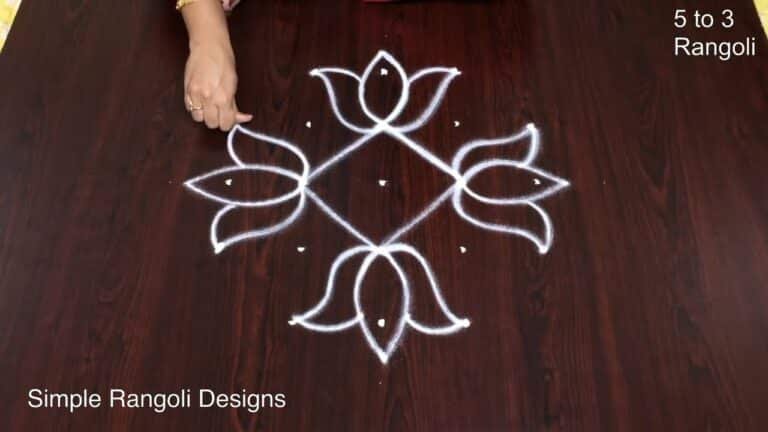
This tutorial will show you how to draw Bhogi Kolam patterns using materials such as dry rice flour, colored sand or flower petals Rangoli designs by Aishwarya. Simple rangoli Pulli Kolam pattern is created on the floor in living rooms or courtyards. Draw the Lines step by step as it is shown in this video and will be awesome Rangoli Design. 😲 The New Sankranthi Muggulu pattern here is one of the amazing latest kolam designs. Simple Rangoli Designs and 15 to 3 Dots Rangoli by Aishwarya with dots for beginners and intermediate.
1. Sankranthi Rangoli Designs 2. Pongal Kolam 3. Sankranti Rangoli Designs
4. Pongal Kolam Rangoli 5. New Year Special Rangoli 6. Pongal Kolam
7. Radham Muggulu 8. Sankranthi Special Rangoli 9. Bhogi Muggulu
10. Pongal Kolam With Dots 11. Sankranthi Muggulu 12. Thipkyanchi Rangoli Designs
13. Mattu Pongal Kolam 14. Sankranti Muggulu 15. ठिपक्यांची रांगोळी
Tip: Keep your powder bowl close to your dominant hand. Small movements give cleaner curves.
The New Sankranthi Muggulu design featuring 15 dots is a delightful expression of traditional kolam artistry, perfect for the festival of Sankranthi. This design typically utilizes a grid of dots arranged in a way that makes it accessible for beginners while still allowing for creative embellishments. The intricate patterns that emerge from this dot setup can be further enhanced with colored powders or flower petals, making it a vibrant addition to any home during the festive season. For more festive ideas, check out our Rangoli Designs For Sankranti With 13 To 7 Dots post.
As you learn to create this muggulu, you’ll find that it encourages mindfulness and precision, allowing you to connect with the rich cultural heritage of kolam making. The step-by-step process is designed to build confidence, making it suitable for both novices and those looking to refine their skills. Incorporating elements from other designs, such as the 7 3 Simple Apartment Muggulu, can add a personal touch to your creation. For those interested in the broader world of rangoli, you can explore more about its history and significance on Wikipedia.
About this design: New Sankranthi Muggulu 15 is a beginner-friendly pattern that comes together in just a few minutes. Once you have practised the new sankranthi muggulu 15 dot grid, you can scale it up for festival mornings or scale it down for a daily doorstep. Many learners on our channel make this new sankranthi muggulu 15 their go-to design once they get the rhythm of the curves.
New Sankranthi Muggulu 15 — Step by Step Guide
These steps are written for absolute beginners. Watch once, draw once, then watch again — that is how the pattern locks in.
- Mark the 15-to-3 dot grid (a large diamond tapering from 15 dots to 3).
- In the centre draw two long crossed sticks forming an X, the crossed sugarcane/flutes, with parallel lines and joint marks along each.
- At the top and bottom points draw a festive pot (kundala/matka): a rounded body with a flared rim, and fill each mouth with a mound of small dots for the rice/pongal grains.
- On the left and right draw a matching decorated oval pot on its side to balance the cross.
- Decorate every pot and oval with bands of zigzag, spirals and small motifs around their bodies.
- In the top-left gap add a small sugarcane stalk with a leafy tuft, and scatter accent dots in the open spaces (plain white kolam, no colour).
What You Will Learn
- Big Bhogi Kolam 15 To 3 Dots
- Bhogi Kolam 15 To 3 Dots
- Sankranthi Muggulu 15 To 3 Dots
- 15 To 3 Dots Bhogi Rangoli
- Bhogi Rangoli 15 To 3 Dots
- 15 To 3 Dots Sankranthi Kolam
Frequently Asked Questions
How do I draw this rangoli?
Begin with the dot grid — this is the skeleton of the design. With rice flour or chalk, place each dot at equal intervals. Then trace the curves slowly, one section at a time.
Is this suitable for beginners?
It is one of the more forgiving designs in our collection. Beginners often pick it as a confidence-builder before moving on to larger grids.
What materials do I need?
Rice flour, coloured rangoli powders, and a clean stretch of floor or paper. Some draw with chalk first to set the grid before powdering over it.
How long does it take?
The video clocks in at 6 min 11 sec. Allow about quarter of an hour to draw the design at a comfortable pace.
Try this design tomorrow morning at your doorstep. The compact grid makes it ideal for a daily ritual, not just festival days.
Leave a Reply