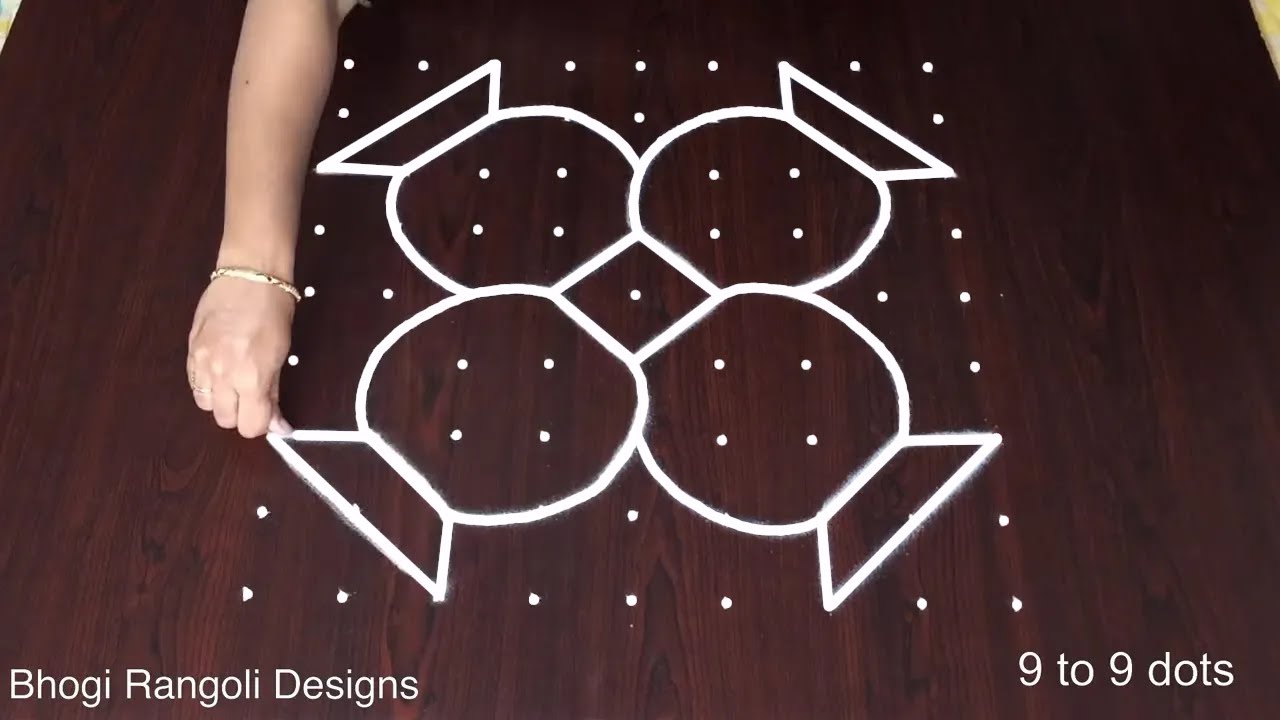
Whether you are decorating for a festival or your daily morning ritual, Rangoli Designs With 6 is an excellent design to keep handy.

For another beginner-friendly variation, try 9 To 3 Dots Roja Puvvula Muggulu.
Learn more about the tradition of Rangoli on Wikipedia.
Looking for a colorful 6 to 6 dots rangoli that feels festive yet easy to draw? This simple and unique Sankranthi kolam design brings balance, brightness, and tradition together. In this video, we create a 6 to 6 dots rangoli with colours, using a perfectly aligned square grid. The 6×6 format is one of the most versatile dot structures — it provides strong symmetry while giving enough space for smooth curves and clean color filling.
🌾 What You’ll Learn Step by Step: How to place the 6 to 6 dot grid evenly Connecting the dots to build a symmetrical base design
Easy color-filling techniques for a vibrant finish Tips to maintain neat edges and balanced spacing Sankranthi is a harvest festival that celebrates prosperity and new beginnings. Decorating the entrance with a colorful kolam enhances the festive atmosphere and welcomes positivity into the home. This 6×6 dot layout is ideal for medium-sized entrances, courtyards, and pooja spaces.
Watch till the end to see the full color transformation — the final reveal shows how structured dots turn into a bright and festive masterpiece. If you enjoy 6 to 6 dot kolam, explore other Sankranthi grids like 7-1, 9-5, and 11-6 to expand your seasonal rangoli collection and strengthen your dot-series consistency. Save this design for Sankranthi and recreate it at your home entrance for a beautiful festive welcome.
Tip: Work from the centre outward. It keeps the symmetry honest and prevents the design from drifting off-balance.
This design belongs to the broader tradition of rangoli and kolam art practised across South India. Explore more in our 6 to 6 dots Rangoli Designs collection.
To 6 Dots — Step by Step Guide
These steps are written for absolute beginners. Watch once, draw once, then watch again — that is how the pattern locks in.
- Clear a flat surface and set down your dot grid using rice flour or chalk.
- Confirm the dot spacing is even — uneven dots are the biggest cause of wobbly curves.
- Begin tracing from the centre outward, following the curves shown in the video above.
- Fill the petals and sections with your chosen colours, working one area at a time.
- Finish the edges with a fine line for a sharp, photograph-ready result.
What You Will Learn
- 6 To 6 Dots Rangoli With Colours
- Sankranthi Special Kolam 6X6
- Simple 6X6 Dots Kolam
- Unique Sankranthi Rangoli
- 6X6 Dots Rangoli Design
- 6 To 6 Pulli Kolam
Frequently Asked Questions
How do I draw this rangoli?
Set down the dot grid in pencil or chalk, then follow the loops one petal at a time. If a curve goes off, wipe it and retry — kolam is forgiving.
Is this suitable for beginners?
Yes, and it is one we recommend to first-timers. The small grid keeps the design manageable while still teaching the core technique.
What materials do I need?
White rice flour for the outline, coloured powders for the fill, and a clean dry floor. That is the essentials list — you can add a stencil if you prefer.
How long does it take?
The full demonstration takes 3 min 37 sec. Most people find their own drawing time settles to about 15 minutes once the grid is familiar.
After you draw this, take a picture before the day blows it away. Kolam is impermanent by design, but a photo lets you revisit the version you drew.


Leave a Reply