Drawing Rangoli Muggulu With 5 is a relaxing, almost meditative practice. The dots guide your hand and the design unfolds naturally.

Rangoli Muggulu with 5 dots 🌸 Alpana Design 🌸 Bindu Wali Kolam Designs 🌸 Rangoli Aishwarya Thank you so much for watching Channel
My Rangoli Channel Contains : Rangoli Designs Sankranthi Muggulu
Diwali Rangoli Ratham Muggulu Kolam Designs
Muggulu Designs Chukkala Muggulu Easy Rangoli
Simple Rangoli Easy Rangoli Designs Dhanurmasam Muggulu
Melikala Muggulu Geethala Muggulu Sivarathri Muggulu
Tip: Practice on paper first if you are new to dot kolam. The grid is the same; only the surface changes.
This design belongs to the broader tradition of rangoli and kolam art practised across South India. Explore more in our 5 to 3 dots Rangoli Designs collection.
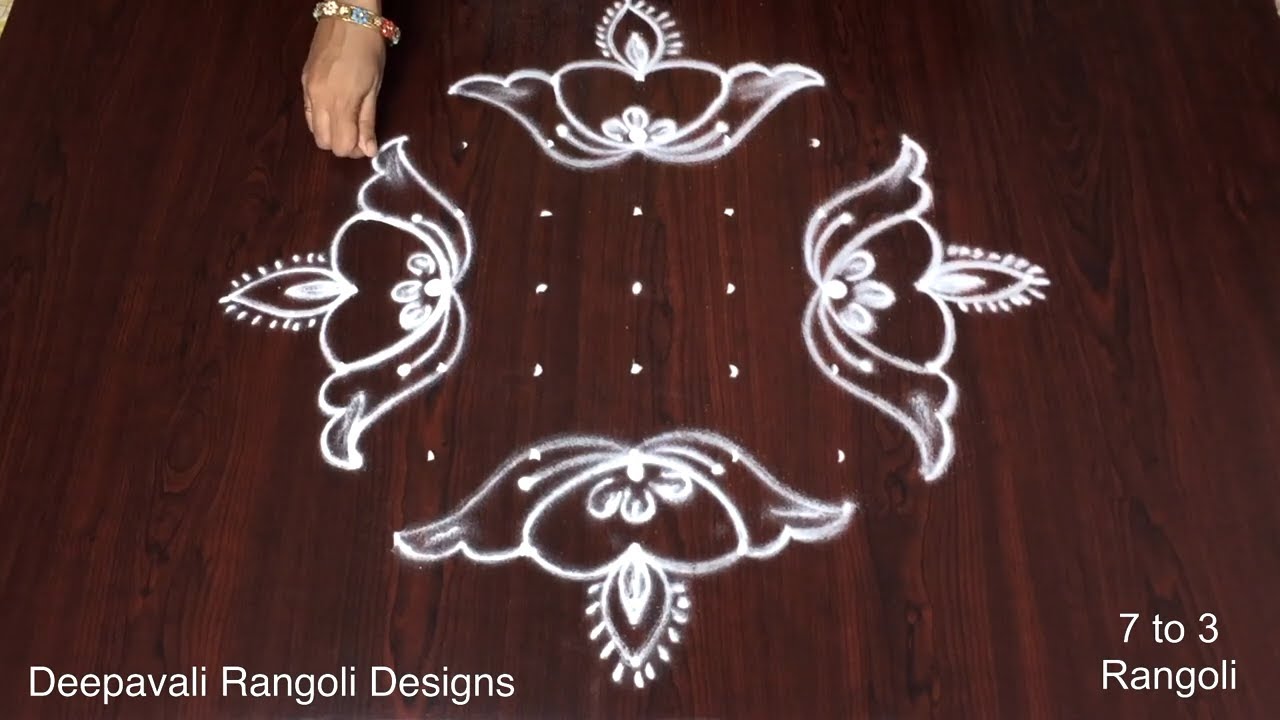
Rangoli muggulu with 5 dots is a delightful design often used to celebrate various festivals in India. This simple yet elegant pattern serves as a warm welcome to guests and is a way to express creativity during auspicious occasions. The unique structure allows beginners to easily replicate the design while exploring their artistic flair. For inspiration, you can also check out How to Draw 12×2 Deepam Rangoli Designs and Very Easy Super Flower Poo Kolams Muggulu.
This design typically features intricate patterns that radiate from the central dots, making it visually appealing and spiritually significant. It is often used during festivals such as Diwali or Pongal, where families come together to create beautiful decorations. The art of rangoli, including muggulu, not only enhances the beauty of the home but also fosters a sense of community. To learn more about this traditional art form, visit this link.
About this design: With 5 Dots is a beginner-friendly pattern that comes together in just a few minutes. Once you have practised the with 5 dots dot grid, you can scale it up for festival mornings or scale it down for a daily doorstep. Many learners on our channel make this with 5 dots their go-to design once they get the rhythm of the curves.
With 5 Dots — Step by Step Guide
The video above shows the full sequence; the steps below summarise each stage so you can glance back as you draw.
- Clear a flat surface and set down your dot grid using rice flour or chalk.
- Confirm the dot spacing is even — uneven dots are the biggest cause of wobbly curves.
- Begin tracing from the centre outward, following the curves shown in the video above.
- Fill the petals and sections with your chosen colours, working one area at a time.
- Finish the edges with a fine line for a sharp, photograph-ready result.
What You Will Learn
- Simple Rangoli Designs
- Rangoli
- Muggulu
- Rangoli Designs
- Rangoli Kolam
- Kolam
Frequently Asked Questions
How do I draw this rangoli?
Begin with the dot grid — this is the skeleton of the design. With rice flour or chalk, place each dot at equal intervals. Then trace the curves slowly, one section at a time.
Is this suitable for beginners?
Yes, and it is one we recommend to first-timers. The small grid keeps the design manageable while still teaching the core technique.
What materials do I need?
You will need rice flour or rangoli powder (white, plus your choice of colours), a flat surface like a clean floor or courtyard, and optionally a dot stencil if you are new to grid-drawing.
How long does it take?
About 3 min 39 sec on screen, perhaps 15 minutes for a relaxed first attempt. By the second try most people are noticeably quicker.
Pin this for later or share with a friend learning kolam — and let us know in the comments which design you would like next.


Leave a Reply