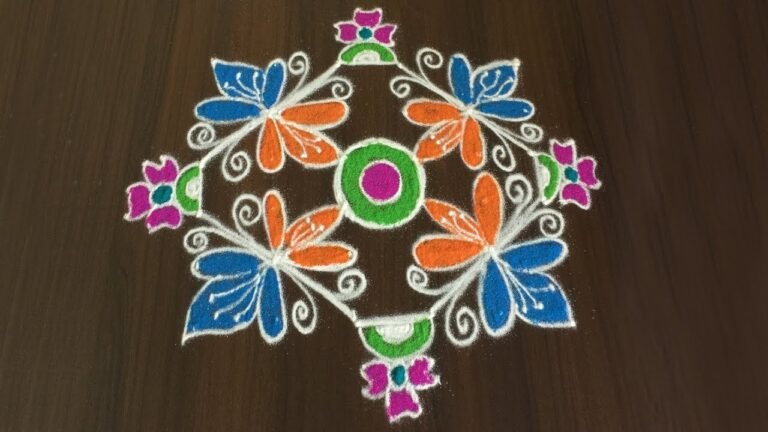
There is something timeless about Simple Design Easy Beginner — the symmetry, the rhythm of the dots, and the soft curves it produces.

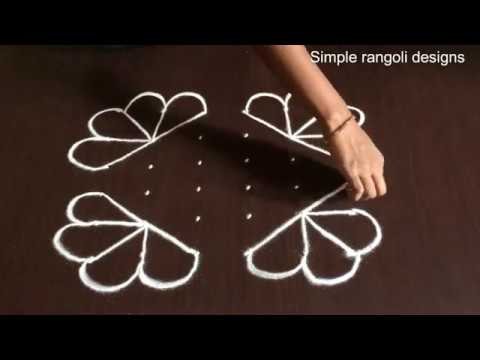
For another beginner-friendly variation, try Birds Kolam Design Simple Steps.
Learn more about the tradition of Rangoli on Wikipedia.
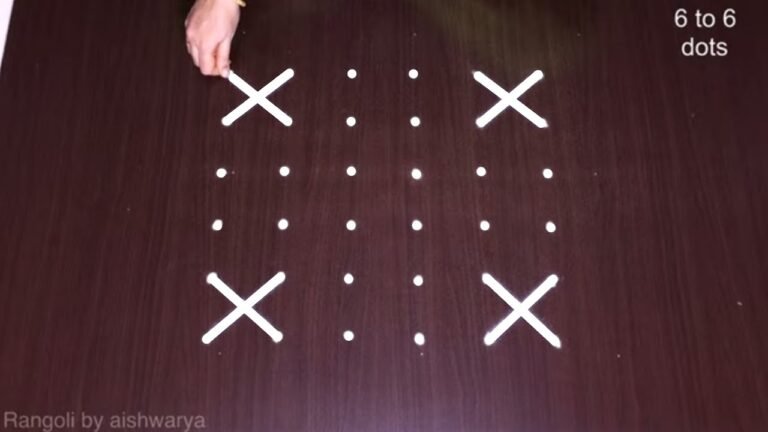
Looking for a neat and easy 6×6 dots kolam that beginners can draw confidently? This simple muggulu design is structured, balanced, and perfect for learning symmetry. In this video, we create a 6×6 dots simple beginner kolam, built on a perfectly aligned square grid that ensures smooth curves and equal spacing. The 6-6 format is one of the most reliable layouts for beginners because it offers clear structure without making the design complicated.
Proper placement of the 6×6 square dot grid Connecting curves evenly and smoothly Maintaining balance across all four sides
Clean finishing touches for a neat result The 6×6 grid provides a strong foundation for developing spacing control and curve accuracy. Even though the design is simple, it looks elegant and complete when finished. This format works beautifully for apartment entrances, pooja spaces, and small thresholds where you want a clean and organized kolam.
Watch till the end to see the complete transformation — the final symmetrical reveal highlights how the 6×6 dot structure turns into a beautiful and balanced kolam. If you enjoy square beginner grids, explore other formats like 5×5 and 7-4 to gradually build confidence with different layouts. Save this design and recreate it to enhance your entrance beautifully.
Tip: Work from the centre outward. It keeps the symmetry honest and prevents the design from drifting off-balance.
This design belongs to the broader tradition of rangoli and kolam art practised across South India. Explore more in our 6 to 6 dots Rangoli Designs collection.
About this design: Simple Design Easy Beginner is a beginner-friendly pattern that comes together in just a few minutes. Once you have practised the simple design easy beginner dot grid, you can scale it up for festival mornings or scale it down for a daily doorstep. Many learners on our channel make this simple design easy beginner their go-to design once they get the rhythm of the curves.
Simple Design Easy Beginner — Step by Step Guide
Each step takes only a moment. The whole design comes together in just a few minutes once the grid is in place.
- Clear a flat surface and set down your dot grid using rice flour or chalk.
- Confirm the dot spacing is even — uneven dots are the biggest cause of wobbly curves.
- Begin tracing from the centre outward, following the curves shown in the video above.
- Fill the petals and sections with your chosen colours, working one area at a time.
- Finish the edges with a fine line for a sharp, photograph-ready result.
What You Will Learn
- 6X6 Dots Simple Beginner Kolam
- Easy Muggulu 6-6 Dots
- Simple Rangoli 6X6 Grid
- 6-6 Dots Kolam Design
- Beginner Friendly Dot Kolam
- 6X6 Pulli Kolam
Frequently Asked Questions
How do I draw this rangoli?
It looks complex but follows a simple rhythm: dots first, then loops. Mark the grid, take a breath, and trace the curves at a steady pace. The pattern emerges on its own.
Is this suitable for beginners?
Absolutely. You can pause and rewind the video at every step. The pattern is straightforward once you have the grid down.
What materials do I need?
White rice flour for the outline, coloured powders for the fill, and a clean dry floor. That is the essentials list — you can add a stencil if you prefer.
How long does it take?
3 min 1 sec of video, perhaps 20 minutes of practice. The curves take a couple of attempts to feel natural, then it speeds up considerably.
Pin this for later or share with a friend learning kolam — and let us know in the comments which design you would like next.


Leave a Reply