This traditional ugadi ugadi festival tutorial walks you through every step from the dot grid to the final pattern.

Learn more about the tradition of Rangoli on Wikipedia.
Exploring Traditional Ugadi Rangoli Designs
Traditional Ugadi Rangoli designs are an integral part of the Ugadi festival, symbolizing new beginnings and prosperity. These intricate patterns are typically created using vibrant colored powders, rice flour, and flower petals, showcasing the artistry of the creator. During this festive occasion, families adorn their entrances with these beautiful muggulu, inviting good fortune and happiness into their homes. Embracing traditional ugadi rangoli designs not only enhances the festive spirit but also preserves cultural heritage.
If you enjoy dot-grid muggulu, Ugadi Rangoli With Dots 2 is a satisfying pattern that comes together in just a few minutes.
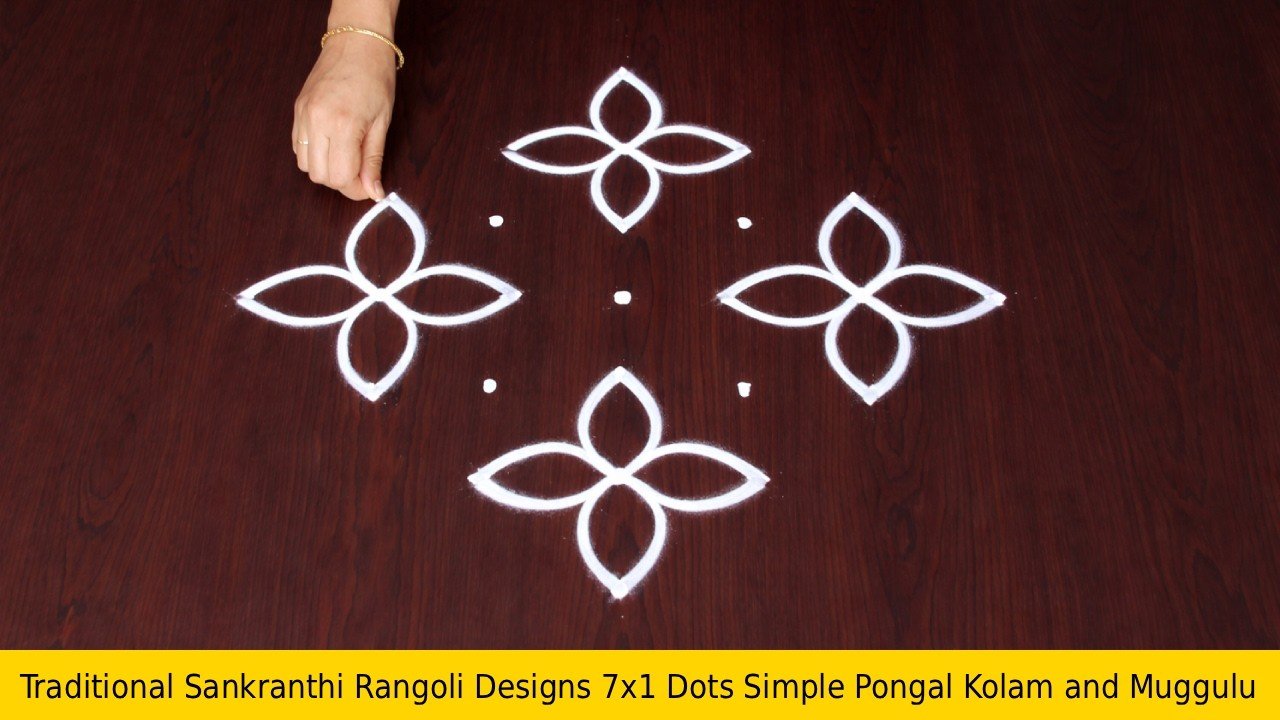
Looking for beautiful traditional Ugadi rangoli designs to celebrate the festival? These Ugadi muggulu designs are perfect for decorating your entrance with festive elegance. In this video, you will learn how to create a stunning Ugadi rangoli step by step using traditional patterns inspired by classic muggulu designs. If you enjoy drawing rangoli with dots and festive kolam art, this tutorial will help you create a neat and symmetrical design.
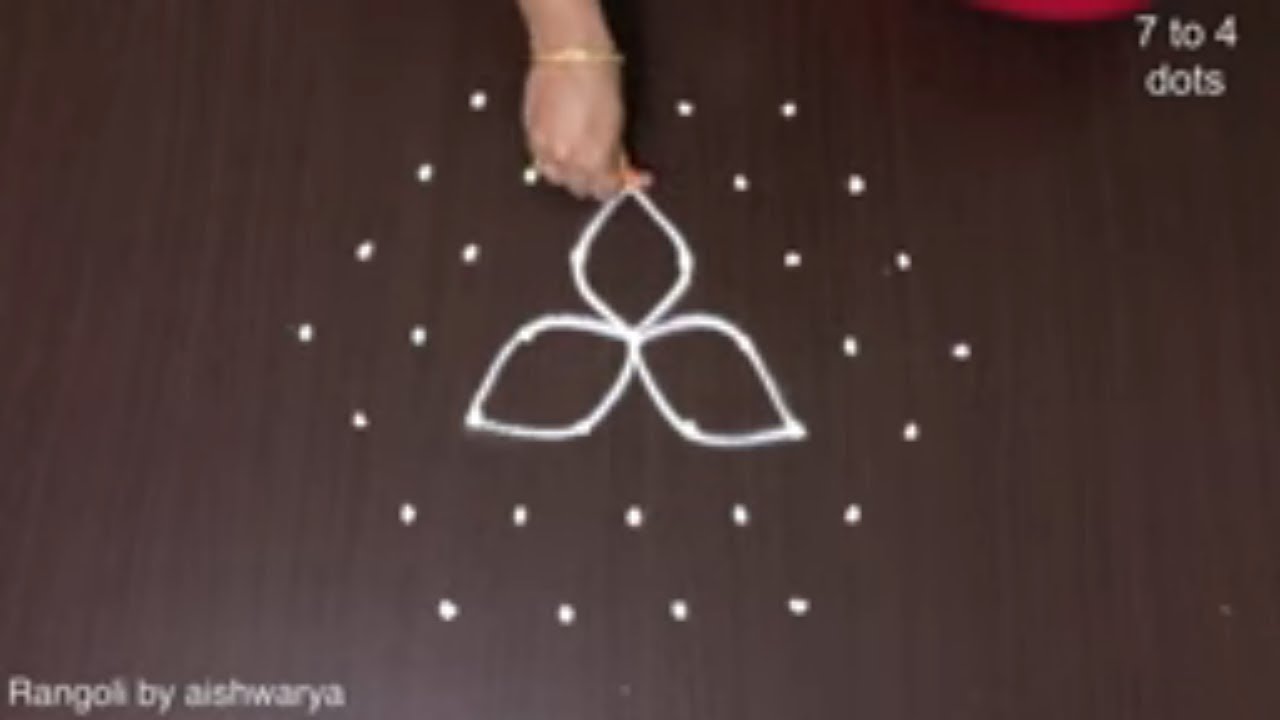
We begin by setting a structured base and then gradually develop the pattern into a graceful and balanced festival rangoli design. The curves and floral elements come together to create a visually appealing and traditional look. How to draw traditional Ugadi rangoli designs step by step How to create elegant Ugadi muggulu patterns
How to design neat rangoli with dots How to maintain symmetry in kolam designs This rangoli works beautifully as an entrance decoration for Ugadi celebrations and adds a festive touch to your home. The design is beginner-friendly while still maintaining a traditional and rich appearance.
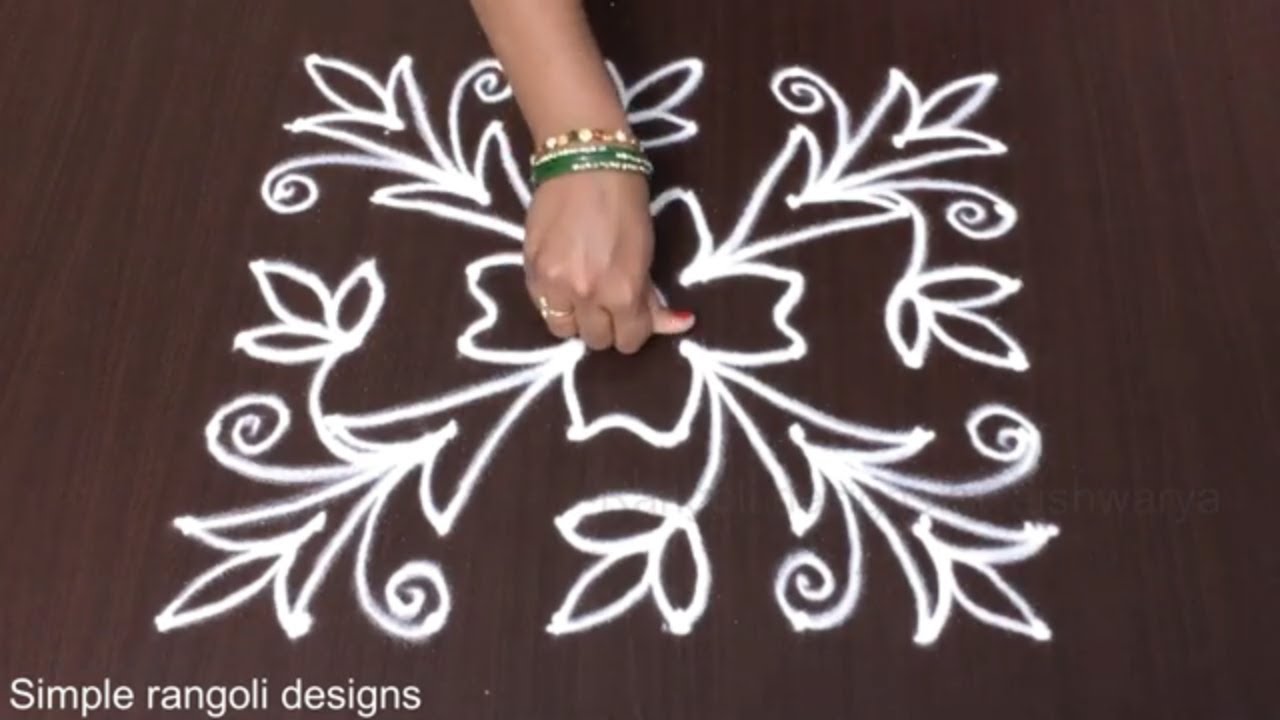
If you enjoy creating festival rangoli designs, elegant muggulu, and classic kolam patterns, this tutorial will help you improve your rangoli skills. Watch till the end to see how the full design transforms into a beautiful and festive Ugadi rangoli perfect for celebration.
Tip: Keep your powder bowl close to your dominant hand. Small movements give cleaner curves.
This design belongs to the broader tradition of rangoli and kolam art practised across South India. Explore more in our New Year Rangoli collection.
About this design: Traditional Ugadi Rangoli Designs is a beginner-friendly pattern that comes together in just a few minutes. Once you have practised the traditional ugadi rangoli designs dot grid, you can scale it up for festival mornings or scale it down for a daily doorstep. Many learners on our channel make this traditional ugadi rangoli designs their go-to design once they get the rhythm of the curves.
Traditional Ugadi Ugadi Festival — Step by Step Guide
Pace yourself through the steps — kolam rewards patience more than speed.
- Clear a flat surface and set down your dot grid using rice flour or chalk.
- Confirm the dot spacing is even — uneven dots are the biggest cause of wobbly curves.
- Begin tracing from the centre outward, following the curves shown in the video above.
- Fill the petals and sections with your chosen colours, working one area at a time.
- Finish the edges with a fine line for a sharp, photograph-ready result.
What You Will Learn
- Ugadi Rangoli With Dots
- Ugadi Rangoli Side Designs
- Ugadi Rangoli Simple
- Ugadi Rangoli Easy
- Rangoli Ugadi Special
- Ugadi Rangoli Designs With Dots
Frequently Asked Questions
How do I draw this rangoli?
It looks complex but follows a simple rhythm: dots first, then loops. Mark the grid, take a breath, and trace the curves at a steady pace. The pattern emerges on its own.
Is this suitable for beginners?
Absolutely. You can pause and rewind the video at every step. The pattern is straightforward once you have the grid down.
What materials do I need?
You will need rice flour or rangoli powder (white, plus your choice of colours), a flat surface like a clean floor or courtyard, and optionally a dot stencil if you are new to grid-drawing.
How long does it take?
The video runs 4 min 2 sec. In practice, most learners take between 10 and 20 minutes — a little longer the first time, faster as the pattern becomes familiar.
Once this design feels familiar, switch the colours or rotate the grid by a step. Small tweaks keep daily kolam practice interesting.


Leave a Reply