This 9 1 festive ugadi tutorial walks you through every step from the dot grid to the final pattern.

Learn more about the tradition of Rangoli on Wikipedia.
Creating Stunning Designs with 9 to 1 Dots
In this section, we will explore the technique of creating beautiful Ugadi Rangoli designs using the 9 to 1 dots method. This traditional approach allows for intricate patterns that reflect the festive spirit of Ugadi. By strategically placing colored powders or rice flour at these specific dot placements, you can achieve stunning visual effects that enhance your home decor during the celebration. Embrace the artistry of 9 to 1 dots and bring joy to your festivities.
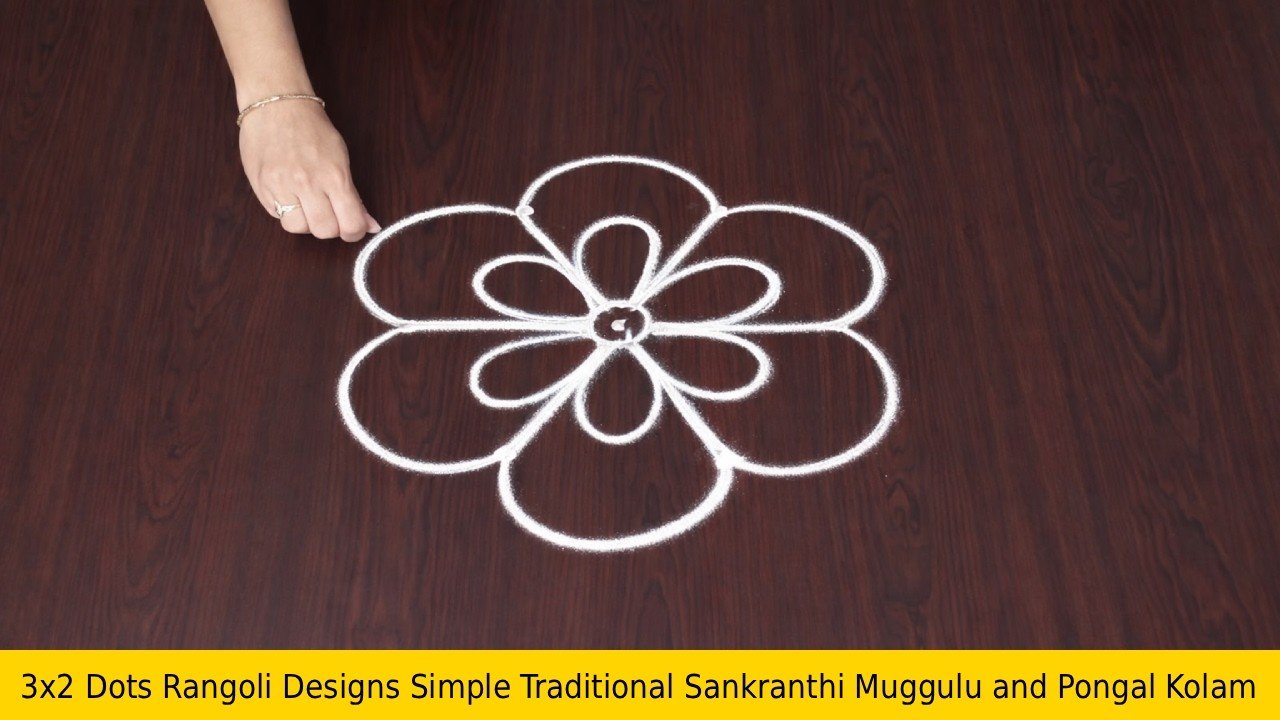
There is something timeless about Ugadi Rangoli With Dots — the symmetry, the rhythm of the dots, and the soft curves it produces.
Looking for a beautiful 9 to 1 dots Ugadi rangoli for your festive entrance? This simple and festive Ugadi muggulu design is perfect for welcoming the Telugu New Year with traditional kolam art. In this video, you will learn how to draw a graceful 9 to 1 dots rangoli step by step using a classic decreasing dot grid. If you enjoy traditional Ugadi muggulu designs, this tutorial will help you create a neat and symmetrical rangoli that looks festive and elegant.
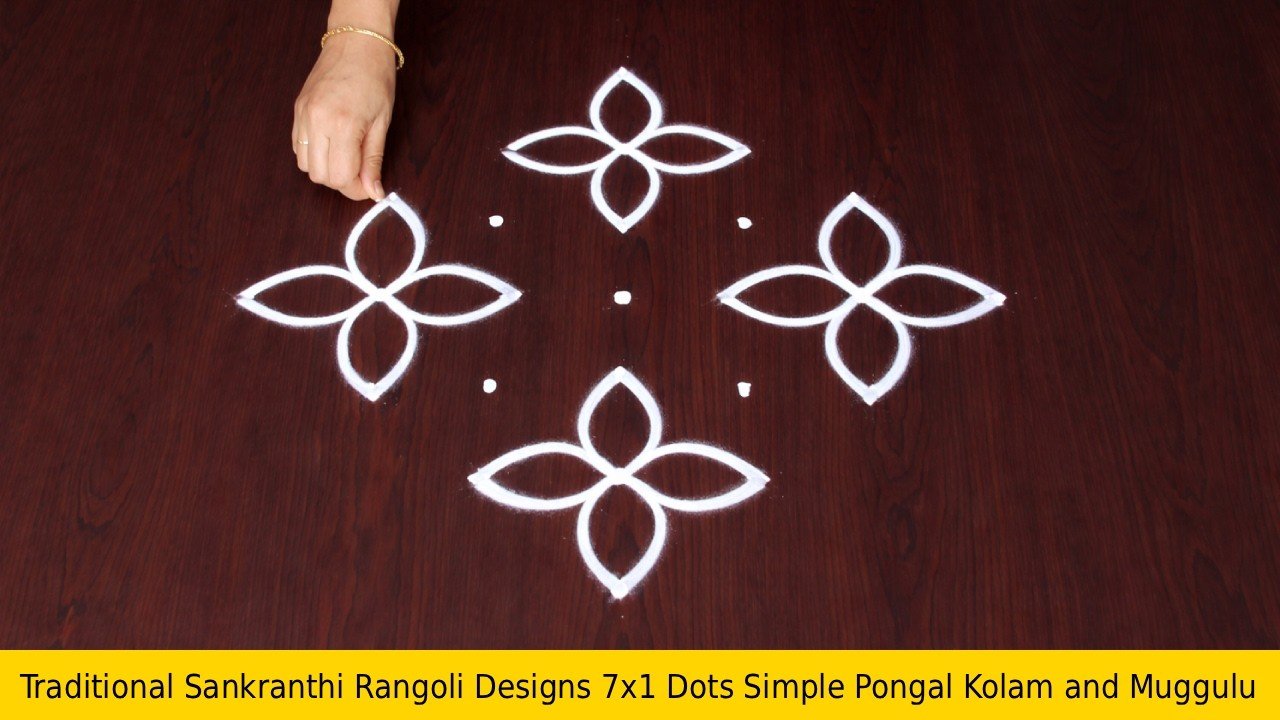
We begin by placing the 9 to 1 dot structure clearly to build a strong base. Then the curved framework develops gradually into a beautiful traditional Ugadi rangoli pattern. Because of the structured dot layout, the design becomes easy to follow even for beginners. How to construct a proper 9 to 1 dots rangoli grid How to create traditional Ugadi muggulu designs
How to draw neat rangoli with dots step by step How to maintain symmetry in kolam designs with dots This rangoli works beautifully as an Ugadi entrance kolam and is ideal for decorating your doorstep, pooja area, or courtyard during celebrations. The floral curves and balanced structure make it both festive and beginner-friendly.
If you enjoy creating festival rangoli with dots, elegant muggulu patterns, and traditional kolam designs, this tutorial will help you improve your rangoli drawing skills. Watch till the end to see how the 9 to 1 dots grid transforms into a vibrant and festive Ugadi rangoli.
Tip: A slightly damp brush along the edges gives a sharper finish, especially for festival photographs.
This design belongs to the broader tradition of rangoli and kolam art practised across South India. Explore more in our New Year Rangoli collection.
9 1 Festive Ugadi — Step by Step Guide
Below is the step-by-step breakdown. The video covers the same sequence in real time.
- Clear a flat surface and set down your dot grid using rice flour or chalk.
- Confirm the dot spacing is even — uneven dots are the biggest cause of wobbly curves.
- Begin tracing from the centre outward, following the curves shown in the video above.
- Fill the petals and sections with your chosen colours, working one area at a time.
- Finish the edges with a fine line for a sharp, photograph-ready result.
What You Will Learn
- Ugadi Rangoli With Dots
- Ugadi Rangoli Side Designs
- Ugadi Rangoli Simple
- Ugadi Rangoli Easy
- Rangoli Ugadi Special
- Ugadi Rangoli Designs With Dots
Frequently Asked Questions
How do I draw this rangoli?
It looks complex but follows a simple rhythm: dots first, then loops. Mark the grid, take a breath, and trace the curves at a steady pace. The pattern emerges on its own.
Is this suitable for beginners?
It is one of the more forgiving designs in our collection. Beginners often pick it as a confidence-builder before moving on to larger grids.
What materials do I need?
You will need rice flour or rangoli powder (white, plus your choice of colours), a flat surface like a clean floor or courtyard, and optionally a dot stencil if you are new to grid-drawing.
How long does it take?
About 4 min 49 sec on screen, perhaps 15 minutes for a relaxed first attempt. By the second try most people are noticeably quicker.
Whenever you finish your version, share a photo with us. Seeing your work is the best part of running this channel.


Leave a Reply