Creative And Unique Rangoli is a beautiful kolam pattern you can draw right at your doorstep — perfect for beginners and seasoned rangoli artists alike.

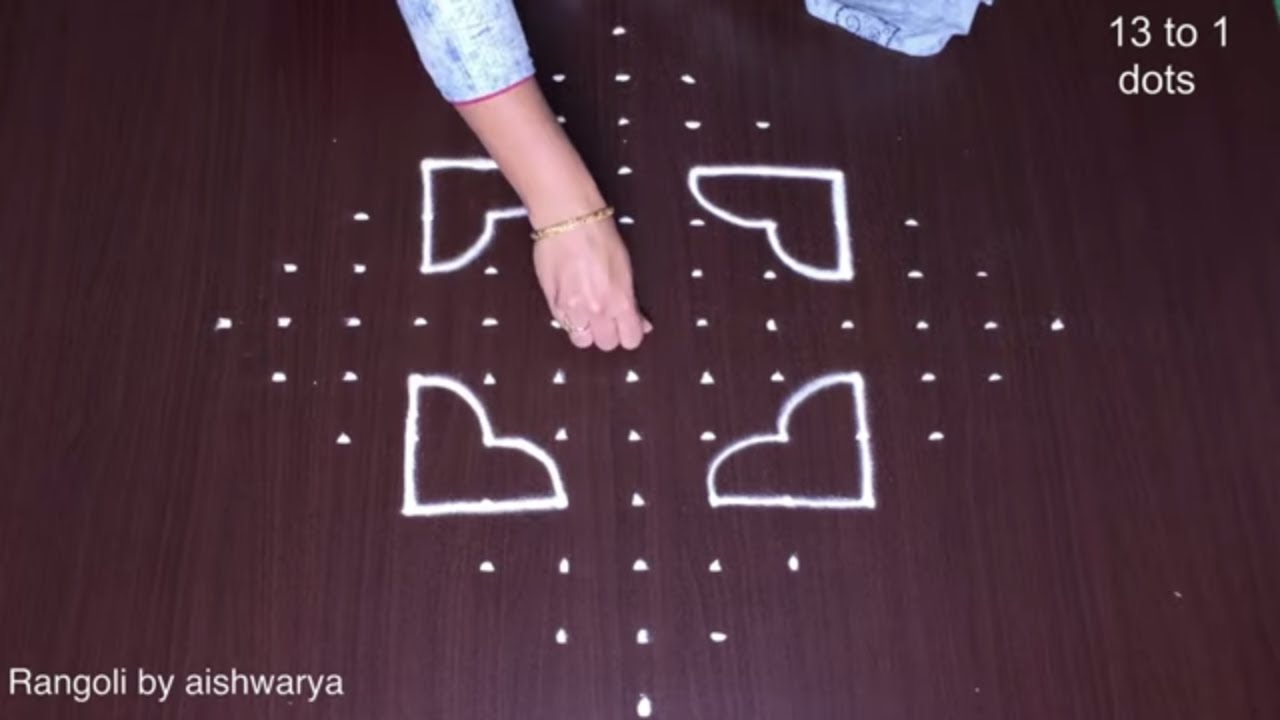
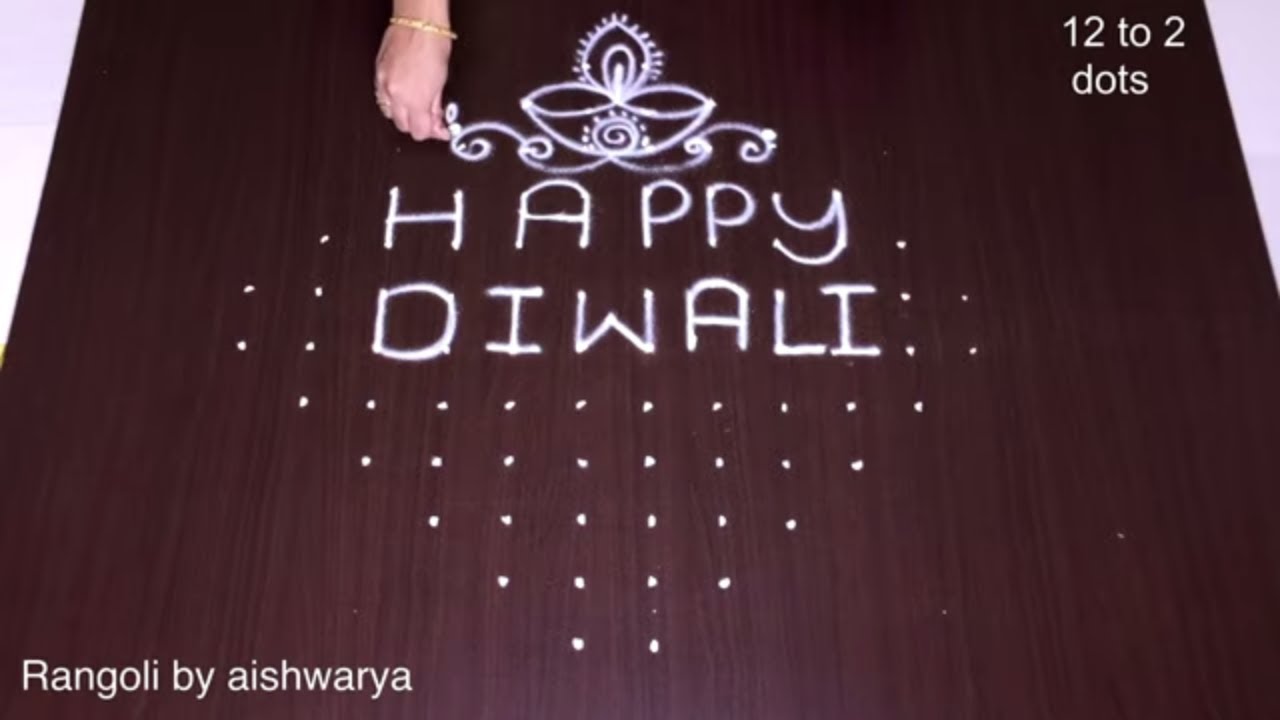
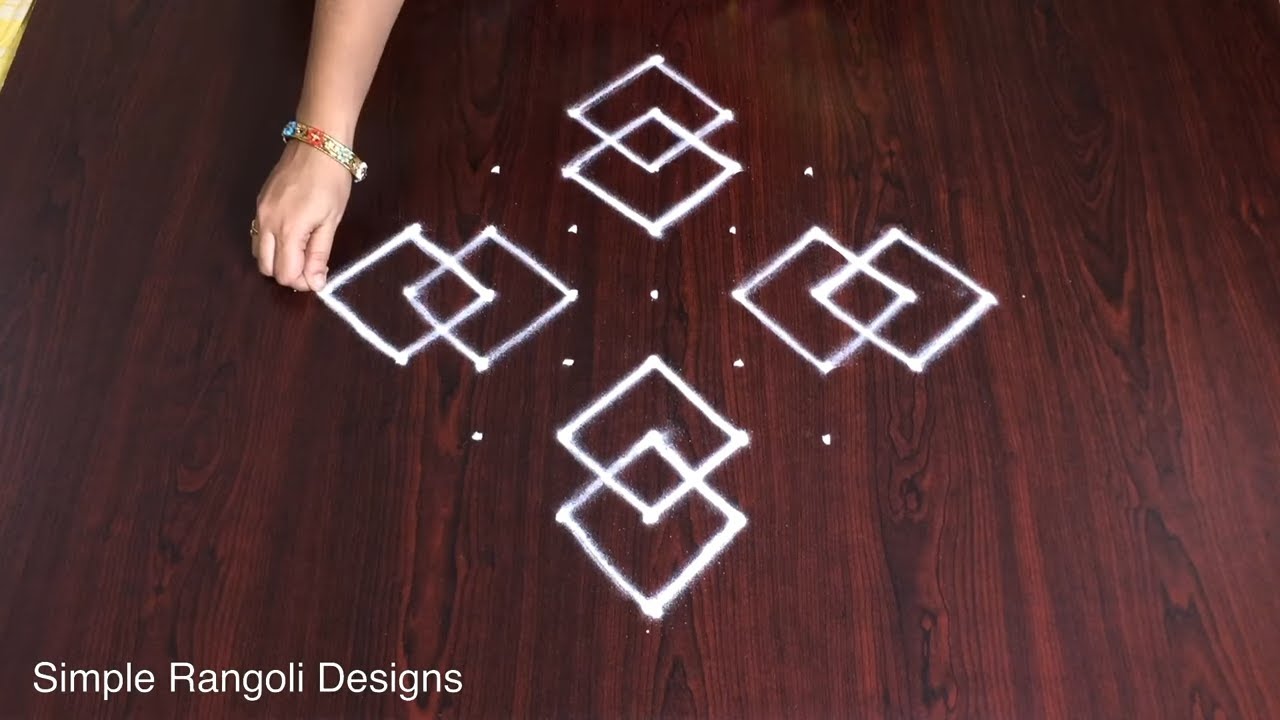
Creative and Unique Rangoli Design for Divali | Beautiful flower kolam with Easy 11dots muggulu. This tutorial will show you how to draw Beautiful Indian traditional art sankranthi muggulu patterns using materials such as dry rice flour, colored sand or flower petals Rangoli designs by Aishwarya. Simple rangoli designs with dots Kolam pattern is created on the floor in living rooms or courtyards. Draw the Lines step by step as it is shown in this video and will be awesome Rangoli Design. 😲 The rangoli design for diwali pattern here is one of the amazing latest simple kolam designs. Simple Rangoli Designs and easy rangoli designs by Aishwarya with dots for beginners and intermediate.
1. Diwali Rangoli 2. Pongal kolams 3. Easy rangoli designs
4. Rangoli design 5. Chukkala muggulu 6. Dot rangoli designs
7. Rangoli for diwali 8. Rangoli Simple 9. Easy rangoli designs
10. Kolam designs 11. Simple rangoli design 12. Muggulu designs
13. Muggulu designs with dots 14. Small rangoli designs 15. Muggulu chukkala muggulu
Tip: Work from the centre outward. It keeps the symmetry honest and prevents the design from drifting off-balance.
This creative and unique rangoli design, perfect for Diwali, utilizes an 11-dot pattern that offers a beautiful blend of simplicity and elegance. As you create this design, you’ll find it combines traditional elements with modern flair, making it suitable for both beginners and those more experienced in the art of rangoli. The use of colors such as vibrant flower petals or colored sand adds a festive touch, enhancing the overall appeal of your living space during the celebration. For more inspiration, check out Pongal Pot Rangoli Designs and Amazing Big Peacock Muggulu.
Drawing this kolam can be a meditative practice, providing a sense of joy and accomplishment as you watch your design come to life. As with many traditional designs, the creative process allows for personal expression, so feel free to experiment with colors and patterns to make it your own. Rangoli has a rich history in Indian culture, symbolizing welcome and prosperity, and you can learn more about its significance on Wikipedia. This particular design is not only a beautiful addition to your home but also a wonderful way to engage with cultural traditions.
Creative And Unique Rangoli — Step by Step Guide
The video above shows the full sequence; the steps below summarise each stage so you can glance back as you draw.
- Clear a flat surface and set down your dot grid using rice flour or chalk.
- Confirm the dot spacing is even — uneven dots are the biggest cause of wobbly curves.
- Begin tracing from the centre outward, following the curves shown in the video above.
- Fill the petals and sections with your chosen colours, working one area at a time.
- Finish the edges with a fine line for a sharp, photograph-ready result.
What You Will Learn
- Simple Rangoli Designs
- Rangoli
- Muggulu
- Rangoli Designs
- Rangoli Kolam
- Kolam
Frequently Asked Questions
How do I draw this rangoli?
Begin with the dot grid — this is the skeleton of the design. With rice flour or chalk, place each dot at equal intervals. Then trace the curves slowly, one section at a time.
Is this suitable for beginners?
It is one of the more forgiving designs in our collection. Beginners often pick it as a confidence-builder before moving on to larger grids.
What materials do I need?
White rice flour for the outline, coloured powders for the fill, and a clean dry floor. That is the essentials list — you can add a stencil if you prefer.
How long does it take?
You will see a 3 min 43 sec walkthrough above. Drawing it yourself is usually a 12–18 minute affair, slightly slower the first time.
Whenever you finish your version, share a photo with us. Seeing your work is the best part of running this channel.


Leave a Reply