Sankranthi Rangoli combines tradition with simplicity, making it one of the most rewarding designs to practice at home.

Dhanurmasam Muggulu Designs | 6*6 dots Perfect Kolam | Sankranthi Rangoli | Rangoli Aishwarya Thank you so much for watching Channel
My Rangoli Channel Contains : Rangoli Designs Sankranthi Muggulu
Diwali Rangoli Ratham Muggulu Kolam Designs
Muggulu Designs Chukkala Muggulu Easy Rangoli
Simple Rangoli Easy Rangoli Designs Dhanurmasam Muggulu
Melikala Muggulu Geethala Muggulu Sivarathri Muggulu
Tip: Use chalk to lightly mark your dot grid first — it wipes away cleanly once your rangoli is finished.
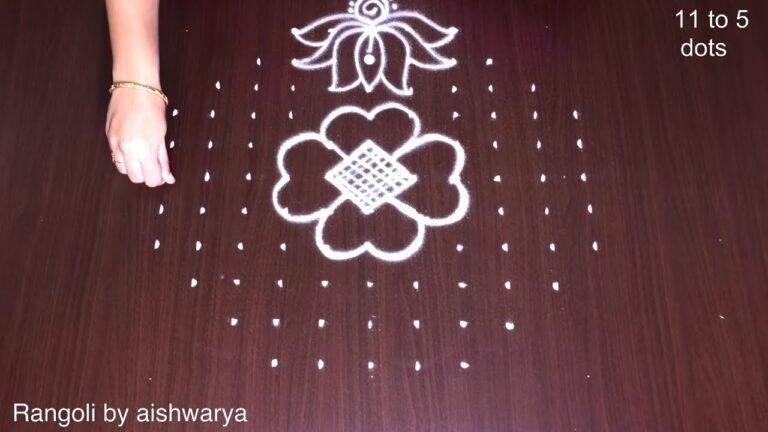
Sankranthi Rangoli is a beautiful expression of art that marks the harvest festival celebrated in many parts of India. This design typically features a 6×6 dot grid, which provides a wonderful canvas for intricate patterns and vibrant colors. The use of geometric shapes and floral motifs in Sankranthi Muggulu reflects the joy and prosperity associated with the festival. For those looking to explore similar designs, the Pongal Pot Kolam Special Rangoli Designs offers a delightful variety of options.
Creating a Sankranthi Rangoli can be a rewarding experience, especially for beginners. The process involves careful planning, as one needs to connect the dots in a harmonious manner while adding personal flair to the design. This is a great opportunity to learn about the traditions surrounding rangoli, which has a rich history in Indian culture. To enhance your skills, you might also enjoy trying the 9 to 1 Prathi Roju Vese Muggulu, which introduces different dot patterns and designs. For more information about rangoli’s significance, refer to this Wikipedia page.
Sankranthi Rangoli — Step by Step Guide
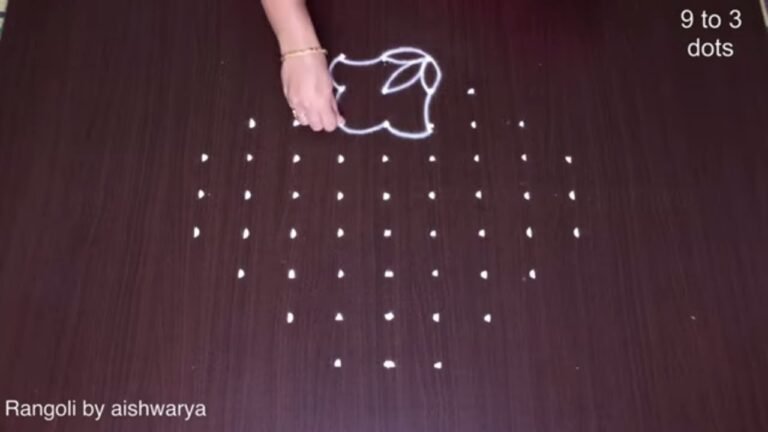
The video above shows the full sequence; the steps below summarise each stage so you can glance back as you draw.
- Mark the 6-to-6 dot grid.
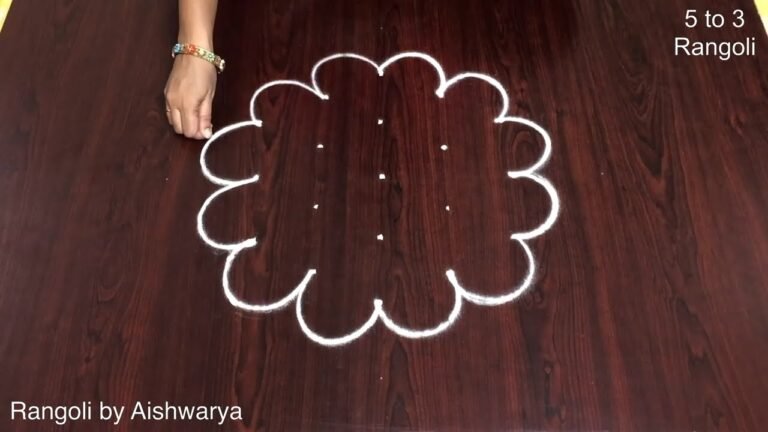
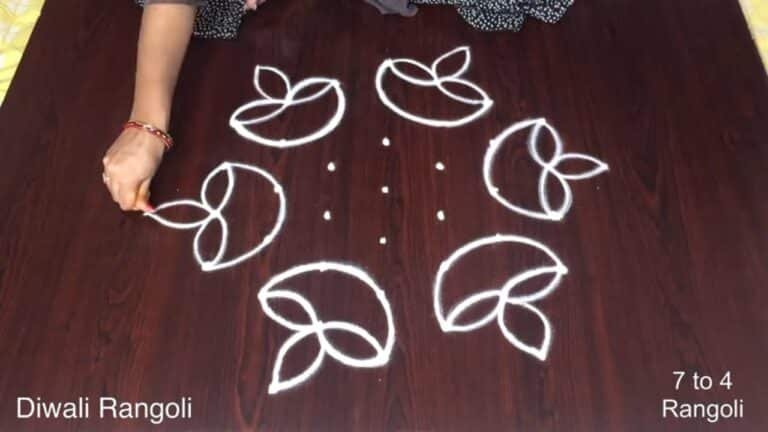
- In the centre draw a small spiral, then enclose it with four rounded petals to make a compact central flower.
- Around that flower add a ring of pointed petals so it reads as a full open bloom.
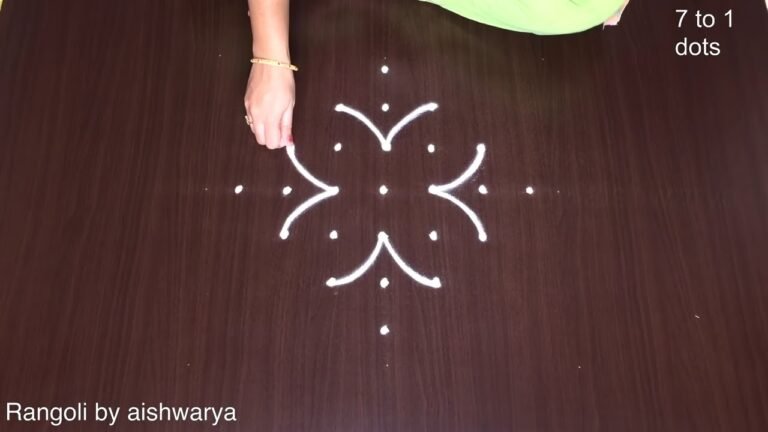
- From the four sides extend leaf-and-bud sprigs outward: a pair of pointed leaves with a small teardrop bud between them in each direction.
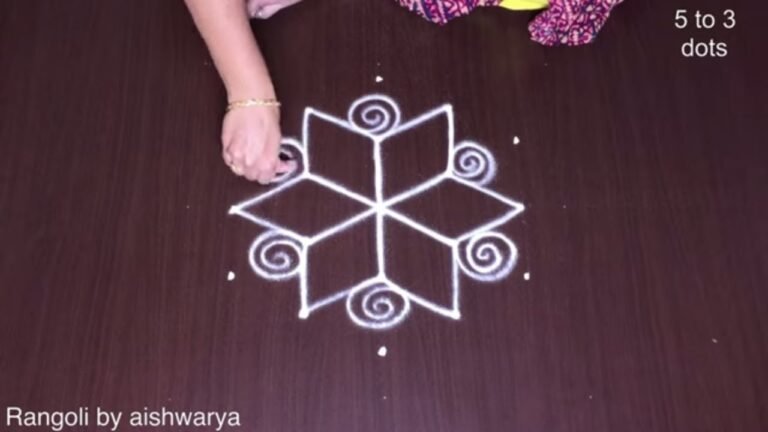
- At the four corners draw a small rosette with a spiral centre and a few petals, linking each to the central bloom with a gently curved stem.
- Add rows of small dots along the petals and curls to decorate (plain white kolam, no colour).
What You Will Learn
- Simple Rangoli Designs
- Rangoli
- Muggulu
- Rangoli Designs
- Rangoli Kolam
- Kolam
Frequently Asked Questions
How do I draw this rangoli?
Start by marking an even dot grid on a flat, clean surface. Once the grid is in place, connect the dots following the curves shown in the video. Even spacing between dots is the single biggest factor for a clean finish.
Is this suitable for beginners?
Yes — this design is shaped specifically with newcomers in mind. The dot grid is small enough to manage, and the curves are gentle. Most learners get it right by the second try.
What materials do I need?
White rice flour for the outline, coloured powders for the fill, and a clean dry floor. That is the essentials list — you can add a stencil if you prefer.
How long does it take?
The video clocks in at 3 min 32 sec. Allow about quarter of an hour to draw the design at a comfortable pace.
Whenever you finish your version, share a photo with us. Seeing your work is the best part of running this channel.
Leave a Reply