New Year Designs Tipkyanchi is the kind of design that looks intricate but is genuinely beginner-friendly once you follow the dot grid.

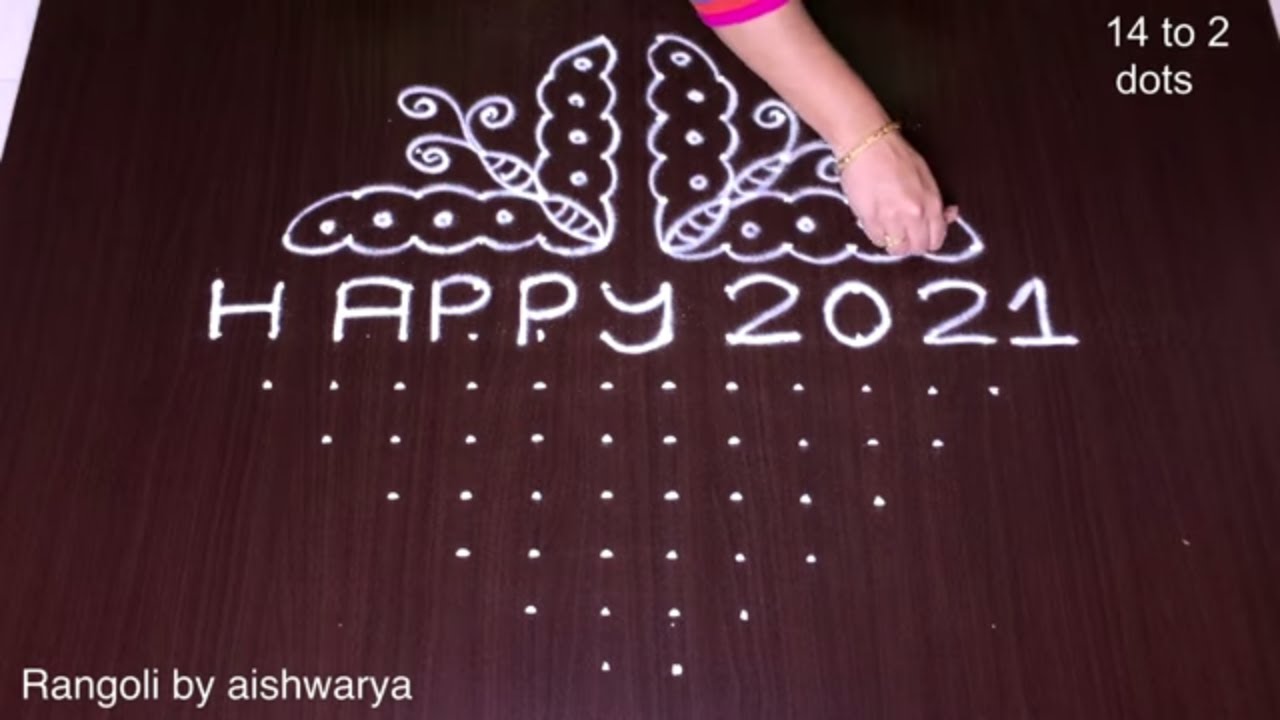
This tutorial will show you how to draw new year kolam designs 2024 using materials such as dry rice flour, colored sand or flower petals rangoli designs by Aishwarya. Simple rangoli designs with dots Kolam pattern is created on the floor in living rooms or courtyards. Draw the Lines step by step as it is shown in this video and will be awesome rangoli de. 😲 The artistic design for 6 tipkyanchi rangoli here is one of the amazing latest simple muggulu designs. Simple Rangoli Designs Aishwarya and muggulu video by Aishwarya with dots for beginners and intermediate.
1. Happy New Year 2024 Muggulu 2. New Year Kolam 2024 3. Happy New Year Rangoli
4. Thipkyanchi Rangoli Designs 5. New Year Design 6. Happy New Year 2024 Design
7. 2024 New Year Muggulu 8. Karthigai Deepam Kolam 9. New Year Muggulu
10. ठिपक्यांची रांगोळी ****************************************************** a) 1 Million Views Crossed Rangoli/Kolam/Muggula dizain:
b) Simple rangoli designs for Diwali at home: c) 9×1 dots Rangoli: ******************************************************
Tip: Work from the centre outward. It keeps the symmetry honest and prevents the design from drifting off-balance.
This design belongs to the broader tradition of rangoli and kolam art practised across South India. Explore more in our 6 to 6 dots Rangoli Designs collection.
The New Year Designs Tipkyanchi kolam is a delightful creation that typically features a pattern made with six dots arranged in a specific formation. This vibrant design is perfect for welcoming the New Year, symbolizing fresh beginnings and joy. Drawing this rangoli is a wonderful way to celebrate the occasion, utilizing colors that reflect the festive spirit. For those interested in exploring more designs, you might enjoy the Amazing Easy Butterflies Rangoli or the Traditional Flower Kolam With 14×2, both of which offer unique styles to enhance your home during celebrations.
This kolam style, known for its intricate yet simple patterns, can be a great starting point for beginners. Using materials like rice flour or colored sand, you can create a stunning visual that will impress family and friends. The practice of making rangoli, such as this one, is deeply rooted in Indian culture and is often associated with various festivals and auspicious occasions. For a broader understanding of this art form, you can read more about it on Wikipedia.
About this design: New Year Designs Tipkyanchi is a beginner-friendly pattern that comes together in just a few minutes. Once you have practised the new year designs tipkyanchi dot grid, you can scale it up for festival mornings or scale it down for a daily doorstep. Many learners on our channel make this new year designs tipkyanchi their go-to design once they get the rhythm of the curves.
New Year Designs Tipkyanchi — Step by Step Guide
Use the steps below as a reference card while the video plays. Most learners finish on the second attempt.
- Clear a flat surface and set down your dot grid using rice flour or chalk.
- Confirm the dot spacing is even — uneven dots are the biggest cause of wobbly curves.
- Begin tracing from the centre outward, following the curves shown in the video above.
- Fill the petals and sections with your chosen colours, working one area at a time.
- Finish the edges with a fine line for a sharp, photograph-ready result.
What You Will Learn
- Simple Rangoli Designs
- Rangoli
- Muggulu
- Rangoli Designs
- Rangoli Kolam
- Kolam
Frequently Asked Questions
How do I draw this rangoli?
Start by marking an even dot grid on a flat, clean surface. Once the grid is in place, connect the dots following the curves shown in the video. Even spacing between dots is the single biggest factor for a clean finish.
Is this suitable for beginners?
Absolutely. You can pause and rewind the video at every step. The pattern is straightforward once you have the grid down.
What materials do I need?
White rice flour for the outline, coloured powders for the fill, and a clean dry floor. That is the essentials list — you can add a stencil if you prefer.
How long does it take?
The video runs 3 min 12 sec. In practice, most learners take between 10 and 20 minutes — a little longer the first time, faster as the pattern becomes familiar.
Once this design feels familiar, switch the colours or rotate the grid by a step. Small tweaks keep daily kolam practice interesting.


Leave a Reply