Add a touch of charm to your doorway with Saturday Muggulu Designs With — clean lines, balanced symmetry, and easy to scale.
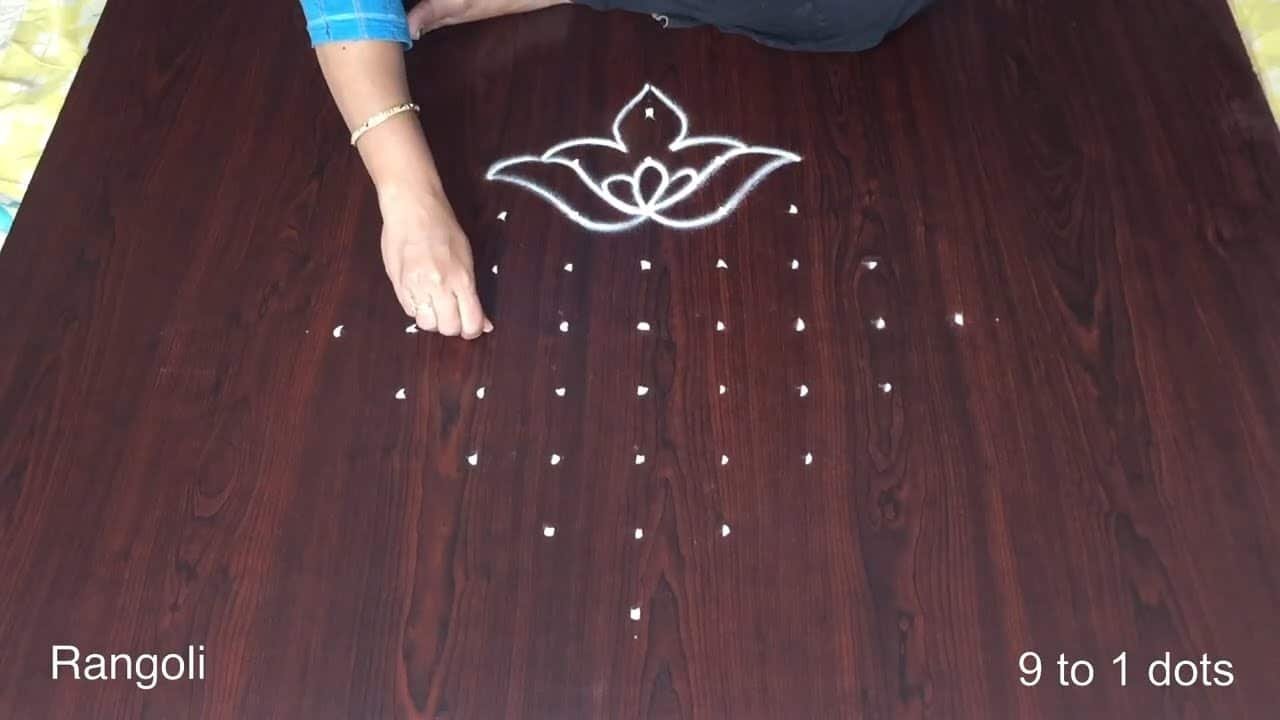
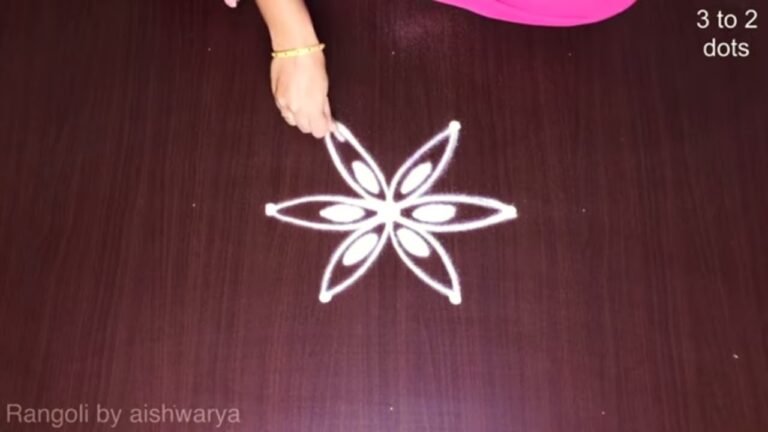
This tutorial will show you how to make saturday muggulu designs with dots patterns using materials such as dry rice flour, colored sand or flower petals Rangoli designs by Aishwarya. Simple rangoli Pulli Kolam pattern is created on the floor in living rooms or courtyards. Draw the Lines step by step as it is shown in this video and will be awesome Rangoli Design. 😲 The new rangoli easy and beautiful pattern here is one of the amazing latest kolam designs. Simple Rangoli Designs and 9 to 1 kolam for daily use by Aishwarya with dots for beginners and intermediate.
4. Muggulu 5. Rangoli Kolam 6. Kolam and Rangoli
7. Muggulu Sankranthi Muggulu 8. Rangoli Designs 9. Designer Rangoli Design
10. Rangoli De 11. Sankranthi Muggulu 12. Rangoli Design Rangoli
13. Simple Rangoli Designs 14. Thipkyanchi Rangoli Designs 15. Easy Rangoli Design
16. Kolam Designs 17. ठिपक्यांची रांगोळी 18. Diwali Rangoli
Tip: Use chalk to lightly mark your dot grid first — it wipes away cleanly once your rangoli is finished.
Saturday muggulu designs with 9 to 1 dots are a delightful addition to your weekend celebrations. These intricate patterns, often crafted with rice flour or colored sand, bring a touch of artistry to your home. The simplicity of the design makes it perfect for beginners, allowing you to create something beautiful in no time. If you’re interested in more designs, you might enjoy exploring the Daily Simple Small Rangoli 6x2x2dots Kolam for your practice.
These muggulu designs are not just for decoration; they hold cultural significance and are often created to invite prosperity and happiness into the home. During festivals, such as Sankranti, these designs can be seen adorning entrances across many households. If you want to expand your rangoli collection, consider trying the Pongal Pot Kolam Special Rangoli Designs for a festive touch. To learn more about the rich history of rangoli, you can check out this Wikipedia article.
Saturday Muggulu Designs — Step by Step Guide
Pace yourself through the steps — kolam rewards patience more than speed.
- Clear a flat surface and set down your dot grid using rice flour or chalk.
- Confirm the dot spacing is even — uneven dots are the biggest cause of wobbly curves.
- Begin tracing from the centre outward, following the curves shown in the video above.
- Fill the petals and sections with your chosen colours, working one area at a time.
- Finish the edges with a fine line for a sharp, photograph-ready result.
What You Will Learn
- Simple Rangoli Designs
- Rangoli
- Muggulu
- Rangoli Designs
- Rangoli Kolam
- Kolam
Frequently Asked Questions
How do I draw this rangoli?
The grid comes first. Use a soft chalk to dot the surface, count twice to confirm the spacing, then start connecting them following the video. Work from the centre outward.
Is this suitable for beginners?
Yes, and it is one we recommend to first-timers. The small grid keeps the design manageable while still teaching the core technique.
What materials do I need?
Rice flour, coloured rangoli powders, and a clean stretch of floor or paper. Some draw with chalk first to set the grid before powdering over it.
How long does it take?
The video clocks in at 3 min 25 sec. Allow about quarter of an hour to draw the design at a comfortable pace.
There is real pleasure in finishing a kolam at your own doorstep — even more so when the pattern is one you have practised before. Make this one of those.


Leave a Reply