Whether you are decorating for a festival or your daily morning ritual, New Geethala Muggulu Designs is an excellent design to keep handy.

New Geethala muggulu designs 8-2dots | Easy & simple Padi kolam Indian Art rangoli | Rangoli Thank you so much for watching Channel
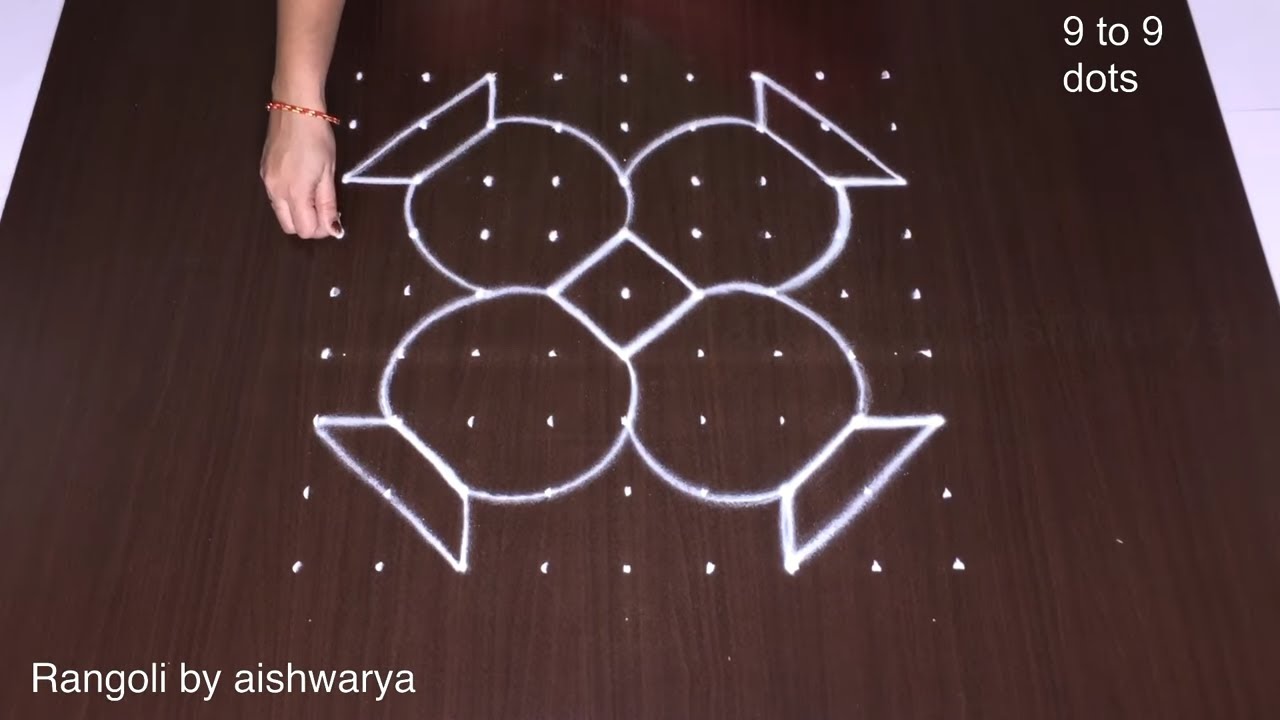
For another beginner-friendly variation, try Rangoli How To Draw 7 To 7.
My Ram Rangoli Channel Contains : Rangoli Designs Sankranthi Muggulu
Diwali Rangoli Ratham Muggulu Kolam Designs
Muggulu Designs Chukkala Muggulu Easy Rangoli
Simple Rangoli Easy Rangoli Designs Dhanurmasam Muggulu
Melikala Muggulu Geethala Muggulu Sivarathri Muggulu
Tip: A slightly damp brush along the edges gives a sharper finish, especially for festival photographs.
The new Geethala Muggulu designs featuring 8-2 dots create an elegant and intricate pattern that is both inviting and festive. This style, often used during celebrations, reflects the beauty of traditional Indian art forms. The simplicity of the 8-2 dot arrangement allows beginners to practice their skills while still achieving a stunning visual impact. For those looking to explore more designs, check out our 8×2 Beautiful Small Festival Muggulu for inspiration.
These designs are particularly popular during festivals, as they symbolize prosperity and joy. The Geethala Muggulu style, with its graceful curves and floral motifs, is perfect for welcoming guests. It’s a delightful way to enhance the festive atmosphere in your home. If you’re interested in expanding your rangoli repertoire, you might also enjoy the 5 to 5 Peacock Rangoli for Diwali which showcases the richness of this artistic tradition. For more about the history and significance of rangoli, visit this page.
New Geethala Muggulu Designs — Step by Step Guide
Follow the steps below to recreate this design at home. Pause the video whenever you need — there is no hurry.
- Clear a flat surface and set down your dot grid using rice flour or chalk.
- Confirm the dot spacing is even — uneven dots are the biggest cause of wobbly curves.
- Begin tracing from the centre outward, following the curves shown in the video above.
- Fill the petals and sections with your chosen colours, working one area at a time.
- Finish the edges with a fine line for a sharp, photograph-ready result.
What You Will Learn
- Simple Rangoli Designs
- Rangoli
- Muggulu
- Rangoli Designs
- Rangoli Kolam
- Kolam
Frequently Asked Questions
How do I draw this rangoli?
The grid comes first. Use a soft chalk to dot the surface, count twice to confirm the spacing, then start connecting them following the video. Work from the centre outward.
Is this suitable for beginners?
It is one of the more forgiving designs in our collection. Beginners often pick it as a confidence-builder before moving on to larger grids.
What materials do I need?
Powder (white for outlines, colours for filling), a flat surface, and a dot stencil if you want absolute precision. Beyond that, just your hand and a steady pace.
How long does it take?
You will see a 2 min 22 sec walkthrough above. Drawing it yourself is usually a 12–18 minute affair, slightly slower the first time.
After you draw this, take a picture before the day blows it away. Kolam is impermanent by design, but a photo lets you revisit the version you drew.


Leave a Reply