Drawing Very Cute Apartment Kolam is a relaxing, almost meditative practice. The dots guide your hand and the design unfolds naturally.

Very Cute Apartment Kolam 8*2*2 | Awesome Muggulu Flower Design Rangoli | Rangoli Aishwarya Thank you so much for watching Channel
My Rangoli Channel Contains : Rangoli Designs Sankranthi Muggulu
Diwali Rangoli Ratham Muggulu Kolam Designs
Muggulu Designs Chukkala Muggulu Easy Rangoli
Simple Rangoli Easy Rangoli Designs Dhanurmasam Muggulu
Melikala Muggulu Geethala Muggulu Sivarathri Muggulu
Tip: Use chalk to lightly mark your dot grid first — it wipes away cleanly once your rangoli is finished.
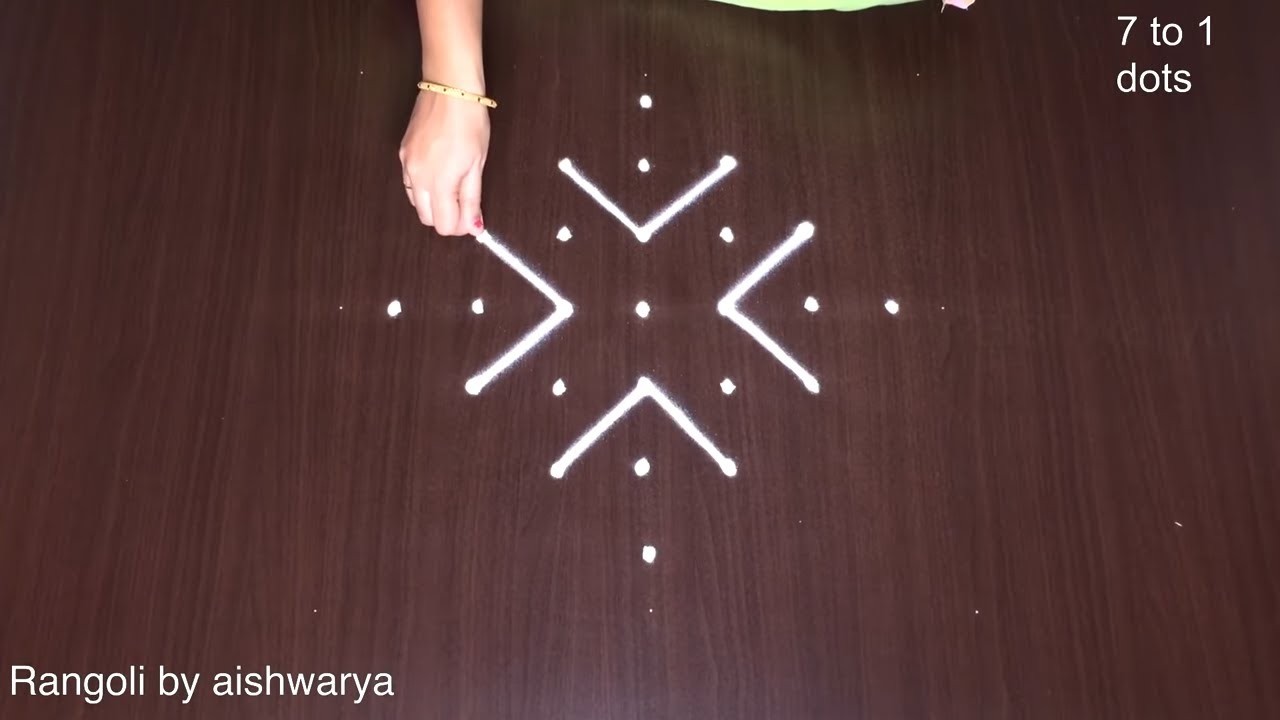
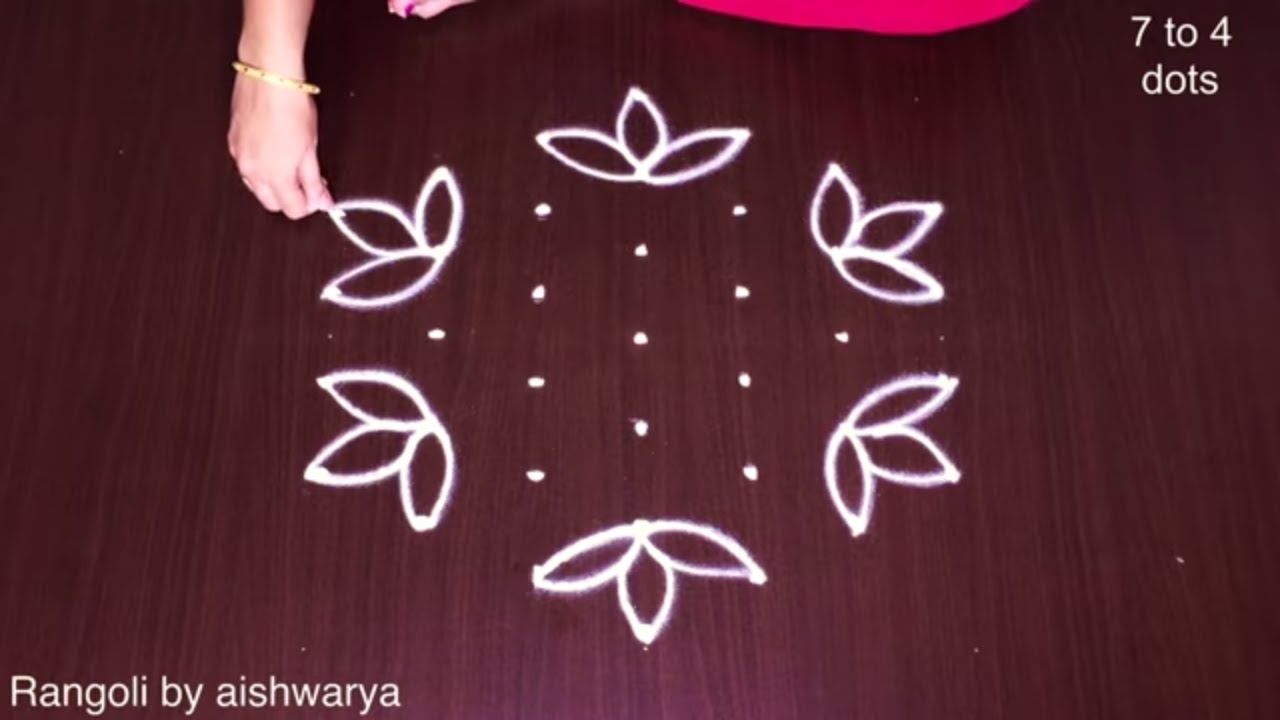
The very cute apartment kolam design features an intricate pattern of 8 to 2 dots, making it a charming addition to any home. This design is perfect for beginners, as its simplicity allows for easy execution while still being visually appealing. The use of flower motifs and delicate lines can enhance the look, making it ideal for festivals like Diwali or Sankranthi. For more inspiration, check out this Attractive Simple Kolam Design that showcases the beauty of minimalism in kolam art.
This kolam style not only adds vibrance to your living space but also reflects the cultural significance of rangoli in daily life. Traditionally, rangoli designs are created to welcome guests and bring good luck, and the very cute apartment kolam is no exception. As you practice this design, consider exploring other creative ideas, such as the Trendy Creative Kolam Designs for your festive celebrations. To learn more about the history and significance of rangoli, visit this page.
Very Cute Apartment Kolam — Step by Step Guide
The video above shows the full sequence; the steps below summarise each stage so you can glance back as you draw.
- Clear a flat surface and set down your dot grid using rice flour or chalk.
- Confirm the dot spacing is even — uneven dots are the biggest cause of wobbly curves.
- Begin tracing from the centre outward, following the curves shown in the video above.
- Fill the petals and sections with your chosen colours, working one area at a time.
- Finish the edges with a fine line for a sharp, photograph-ready result.
What You Will Learn
- Simple Rangoli Designs
- Rangoli
- Muggulu
- Rangoli Designs
- Rangoli Kolam
- Kolam
Frequently Asked Questions
How do I draw this rangoli?
Start by marking an even dot grid on a flat, clean surface. Once the grid is in place, connect the dots following the curves shown in the video. Even spacing between dots is the single biggest factor for a clean finish.
Is this suitable for beginners?
Absolutely. You can pause and rewind the video at every step. The pattern is straightforward once you have the grid down.
What materials do I need?
Rice flour, coloured rangoli powders, and a clean stretch of floor or paper. Some draw with chalk first to set the grid before powdering over it.
How long does it take?
About 9 min 43 sec on screen, perhaps 15 minutes for a relaxed first attempt. By the second try most people are noticeably quicker.
If you enjoyed this design, browse our other dot-pattern tutorials — they share the same approach and build naturally on the techniques here.


Leave a Reply