This rabbit rangoli with 8×8 tutorial walks you through every step from the dot grid to the final pattern.
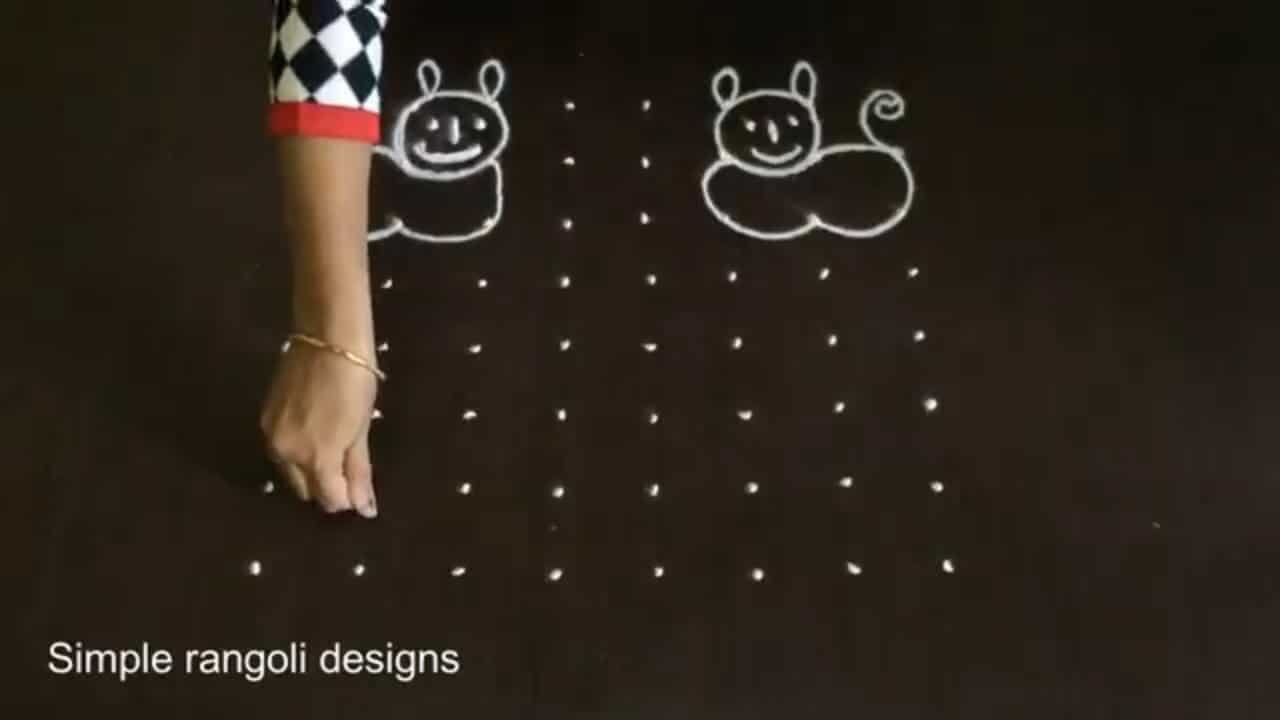
There is something timeless about Rabbit Rangoli With 8 8 — the symmetry, the rhythm of the dots, and the soft curves it produces.
Looking for a cute rabbit kolam using an 8×8 dot grid? This simple chukkala muggulu design is balanced, playful, and easy to recreate. In this video, we create an 8×8 dots rabbit kolam, structured on a perfectly aligned square grid that ensures clean symmetry and smooth curves. The 8-8 format provides enough space to shape clear rabbit outlines while keeping the layout neat and organized.
🐰 What You’ll Learn Step by Step: Proper placement of the 8×8 square dot grid Forming symmetrical rabbit shapes smoothly
Maintaining equal balance on all four sides Clean finishing touches for a polished look Animal-themed kolam designs add creativity and uniqueness to your entrance. The 8×8 grid offers a strong structural base, making it easier to maintain proportion and alignment throughout the design.
Even though the design looks detailed, the structured dots naturally guide each curve and outline. The step-by-step approach ensures a satisfying and symmetrical final result. Watch till the end to see the complete transformation — the final reveal highlights how the 8×8 dot structure turns into a charming and well-balanced rabbit kolam. If you enjoy themed square grids, explore other formats like 6×6 and 9-9 to expand your creative rangoli collection.
Save this design and recreate it to enhance your entrance beautifully.
Tip: Keep your powder bowl close to your dominant hand. Small movements give cleaner curves.
The rabbit rangoli with 8×8 dots is a delightful design perfect for adding a whimsical touch to your home. Structured on an 8×8 dot grid, this kolam allows for clear outlines and balanced shapes, making it suitable for beginners. The symmetry of the design not only enhances its visual appeal but also reflects the harmony often sought in traditional rangoli art. For more inspirations, you can check out unique doorstep kolams that also utilize this dot format.
Creating this charming rabbit kolam involves following a simple step-by-step process that guides you in forming smooth curves and maintaining an even balance. The playful nature of animal-themed designs makes them a favored choice during festivals and special occasions. As you work through the dots, you’ll appreciate how the structured layout helps in achieving a polished and visually satisfying outcome. If you’re interested in exploring other themes, consider visiting Latest Happy New Year Muggulu for more festive ideas. To learn about the history and significance of rangoli, you can visit this informative page.
About this design: Rabbit Rangoli With 8X8 is a beginner-friendly pattern that comes together in just a few minutes. Once you have practised the rabbit rangoli with 8×8 dot grid, you can scale it up for festival mornings or scale it down for a daily doorstep. Many learners on our channel make this rabbit rangoli with 8×8 their go-to design once they get the rhythm of the curves.
Rabbit Rangoli With 8X8 — Step by Step Guide
Below is the step-by-step breakdown. The video covers the same sequence in real time.
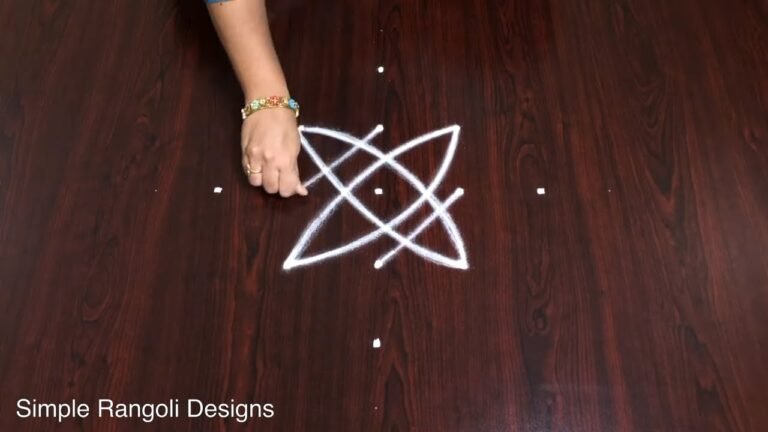
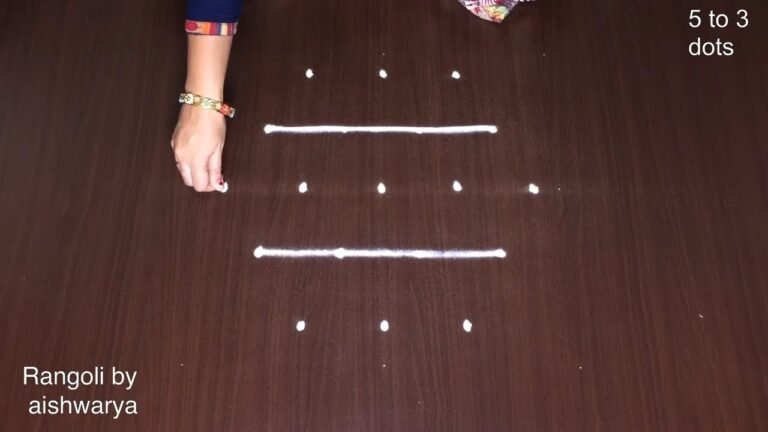
- Clear a flat surface and set down your dot grid using rice flour or chalk.
- Confirm the dot spacing is even — uneven dots are the biggest cause of wobbly curves.
- Begin tracing from the centre outward, following the curves shown in the video above.
- Fill the petals and sections with your chosen colours, working one area at a time.
- Finish the edges with a fine line for a sharp, photograph-ready result.
What You Will Learn
- 8X8 Dots Rabbit Kolam
- Simple Rabbit Muggulu 8X8
- Chukkala Muggulu Rabbit Design
- 8-8 Dots Kolam Pattern
- Animal Themed Rangoli 8X8
- 8X8 Pulli Kolam
Frequently Asked Questions
How do I draw this rangoli?
Set down the dot grid in pencil or chalk, then follow the loops one petal at a time. If a curve goes off, wipe it and retry — kolam is forgiving.
Is this suitable for beginners?
Yes — this design is shaped specifically with newcomers in mind. The dot grid is small enough to manage, and the curves are gentle. Most learners get it right by the second try.
What materials do I need?
White rice flour for the outline, coloured powders for the fill, and a clean dry floor. That is the essentials list — you can add a stencil if you prefer.
How long does it take?
The video runs 2 min 43 sec. In practice, most learners take between 10 and 20 minutes — a little longer the first time, faster as the pattern becomes familiar.
Pin this for later or share with a friend learning kolam — and let us know in the comments which design you would like next.

Leave a Reply