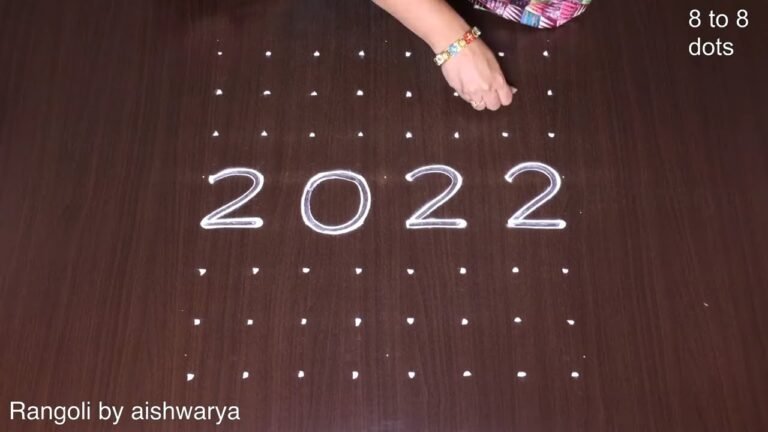
8 Into 8 Dots is the kind of design that looks intricate but is genuinely beginner-friendly once you follow the dot grid.
For another beginner-friendly variation, try Daily Simple Small Rangoli 6x2x2dots Kolam.
Learn more about the tradition of Rangoli on Wikipedia.
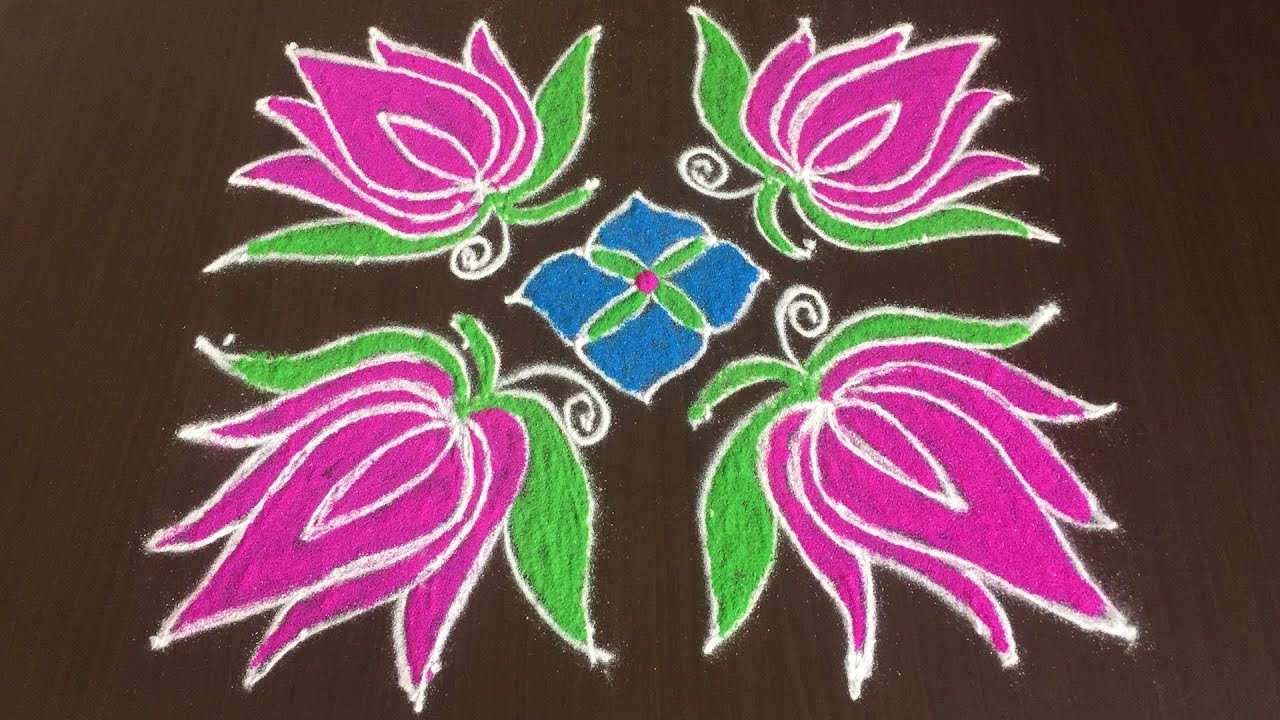
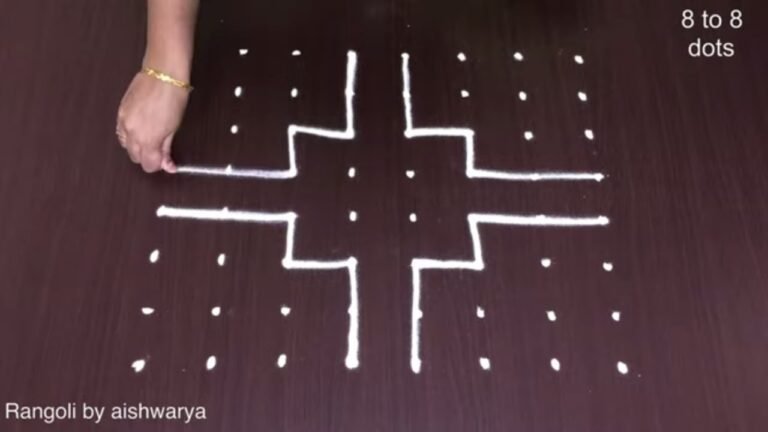
Looking for a clean and elegant lotus kolam using an 8×8 dot grid for Sankranti? This very simple floral rangoli design is perfect for a graceful festive entrance. In this video, we create an 8×8 dots Sankranti lotus kolam, structured on a perfectly aligned square grid. The 8 into 8 format provides strong symmetry and enough space to shape smooth lotus petals while keeping the design easy to follow.
🌸 What You’ll Learn Step by Step: Proper placement of the 8×8 dot grid Forming symmetrical lotus petals with smooth curves
Maintaining balance across all four sides Simple finishing touches for a neat festive look The lotus symbolizes purity and positivity, making it a beautiful choice for Sankranti decoration. The square grid layout ensures the design appears centered and well-proportioned, ideal for apartment entrances and home thresholds.
Even beginners can confidently recreate this kolam because the dot structure naturally guides spacing and alignment. The step-by-step approach keeps the process relaxing and satisfying. Watch till the end to see the complete lotus transformation — the final symmetrical reveal highlights how the 8×8 dot structure turns into an elegant Sankranti kolam. If you enjoy square floral grids, explore other harvest formats like 6×6 and 9-5 to expand your festive rangoli collection.
Save this design and recreate it to brighten your Sankranti celebration beautifully.
Tip: A slightly damp brush along the edges gives a sharper finish, especially for festival photographs.
About this design: 8 Into 8 Dots is a beginner-friendly pattern that comes together in just a few minutes. Once you have practised the 8 into 8 dots dot grid, you can scale it up for festival mornings or scale it down for a daily doorstep. Many learners on our channel make this 8 into 8 dots their go-to design once they get the rhythm of the curves.
8 Into 8 Dots — Step by Step Guide
Use the steps below as a reference card while the video plays. Most learners finish on the second attempt.
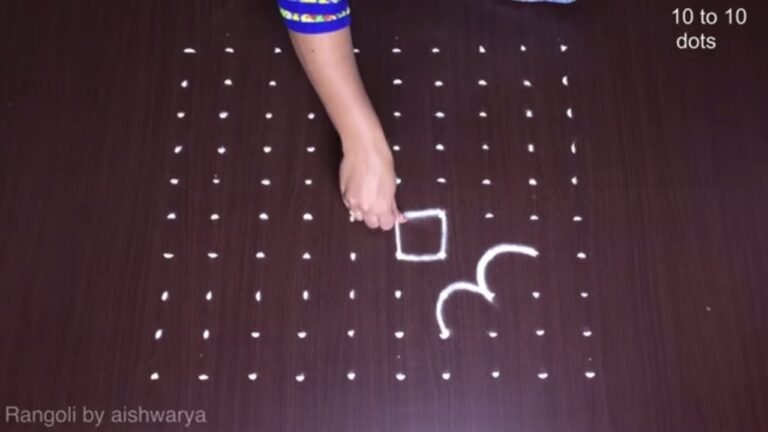
- Clear a flat surface and set down your dot grid using rice flour or chalk.
- Confirm the dot spacing is even — uneven dots are the biggest cause of wobbly curves.
- Begin tracing from the centre outward, following the curves shown in the video above.
- Fill the petals and sections with your chosen colours, working one area at a time.
- Finish the edges with a fine line for a sharp, photograph-ready result.
What You Will Learn
- 8X8 Dots Sankranti Lotus Kolam
- Simple Floral Rangoli 8X8
- Sankranti Lotus Muggulu 8-8
- 8-8 Dots Kolam Design
- Lotus Dot Kolam 8X8
- 8X8 Pulli Kolam
Frequently Asked Questions
How do I draw this rangoli?
The grid comes first. Use a soft chalk to dot the surface, count twice to confirm the spacing, then start connecting them following the video. Work from the centre outward.
Is this suitable for beginners?
Absolutely. You can pause and rewind the video at every step. The pattern is straightforward once you have the grid down.
What materials do I need?
You will need rice flour or rangoli powder (white, plus your choice of colours), a flat surface like a clean floor or courtyard, and optionally a dot stencil if you are new to grid-drawing.
How long does it take?
The full demonstration takes 3 min. Most people find their own drawing time settles to about 15 minutes once the grid is familiar.
Half the skill of kolam is learning to slow down. Put on some music, give yourself the time, and let the curves come naturally.


Leave a Reply