Looking to learn Birds Kolam Designs With? This step-by-step guide walks you through every line, dot, and curve.
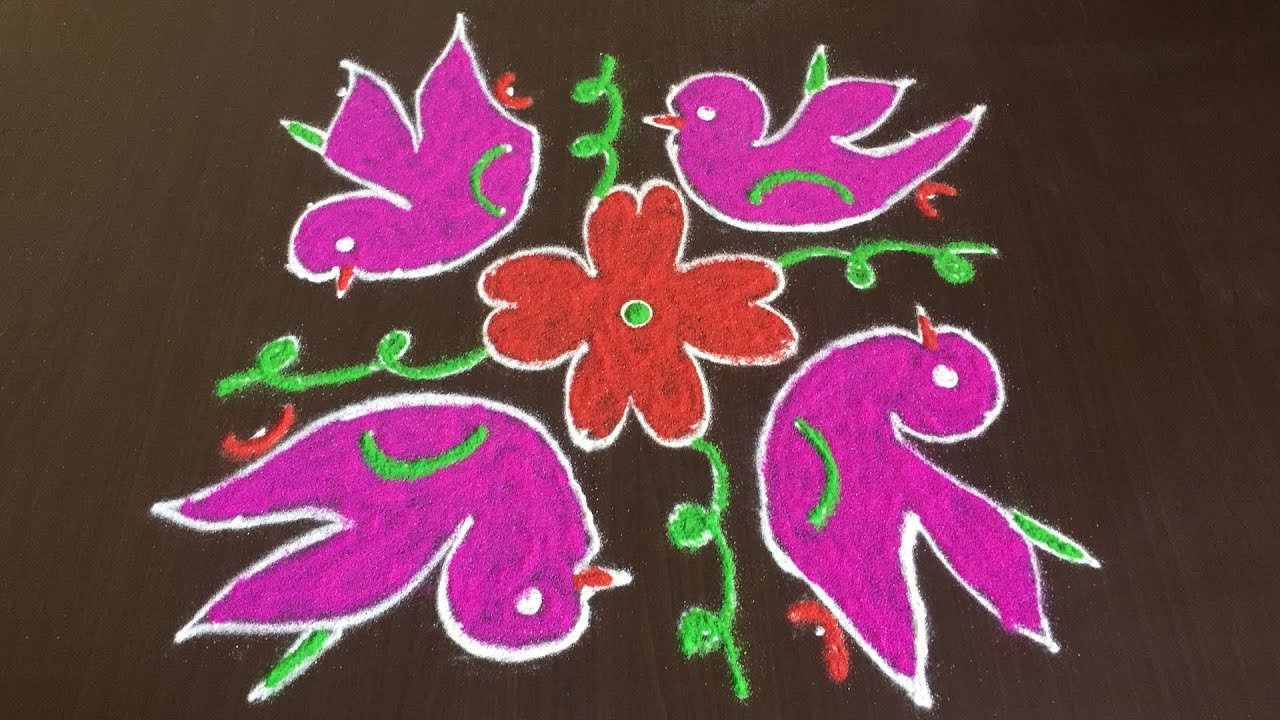
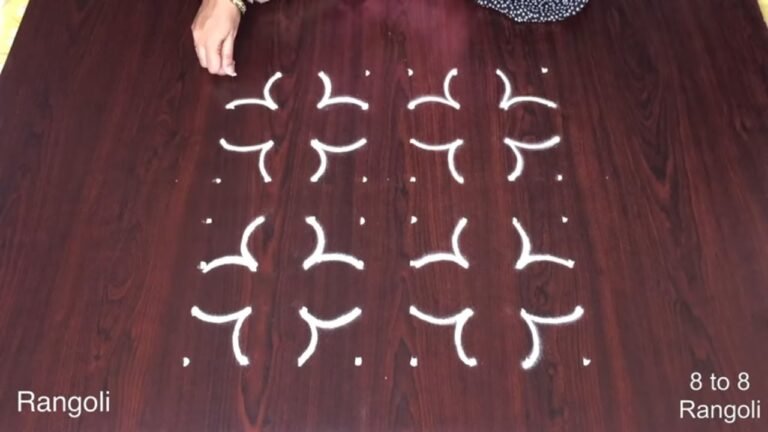
Looking for a unique 8×8 dots birds kolam for the Margazhi season? This Dhanurmasam special rangoli design brings devotion and creativity together. In this video, we create an 8×8 dots birds kolam, built on a perfectly aligned square grid that ensures symmetry and balance. The 8 by 8 format provides enough space to shape elegant bird motifs while maintaining clean structure.
🕊️ What You’ll Learn Step by Step: Proper placement of the 8×8 dot grid Forming symmetrical bird shapes smoothly
Maintaining balance across both sides Clean finishing touches for a devotional look Margazhi and Dhanurmasam mornings are known for detailed and meaningful kolam designs drawn at the entrance of homes. Bird-themed kolam symbolize harmony and beauty, making them perfect for seasonal decoration.
The 8×8 square grid is beginner-friendly yet spacious enough for creative detailing. The structured dots guide each curve naturally, helping you maintain proportion and alignment throughout the design. Watch till the end to see the complete symmetrical reveal — the final alignment highlights how the 8×8 dot structure transforms into a beautiful birds kolam. If you enjoy themed dot designs, explore other Margazhi grids like 7×7 and 9-5 to expand your devotional kolam collection.
Save this design and recreate it for a peaceful and elegant seasonal entrance.
Tip: Use chalk to lightly mark your dot grid first — it wipes away cleanly once your rangoli is finished.
The 8×8 dots birds kolam is a delightful design that captures the essence of the Margazhi season, celebrated for its spiritual significance and beauty. Using a structured square grid, this kolam allows beginners to create exquisite bird motifs that symbolize harmony and peace. The careful placement of dots guides you in forming balanced shapes, making it easier to achieve a clean and polished look that enhances the entrance of your home during Dhanurmasam. For more inspiration, you might enjoy exploring Simple Easy Rangoli for Diwali.
This birds kolam design not only showcases creativity but also reflects the cultural heritage of rangoli, which is often created during festive occasions. The symmetrical nature of the 8×8 grid ensures that each side mirrors the other, resulting in a visually appealing outcome. As you practice this design, you can also explore other themed kolams, such as Chukkala Muggulu for Sankranthi, to enrich your repertoire. For those interested in learning more about the tradition of rangoli, check out this link.
About this design: Birds Kolam Designs is a beginner-friendly pattern that comes together in just a few minutes. Once you have practised the birds kolam designs dot grid, you can scale it up for festival mornings or scale it down for a daily doorstep. Many learners on our channel make this birds kolam designs their go-to design once they get the rhythm of the curves.
Birds Kolam Designs — Step by Step Guide
Here is how to draw it, line by line. Take your time on the corners and the symmetry will take care of itself.
- Clear a flat surface and set down your dot grid using rice flour or chalk.
- Confirm the dot spacing is even — uneven dots are the biggest cause of wobbly curves.
- Begin tracing from the centre outward, following the curves shown in the video above.
- Fill the petals and sections with your chosen colours, working one area at a time.
- Finish the edges with a fine line for a sharp, photograph-ready result.
What You Will Learn
- 8X8 Dots Birds Kolam
- Margazhi Special Rangoli 8X8
- Dhanurmasam Muggulu 8-8
- Bird Kolam With Dots 8X8
- 8-8 Dots Kolam Design
- 8X8 Pulli Kolam
Frequently Asked Questions
How do I draw this rangoli?
Start by marking an even dot grid on a flat, clean surface. Once the grid is in place, connect the dots following the curves shown in the video. Even spacing between dots is the single biggest factor for a clean finish.
Is this suitable for beginners?
Beginner-friendly is exactly the right description. The video walks through every line clearly and you can match the pace.
What materials do I need?
White rice flour for the outline, coloured powders for the fill, and a clean dry floor. That is the essentials list — you can add a stencil if you prefer.
How long does it take?
2 min 11 sec of video, perhaps 20 minutes of practice. The curves take a couple of attempts to feel natural, then it speeds up considerably.
Save this design for your next festival morning. The pattern is small enough to draw quickly but striking enough to make a real impression at the doorstep.

Leave a Reply