Happy Ugadi Rangoli Designs is a beautiful kolam pattern you can draw right at your doorstep — perfect for beginners and seasoned rangoli artists alike.

Happy Ugadi Rangoli Designs | Freehand Simple Muggulu Kolams With Leafs Thank you so much for watching Channel
My Rangoli Channel Contains : Rangoli Designs Sankranthi Muggulu
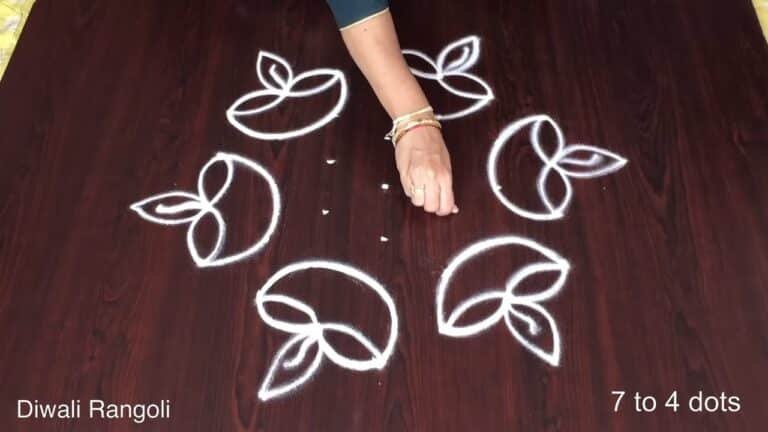
Diwali Rangoli Ratham Muggulu Kolam Designs
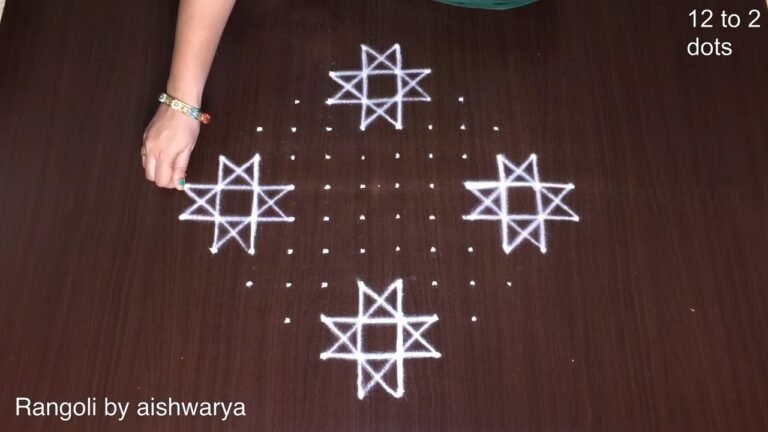
Muggulu Designs Chukkala Muggulu Easy Rangoli
Simple Rangoli Easy Rangoli Designs Dhanurmasam Muggulu
Melikala Muggulu Geethala Muggulu Sivarathri Muggulu
Tip: Practice on paper first if you are new to dot kolam. The grid is the same; only the surface changes.
The Happy Ugadi Rangoli designs beautifully capture the essence of the Ugadi festival, which marks the new year in several South Indian states. These designs often incorporate vibrant colors and intricate patterns, symbolizing the arrival of spring and new beginnings. Freehand styles are popular, allowing for creativity and personal expression. You can explore more about creative patterns in Trendy Creative Kolam Designs to enhance your rangoli-making skills.
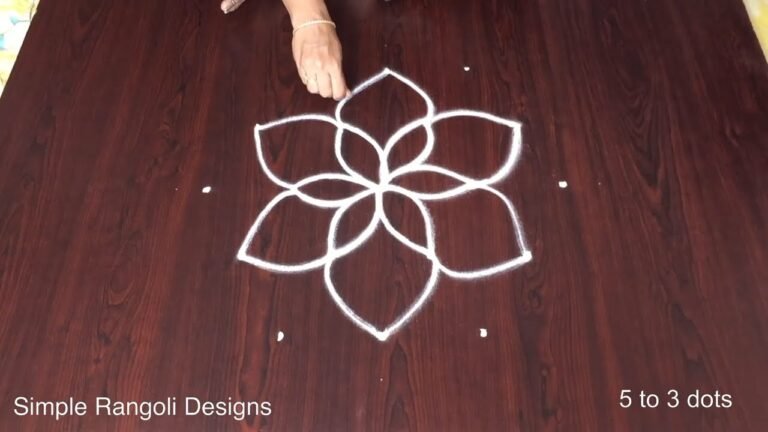
Common elements in Ugadi muggulu include leaves and floral motifs, reflecting nature’s beauty and abundance. The designs often vary in complexity, making them suitable for both beginners and more experienced practitioners. For those who enjoy experimenting with different styles, the Attractive Simple Kolam Design can be a great inspiration. To learn more about the cultural significance of rangoli, visit this link.
Happy Ugadi Rangoli Designs — Step by Step Guide
These steps are written for absolute beginners. Watch once, draw once, then watch again — that is how the pattern locks in.
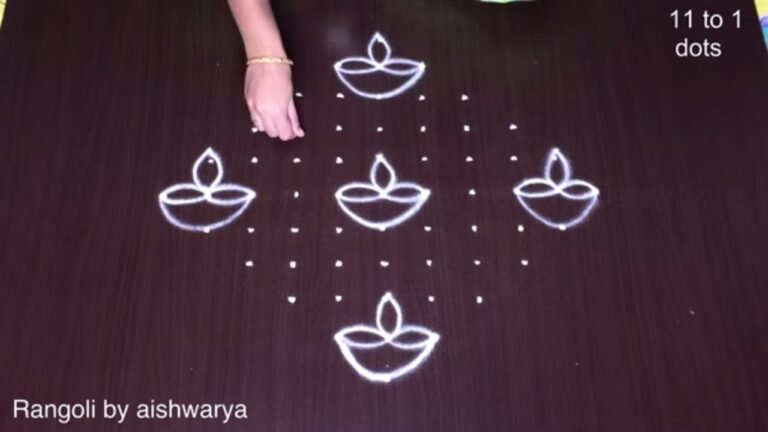
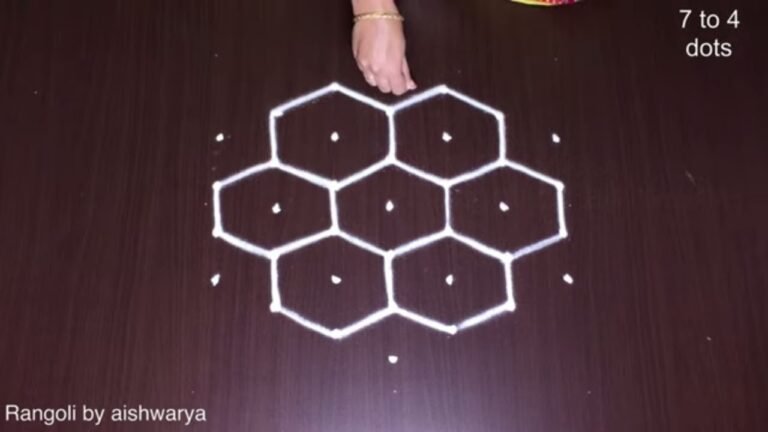
- Clear a flat surface and set down your dot grid using rice flour or chalk.
- Confirm the dot spacing is even — uneven dots are the biggest cause of wobbly curves.
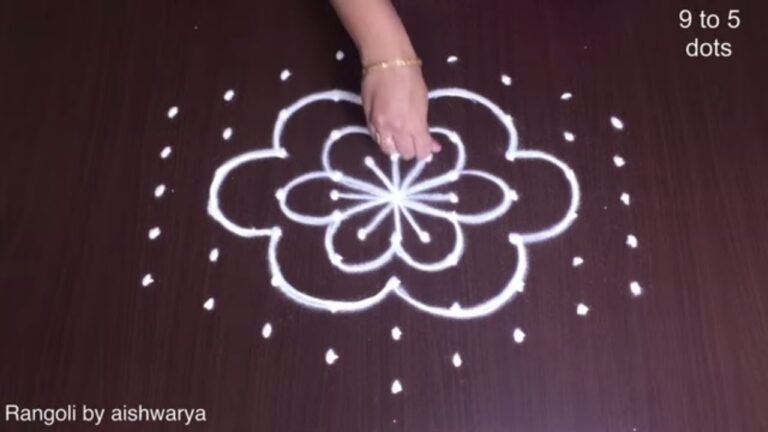
- Begin tracing from the centre outward, following the curves shown in the video above.
- Fill the petals and sections with your chosen colours, working one area at a time.
- Finish the edges with a fine line for a sharp, photograph-ready result.
What You Will Learn
- Ugadi Rangoli With Dots
- Ugadi Rangoli Side Designs
- Ugadi Rangoli Simple
- Ugadi Rangoli Easy
- Rangoli Ugadi Special
- Ugadi Rangoli Designs With Dots
Frequently Asked Questions
How do I draw this rangoli?
Set down the dot grid in pencil or chalk, then follow the loops one petal at a time. If a curve goes off, wipe it and retry — kolam is forgiving.
Is this suitable for beginners?
Yes — this design is shaped specifically with newcomers in mind. The dot grid is small enough to manage, and the curves are gentle. Most learners get it right by the second try.
What materials do I need?
Rice flour, coloured rangoli powders, and a clean stretch of floor or paper. Some draw with chalk first to set the grid before powdering over it.
How long does it take?
A 6 min 57 sec video shows the complete sequence. On paper or floor, expect to spend around a quarter of an hour from grid to finished pattern.
We rotate festival designs through the year — bookmark the homepage and you will find a new pattern every morning.
Leave a Reply