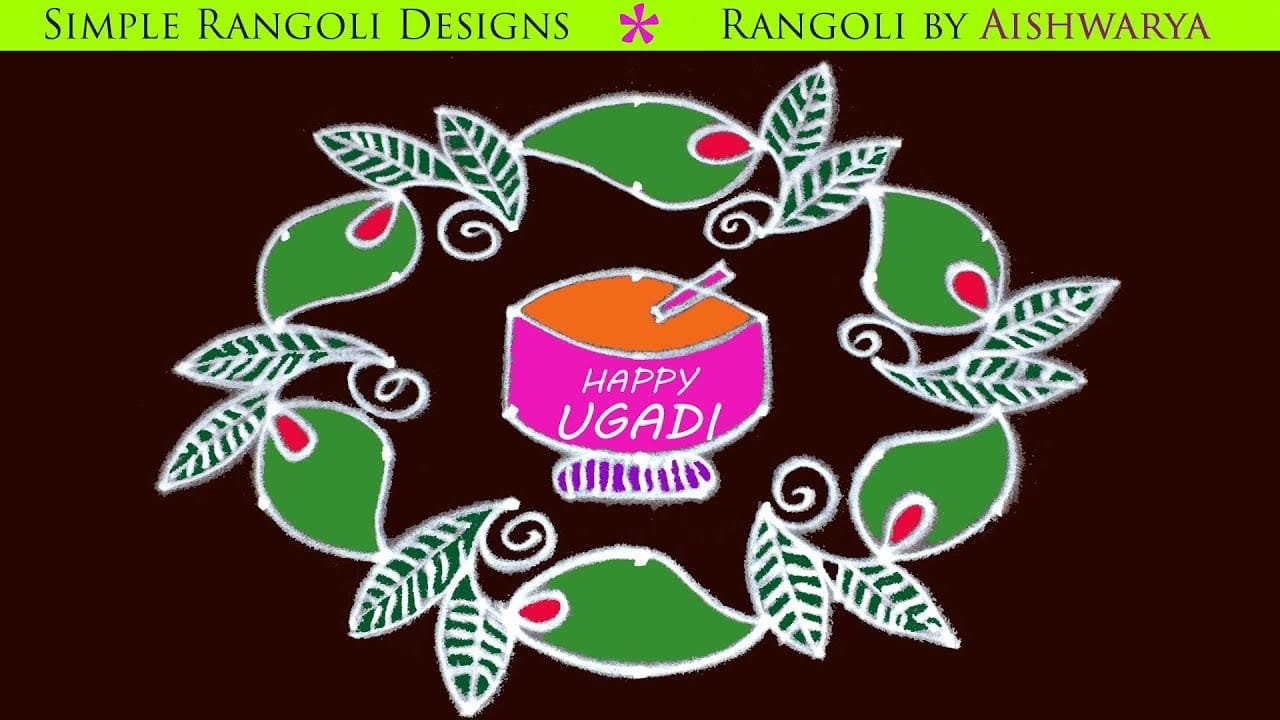
Latest Beautiful Colour Ugadi combines tradition with simplicity, making it one of the most rewarding designs to practice at home.
Latest Beautiful Colour Ugadi Rangoli Designs | 7 to 4 Festival Mango and Leafs Muggulu | RamRangoli Thank you so much for watching Channel
My Rangoli Channel Contains : Rangoli Designs Sankranthi Muggulu
Diwali Rangoli Ratham Muggulu Kolam Designs
Muggulu Designs Chukkala Muggulu Easy Rangoli
Simple Rangoli Easy Rangoli Designs Dhanurmasam Muggulu
Melikala Muggulu Geethala Muggulu Sivarathri Muggulu
Tip: Use chalk to lightly mark your dot grid first — it wipes away cleanly once your rangoli is finished.
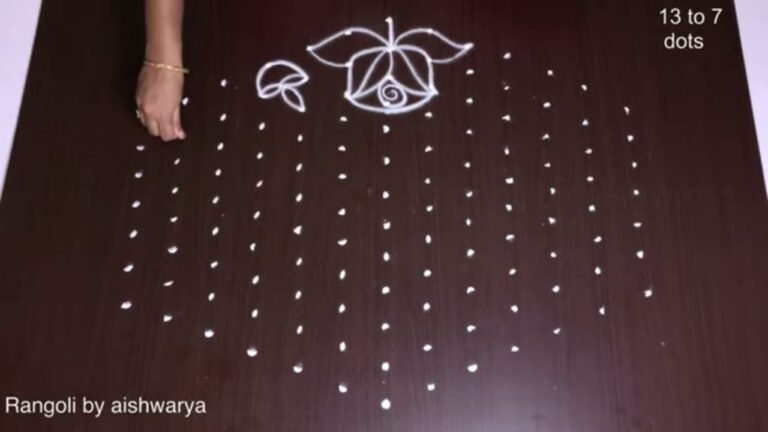
The latest beautiful colour Ugadi muggulu captures the essence of the Ugadi festival, celebrated with great enthusiasm in South India. This design typically features vibrant hues and intricate patterns, often incorporating traditional symbols like mango leaves and flowers. The 7 to 4 dot grid enhances the design’s complexity, making it a delightful project for both beginners and experienced artists. For more inspiration, you might enjoy exploring Traditional Friday Diya Pulli Designs Rangoli and How to Draw 12×2 Deepam Rangoli Designs.
Creating Ugadi muggulu is not just an artistic endeavor but also a way to welcome prosperity and happiness into one’s home. The use of colorful powders and natural materials makes this design environmentally friendly while allowing for personal expression. As you practice, you’ll find that each design unfolds a story rooted in cultural traditions. If you’re curious about the broader world of rangoli, you can learn more about its significance and techniques on Wikipedia.
Latest Beautiful Colour Ugadi — Step by Step Guide
Below is the step-by-step breakdown. The video covers the same sequence in real time.
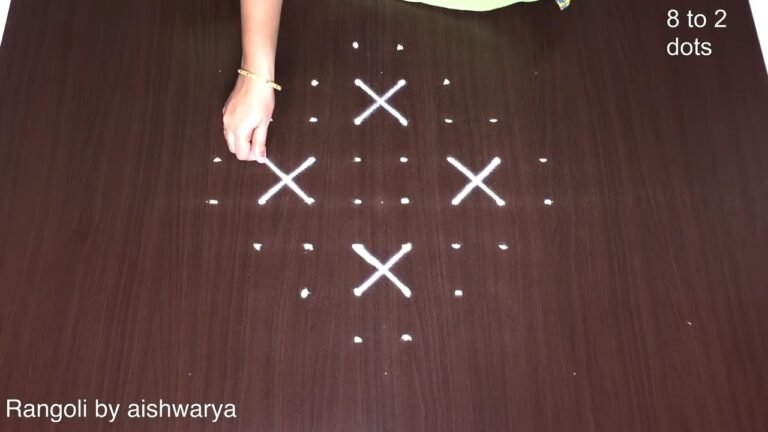
- Clear a flat surface and set down your dot grid using rice flour or chalk.
- Confirm the dot spacing is even — uneven dots are the biggest cause of wobbly curves.
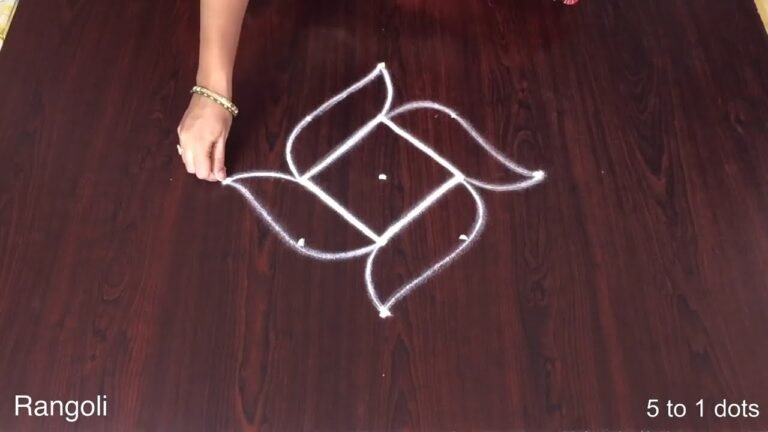
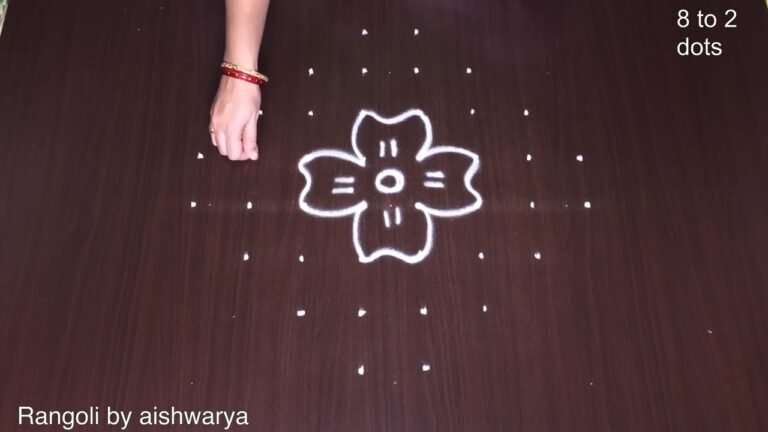
- Begin tracing from the centre outward, following the curves shown in the video above.
- Fill the petals and sections with your chosen colours, working one area at a time.
- Finish the edges with a fine line for a sharp, photograph-ready result.
What You Will Learn
- Ugadi Rangoli With Dots
- Ugadi Rangoli Side Designs
- Ugadi Rangoli Simple
- Ugadi Rangoli Easy
- Rangoli Ugadi Special
- Ugadi Rangoli Designs With Dots
Frequently Asked Questions
How do I draw this rangoli?
Start by marking an even dot grid on a flat, clean surface. Once the grid is in place, connect the dots following the curves shown in the video. Even spacing between dots is the single biggest factor for a clean finish.
Is this suitable for beginners?
Yes — this design is shaped specifically with newcomers in mind. The dot grid is small enough to manage, and the curves are gentle. Most learners get it right by the second try.
What materials do I need?
You will need rice flour or rangoli powder (white, plus your choice of colours), a flat surface like a clean floor or courtyard, and optionally a dot stencil if you are new to grid-drawing.
How long does it take?
The video runs 3 min 25 sec. In practice, most learners take between 10 and 20 minutes — a little longer the first time, faster as the pattern becomes familiar.
Once you get the rhythm of this design, try scaling it up or experimenting with colours. The grid stays the same; the personality changes.

Leave a Reply