Ugadi Birds Kolam Rangoli has become a favourite among learners on our channel — and once you try it, you will see why.
Ugadi birds kolam rangoli | 13 1 Vibrant Mango muggulu | ఉగాది పండుగ చుక్కల ముగ్గులు | RamRangoli Thank you so much for watching Channel
My Rangoli Channel Contains : Rangoli Designs Sankranthi Muggulu
Diwali Rangoli Ratham Muggulu Kolam Designs
Muggulu Designs Chukkala Muggulu Easy Rangoli
Simple Rangoli Easy Rangoli Designs Dhanurmasam Muggulu
Melikala Muggulu Geethala Muggulu Sivarathri Muggulu
Tip: Use chalk to lightly mark your dot grid first — it wipes away cleanly once your rangoli is finished.
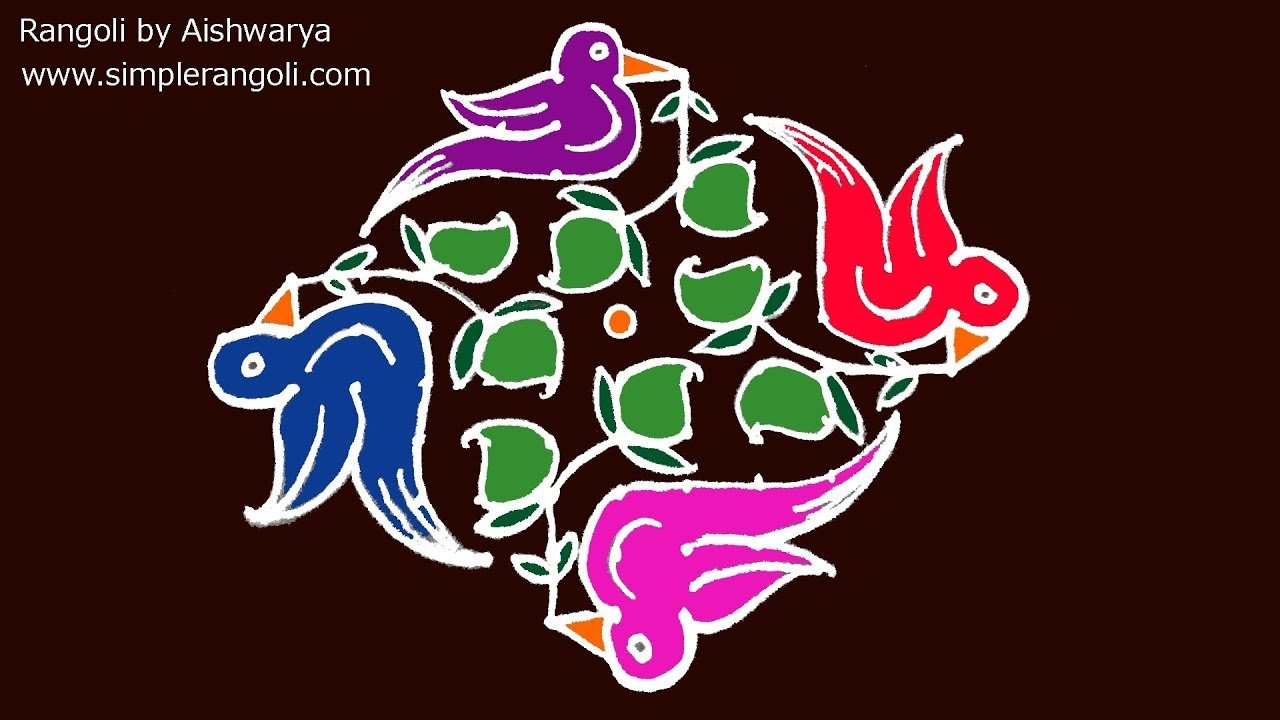
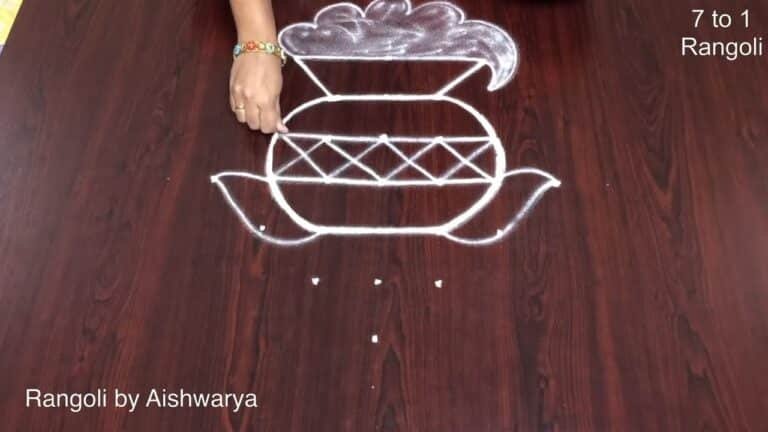
The Ugadi Birds Kolam Rangoli is a delightful representation of the new beginnings celebrated during the Ugadi festival. This design typically features a 13-1 dot pattern, allowing for intricate detailing while remaining accessible for beginners. The vibrant mango motifs often incorporated into the design symbolize prosperity and abundance, making it a fitting choice for this auspicious occasion. For those interested in exploring more traditional designs, the Harvest Festival Kolam 15×1 Dots is another beautiful example to consider.
This kolam design not only showcases artistic talent but also embodies cultural significance, inviting positivity into the household. The use of birds in the design represents freedom and joy, making it a perfect choice for welcoming a new year. As you create your Ugadi Birds Kolam, you might also enjoy experimenting with patterns from the Perfect Geometrical Shapes Rangoli for added inspiration. For a deeper understanding of rangoli’s rich history, you can visit the Wikipedia page on Rangoli.
Ugadi Birds Kolam Rangoli — Step by Step Guide
Pace yourself through the steps — kolam rewards patience more than speed.
- Clear a flat surface and set down your dot grid using rice flour or chalk.
- Confirm the dot spacing is even — uneven dots are the biggest cause of wobbly curves.
- Begin tracing from the centre outward, following the curves shown in the video above.
- Fill the petals and sections with your chosen colours, working one area at a time.
- Finish the edges with a fine line for a sharp, photograph-ready result.
What You Will Learn
- Ugadi Rangoli With Dots
- Ugadi Rangoli Side Designs
- Ugadi Rangoli Simple
- Ugadi Rangoli Easy
- Rangoli Ugadi Special
- Ugadi Rangoli Designs With Dots
Frequently Asked Questions
How do I draw this rangoli?
Begin with the dot grid — this is the skeleton of the design. With rice flour or chalk, place each dot at equal intervals. Then trace the curves slowly, one section at a time.
Is this suitable for beginners?
Yes, and it is one we recommend to first-timers. The small grid keeps the design manageable while still teaching the core technique.
What materials do I need?
You will need rice flour or rangoli powder (white, plus your choice of colours), a flat surface like a clean floor or courtyard, and optionally a dot stencil if you are new to grid-drawing.
How long does it take?
The tutorial is 3 min 37 sec long. With practice the actual drawing settles around 10 minutes; the first time will likely take twice that.
Once this design feels familiar, switch the colours or rotate the grid by a step. Small tweaks keep daily kolam practice interesting.


Leave a Reply