Add a touch of charm to your doorway with Kanuma Muggulu — clean lines, balanced symmetry, and easy to scale.
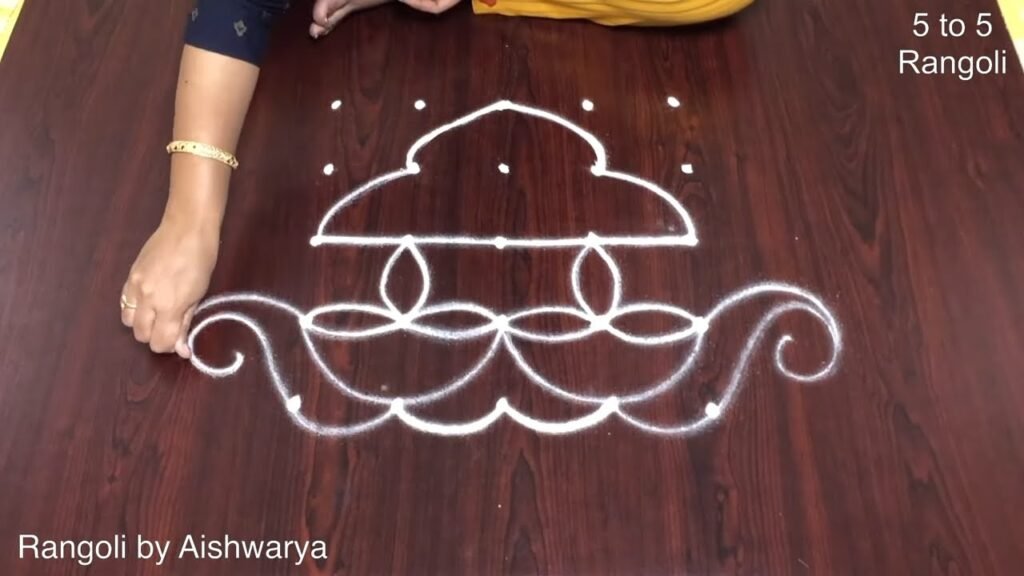
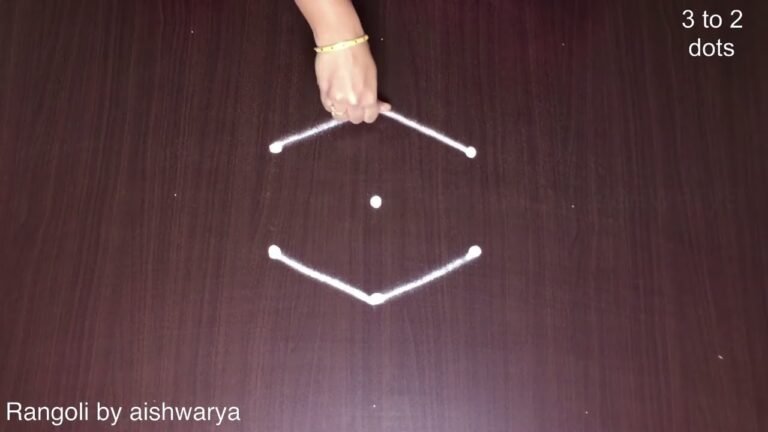
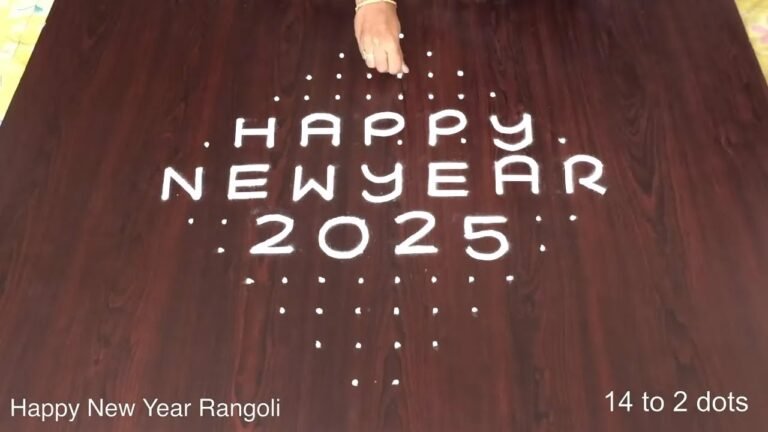
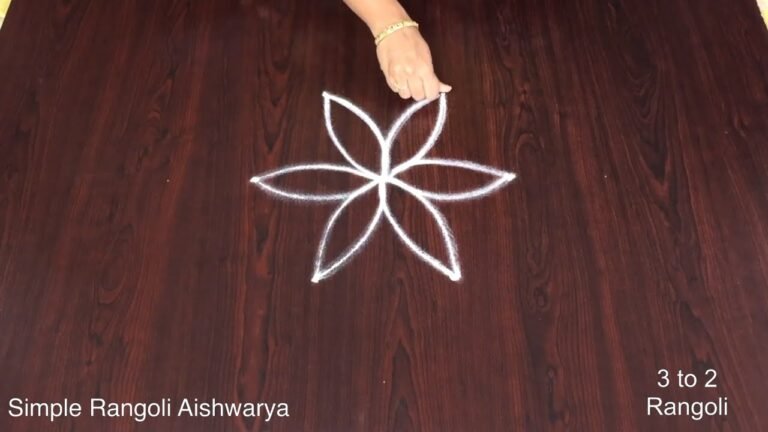
Kanuma Muggulu | Mattu Pongal Kolam 2023 | Kaanum Pongal Drawing. This tutorial will show you how to draw Beautiful Indian traditional art sankranthi muggulu 2023 patterns using materials such as dry rice flour, colored sand or flower petals Rangoli designs by Aishwarya. Simple rangoli designs with dots Kolam pattern is created on the floor in living rooms or courtyards. Draw the Lines step by step as it is shown in this video and will be awesome Rangoli Design. 😲 The rangoli design for new year muggulu pattern here is one of the amazing latest simple kolam designs. Simple Rangoli Designs and easy rangoli designs by Aishwarya with dots for beginners and intermediate.
1. Bhogi Muggulu 2. Mattu Pongal Kolam 3. Easy rangoli designs
4. Rangoli design 5. Chukkala muggulu 6. Muggu designs
7. Muggulu Sankranthi Muggulu 8. Sankranti Rangoli 9. Sankranthi Muggulu
10. Kolam designs 11. Simple rangoli design 12. Muggulu designs
13. Pongal Kolam 14. Puratasi madham kolam 15. Simple sankranthi muggulu
Tip: Keep your powder bowl close to your dominant hand. Small movements give cleaner curves.
Kanuma muggulu, traditionally created during the Kanuma festival, showcases a beautiful arrangement of 5 to 5 dots, making it accessible for beginners. This design often incorporates simple lines and curves, evoking the joy of the harvest season. The use of dry rice flour or colored sand enhances its visual appeal. For those interested in exploring more intricate designs, the Perfect Geometrical Shapes Rangoli might be a delightful next step.
This muggulu serves as a festive decoration, often drawn at the entrance of homes to welcome guests and symbolize prosperity. The vibrant patterns can be adorned with flower petals for added color and texture. If you’re looking for inspiration to create floral designs, consider checking out the 12 to 4 Dots Flower Pot Rangoli. For further insight into this traditional art form, you can read more about it on Wikipedia.
Kanuma Muggulu — Step by Step Guide
Use the steps below as a reference card while the video plays. Most learners finish on the second attempt.
- Clear a flat surface and set down your dot grid using rice flour or chalk.
- Confirm the dot spacing is even — uneven dots are the biggest cause of wobbly curves.
- Begin tracing from the centre outward, following the curves shown in the video above.
- Fill the petals and sections with your chosen colours, working one area at a time.
- Finish the edges with a fine line for a sharp, photograph-ready result.
What You Will Learn
- Simple Rangoli Designs
- Rangoli
- Muggulu
- Rangoli Designs
- Rangoli Kolam
- Kolam
Frequently Asked Questions
How do I draw this rangoli?
It looks complex but follows a simple rhythm: dots first, then loops. Mark the grid, take a breath, and trace the curves at a steady pace. The pattern emerges on its own.
Is this suitable for beginners?
Absolutely. You can pause and rewind the video at every step. The pattern is straightforward once you have the grid down.
What materials do I need?
Just three things: powder (white plus any colours you want), a flat dry surface, and a few minutes of focus. A small bowl per colour helps keep things tidy.
How long does it take?
2 min 50 sec of video, perhaps 20 minutes of practice. The curves take a couple of attempts to feel natural, then it speeds up considerably.
Once this design feels familiar, switch the colours or rotate the grid by a step. Small tweaks keep daily kolam practice interesting.
Leave a Reply