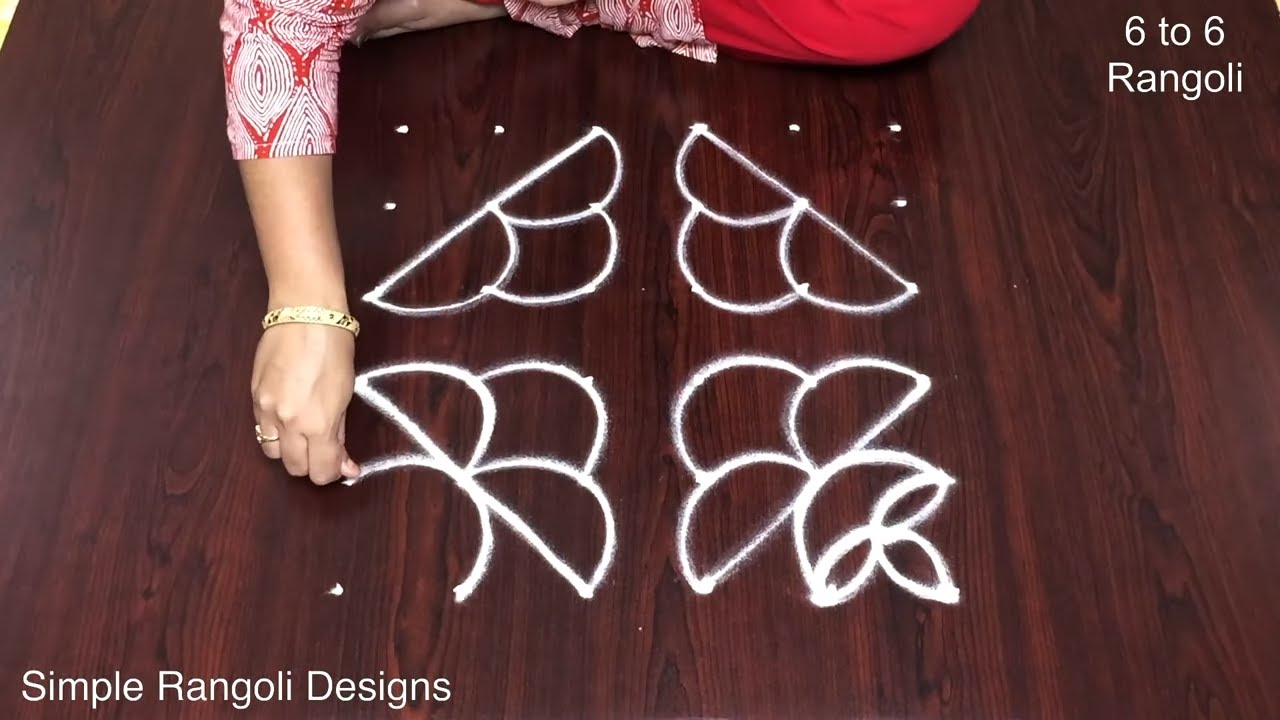
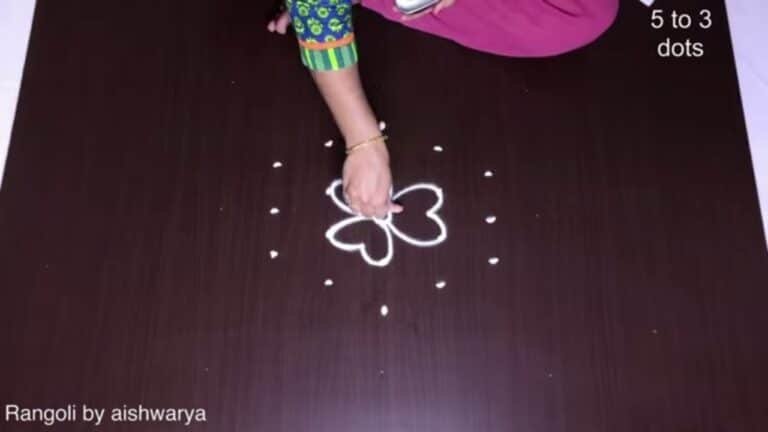
This special deepam 6 pulli tutorial walks you through every step from the dot grid to the final pattern.
Drawing Karthikamasam Special Deepam 6 is a relaxing, almost meditative practice. The dots guide your hand and the design unfolds naturally.
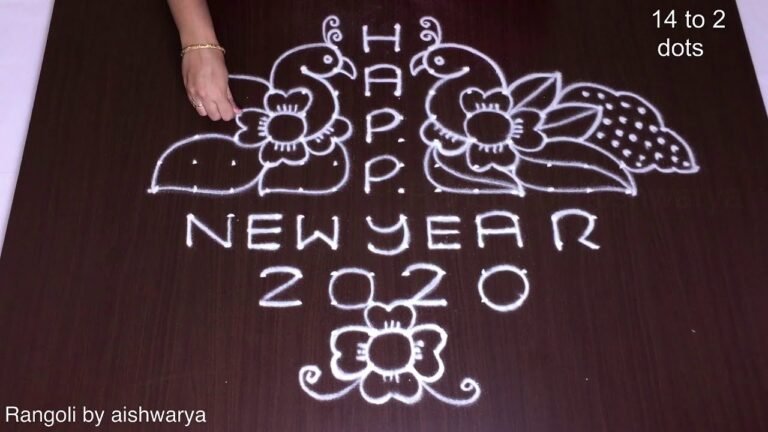
Karthikamasam Special Deepam Rangoli | 6 Pulli Kolam | Karthika Pournami Muggulu Design. This tutorial will show you how to draw Beautiful Indian traditional art sankranthi muggulu patterns using materials such as dry rice flour, colored sand or flower petals Rangoli designs by Aishwarya. Simple rangoli designs with dots Kolam pattern is created on the floor in living rooms or courtyards. Draw the Lines step by step as it is shown in this video and will be awesome Rangoli Design. 😲 The rangoli design for diwali pattern here is one of the amazing latest simple kolam designs. Simple Rangoli Designs and easy rangoli designs by Aishwarya with dots for beginners and intermediate.
1. Diwali Rangoli 2. Pongal kolams 3. Easy rangoli designs
4. Rangoli design 5. Chukkala muggulu 6. Muggu designs
7. Rangoli for diwali 8. Rangoli Simple 9. Chukkala muggulu sankranthi
10. Kolam designs 11. Simple rangoli design 12. Muggulu designs
13. Navaratri pooja kolam 14. Puratasi madham kolam 15. Simple sankranthi muggulu
Tip: Practice on paper first if you are new to dot kolam. The grid is the same; only the surface changes.
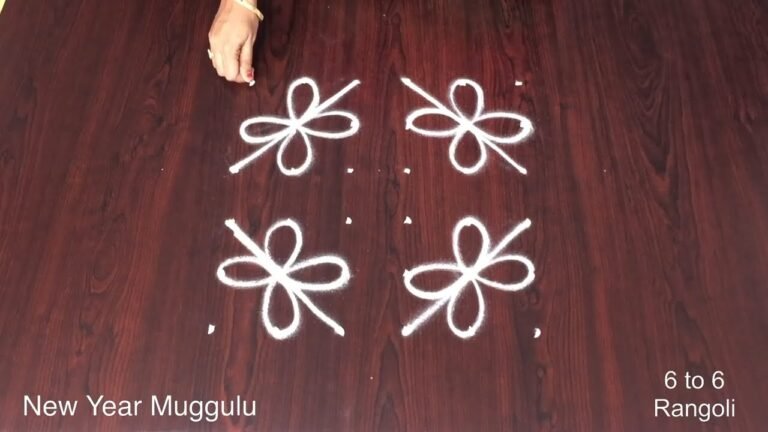
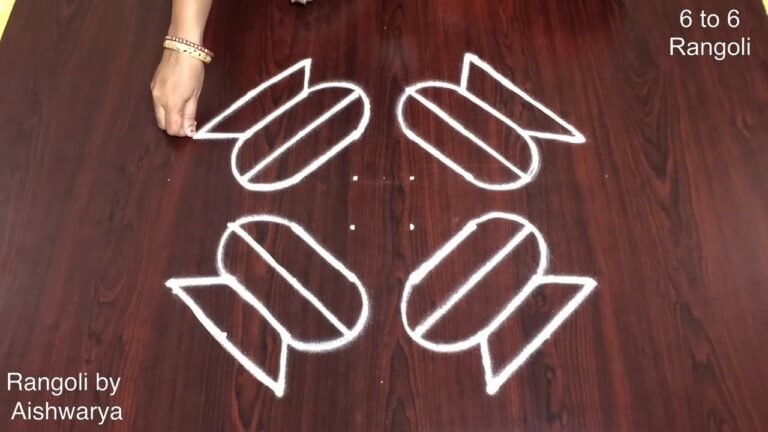
This design belongs to the broader tradition of rangoli and kolam art practised across South India. Explore more in our 6 to 6 dots Rangoli Designs collection.
The Karthikamasam Special Deepam 6 Pulli Kolam is a beautiful representation of traditional Indian art, specifically designed for the auspicious occasion of Karthika Pournami. This 6-dot kolam features a simple yet elegant pattern that is easy for beginners to follow. Using natural materials like rice flour or colored sand, this design can brighten up any living space or courtyard, making it a delightful addition to the festive atmosphere. If you’re interested in exploring more designs, you might enjoy the Pongal Panaai Kolam Designs for another festive touch.
Creating this 6 Pulli Kolam involves drawing intricate lines that connect the dots, resulting in a harmonious and inviting artwork. The simplicity of this design allows it to be accessible to all skill levels, encouraging everyone to participate in the joyous tradition of rangoli making. For those looking to expand their skills, consider trying out the Happy New Year 21 To 11 Beautiful Rangoli for a different festive occasion. To learn more about the cultural significance and techniques of rangoli, visit this Wikipedia page.
About this design: Special Deepam 6 Pulli is a beginner-friendly pattern that comes together in just a few minutes. Once you have practised the special deepam 6 pulli dot grid, you can scale it up for festival mornings or scale it down for a daily doorstep. Many learners on our channel make this special deepam 6 pulli their go-to design once they get the rhythm of the curves.
Special Deepam 6 Pulli — Step by Step Guide
Follow the steps below to recreate this design at home. Pause the video whenever you need — there is no hurry.
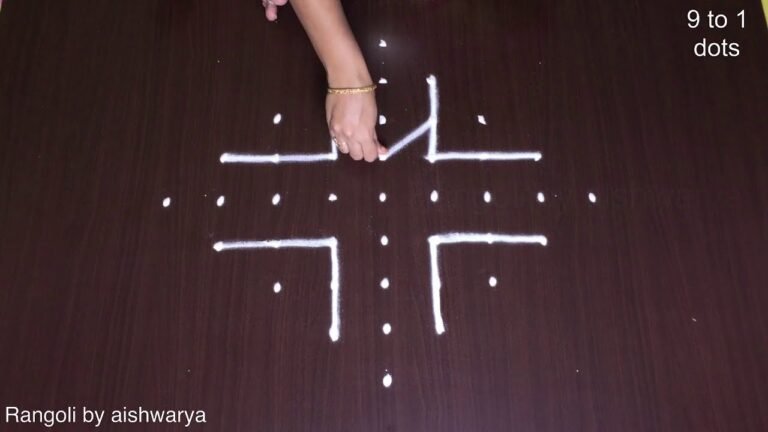
- Clear a flat surface and set down your dot grid using rice flour or chalk.
- Confirm the dot spacing is even — uneven dots are the biggest cause of wobbly curves.
- Begin tracing from the centre outward, following the curves shown in the video above.
- Fill the petals and sections with your chosen colours, working one area at a time.
- Finish the edges with a fine line for a sharp, photograph-ready result.
What You Will Learn
- Simple Rangoli Designs
- Rangoli
- Muggulu
- Rangoli Designs
- Rangoli Kolam
- Kolam
Frequently Asked Questions
How do I draw this rangoli?
The grid comes first. Use a soft chalk to dot the surface, count twice to confirm the spacing, then start connecting them following the video. Work from the centre outward.
Is this suitable for beginners?
Yes, and it is one we recommend to first-timers. The small grid keeps the design manageable while still teaching the core technique.
What materials do I need?
Just three things: powder (white plus any colours you want), a flat dry surface, and a few minutes of focus. A small bowl per colour helps keep things tidy.
How long does it take?
Plan for roughly 3 min 26 sec to watch and 15 minutes to draw. The second attempt is always cleaner than the first — that is the nature of dot kolam.
Pin this for later or share with a friend learning kolam — and let us know in the comments which design you would like next.
Leave a Reply