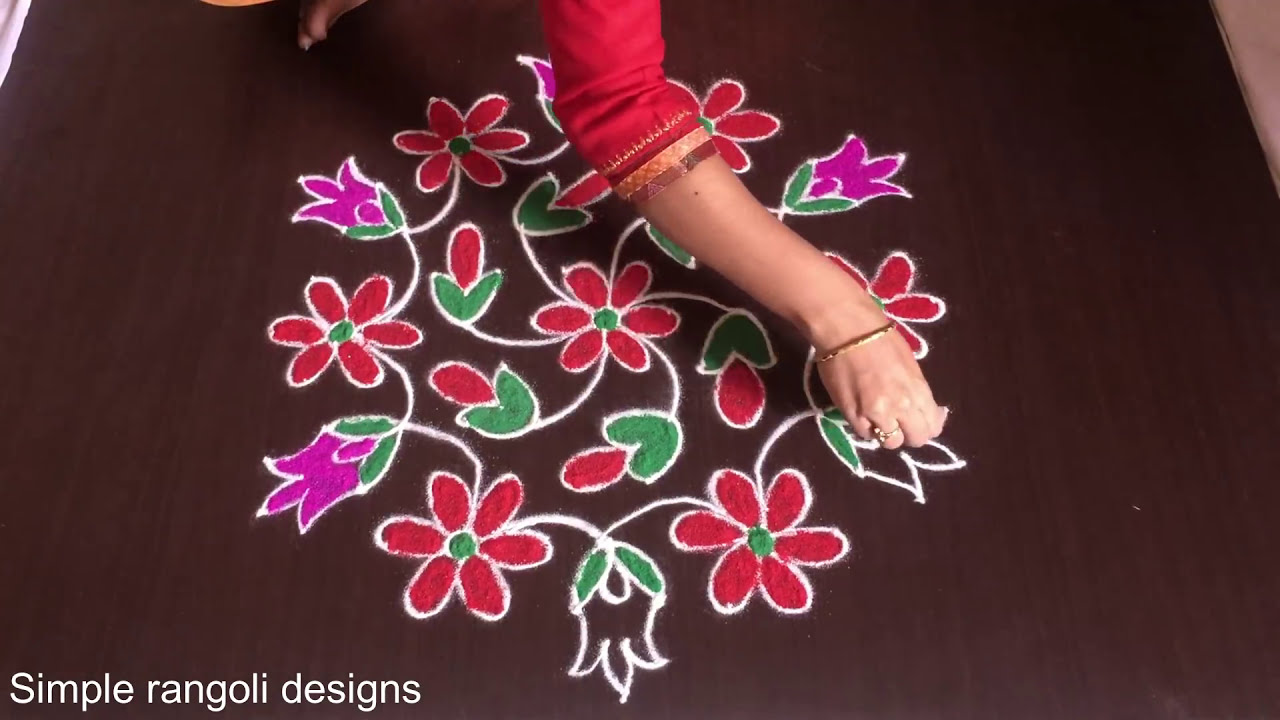
Flower Kolam With 9 combines tradition with simplicity, making it one of the most rewarding designs to practice at home.

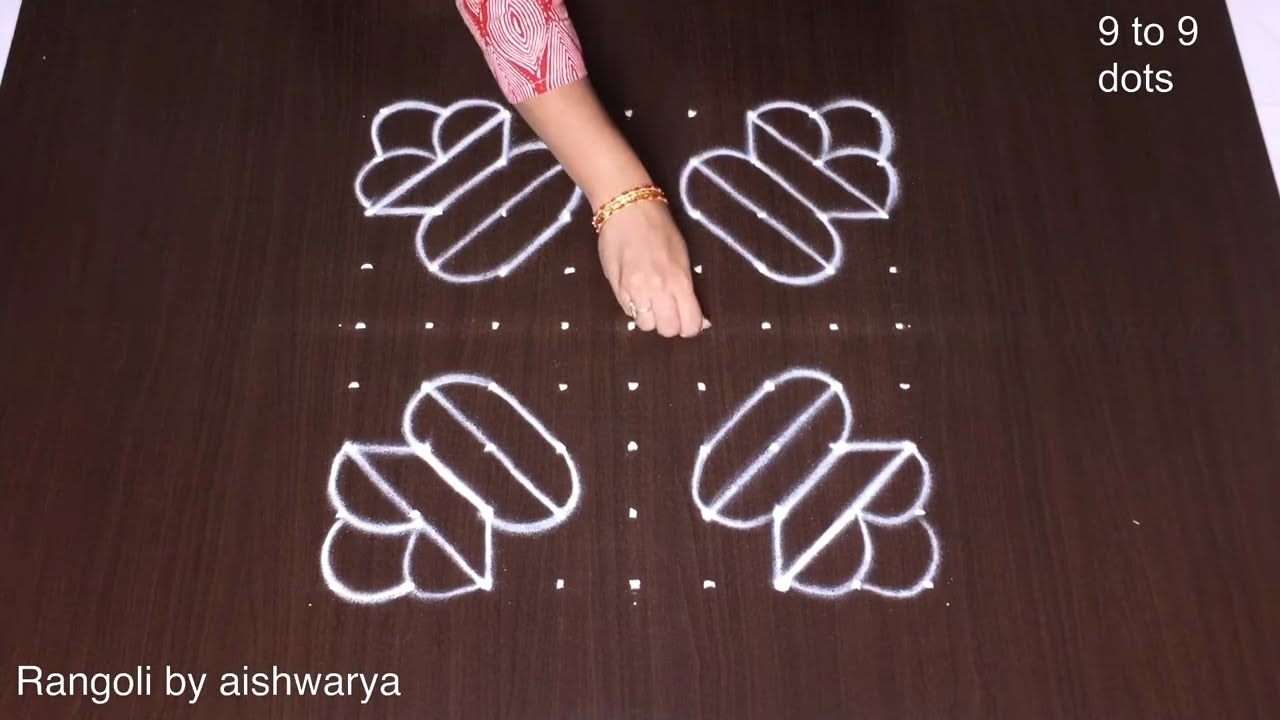
Looking for a balanced and elegant 9×9 dots flower kolam for your entrance? This simple poo rangoli design combines symmetry, clarity, and graceful floral curves. In this video, we create a 9×9 dots simple flower kolam, structured on a perfectly aligned square grid. The 9-9 format provides a strong and centered foundation, allowing layered petals to form evenly on all sides.
🌸 What You’ll Learn Step by Step: Proper placement of the 9×9 square dot grid Building a symmetrical central floral pattern
Extending petals evenly across all four sides Clean finishing touches for a polished look A 9×9 grid is ideal when you want a design that looks grand yet organized. The square layout ensures balance and proportion, making it suitable for apartment entrances, courtyards, and festive decorations.
Even though the design appears detailed, the structured dots naturally guide spacing and curve control. The step-by-step approach makes it easy to follow and recreate confidently. Watch till the end to see the complete floral reveal — the final symmetrical alignment highlights how the 9×9 dot structure transforms into a beautiful and elegant kolam. If you enjoy square floral grids, explore other layouts like 7×7 and 11-11 to expand your creative rangoli collection.
Save this design and recreate it to enhance your entrance beautifully.
Tip: Practice on paper first if you are new to dot kolam. The grid is the same; only the surface changes.
The flower kolam with 9 dots, structured on a 9×9 grid, brings a sense of harmony and elegance to any entrance. Its symmetrical design allows for the creation of layered petals that radiate beautifully from the center, making it a perfect choice for festivals and daily decor alike. This kolam is not only visually appealing but also straightforward to create, thanks to its clear dot placement that guides the artist in achieving balanced curves. For those who appreciate floral patterns, this design is a wonderful alternative to the Rose Flower Rangoli With 9x5dots for Pongal.
The 9×9 dot structure of this kolam makes it suitable for various settings, from courtyards to apartment entrances, adding a festive touch without overwhelming the space. While the design appears intricate, the systematic approach ensures that beginners can easily replicate it with confidence. Completing this flower kolam can be a rewarding experience, showcasing one’s artistic flair while embracing tradition. For more ideas, consider trying out a Happy Pongal Kolam, which also focuses on vibrant floral motifs, or explore the rich history of this art form through Rangoli.
Flower Kolam — Step by Step Guide
These steps are written for absolute beginners. Watch once, draw once, then watch again — that is how the pattern locks in.
- Clear a flat surface and set down your dot grid using rice flour or chalk.
- Confirm the dot spacing is even — uneven dots are the biggest cause of wobbly curves.
- Begin tracing from the centre outward, following the curves shown in the video above.
- Fill the petals and sections with your chosen colours, working one area at a time.
- Finish the edges with a fine line for a sharp, photograph-ready result.
What You Will Learn
- 9X9 Dots Flower Kolam
- Simple Poo Rangoli 9-9
- 9-9 Dots Kolam Design
- Square Grid Floral Rangoli
- Elegant Flower Muggulu 9X9
- 9X9 Pulli Kolam
Frequently Asked Questions
How do I draw this rangoli?
Set down the dot grid in pencil or chalk, then follow the loops one petal at a time. If a curve goes off, wipe it and retry — kolam is forgiving.
Is this suitable for beginners?
It is one of the more forgiving designs in our collection. Beginners often pick it as a confidence-builder before moving on to larger grids.
What materials do I need?
Just three things: powder (white plus any colours you want), a flat dry surface, and a few minutes of focus. A small bowl per colour helps keep things tidy.
How long does it take?
A 4 min 5 sec video shows the complete sequence. On paper or floor, expect to spend around a quarter of an hour from grid to finished pattern.
If you enjoyed this design, browse our other dot-pattern tutorials — they share the same approach and build naturally on the techniques here.


Leave a Reply