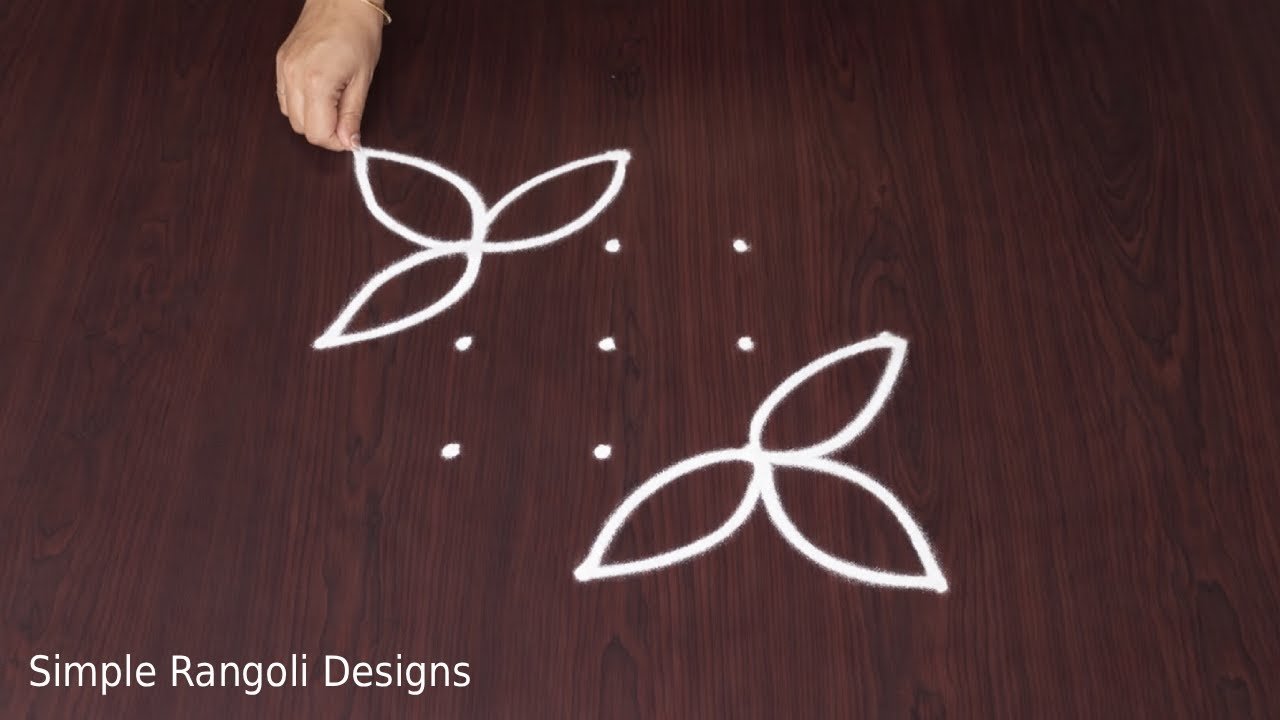
This tipkyanchi rangoli with 7×1 tutorial walks you through every step from the dot grid to the final pattern.

Rangoli 3 has become a favourite among learners on our channel — and once you try it, you will see why.
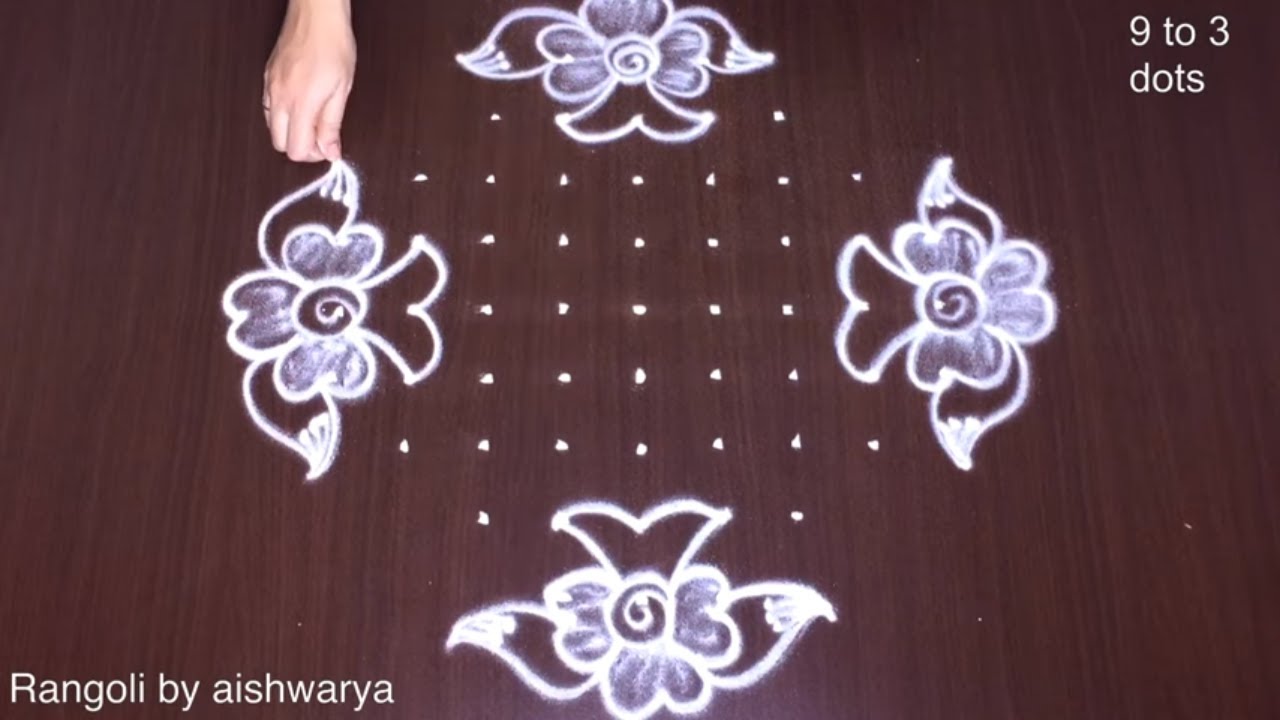
Looking for a neat and traditional tipkyanchi rangoli with 7×1 dots? This simple and elegant straight-dot kolam is perfect for daily entrances and festive decoration. In this video, I guide you step by step to create a symmetrical 7×1 dots rangoli using a clean straight-line grid. If you enjoy structured chukkala muggulu and classic kolam with dots, this tutorial will help you maintain alignment and smooth curves.
We begin by placing the 7-dot straight structure carefully to form a strong base. Then the curved framework develops gradually into a graceful and compact rangoli kolam pattern. Because of the simple layout, it is beginner-friendly and easy to recreate. How to construct a proper 7×1 straight dot grid How to create neat simple rangoli designs
How to refine curves in pulli kolam style How to draw clean muggulu designs with dots This design works beautifully as daily rangoli designs, festive sankranthi muggulu, elegant pongal kolam, or even creative new year rangoli decoration. It also fits perfectly for those searching for easy rangoli, chukki rangoli, or traditional kolangal.
If you enjoy compact dots rangoli and symmetrical rangoli designs with dots, this structured method will help you recreate it confidently. Watch till the end to see how the simple 7×1 grid transforms into a beautiful and balanced rangoli design.
Tip: Practice on paper first if you are new to dot kolam. The grid is the same; only the surface changes.
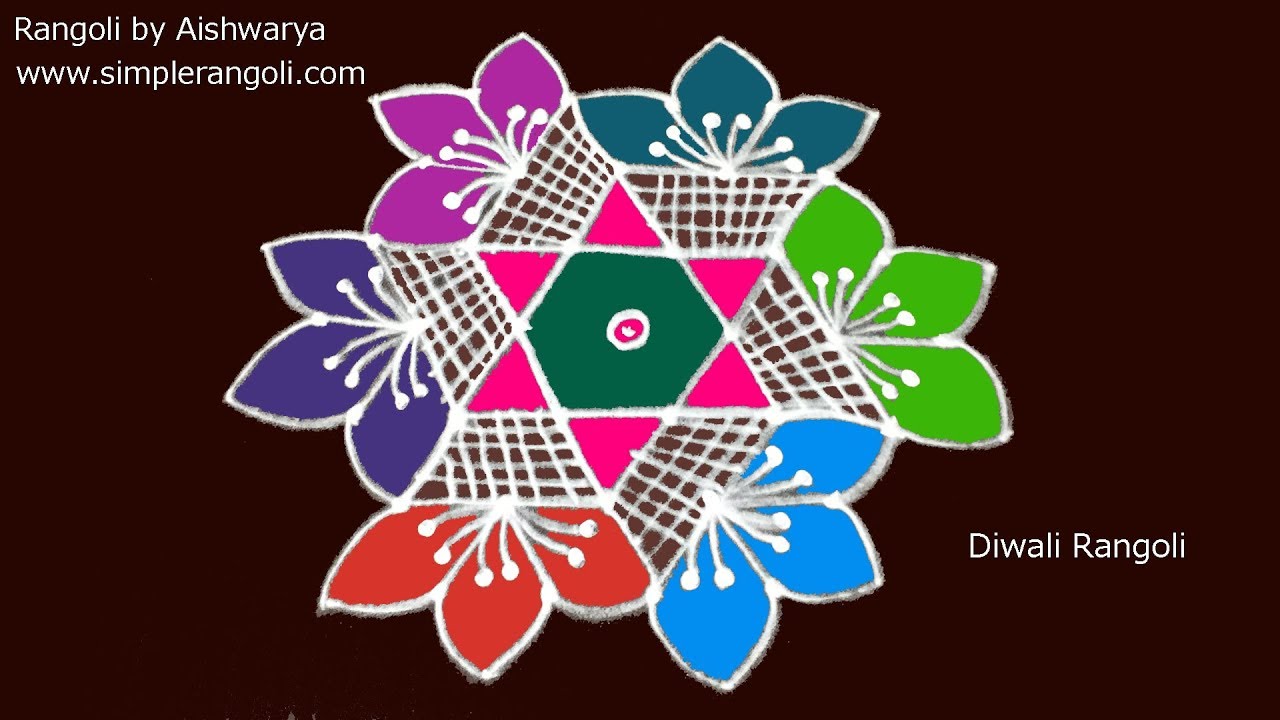
This beautiful tipkyanchi rangoli design utilizes a 7×1 dot structure, making it an ideal choice for festive occasions like Diwali. The straight-line grid provides a solid foundation, allowing for the creation of a symmetrical and elegant kolam. Its simplicity ensures that even beginners can successfully replicate the design, enhancing the beauty of any entrance or pooja area. For those who enjoy experimenting with floral patterns, the Simple Rose Flower Muggulu is another delightful option to explore.
The gradual development of curves in this rangoli creates a visually appealing pattern that is both compact and graceful. As you learn to refine your technique, you’ll find that this design not only adds charm to daily decorations but can also be adapted for various festivals. If you’re looking for more creative ideas, consider trying the Butterfly Rangoli for Festival, which showcases a playful twist on traditional designs. To delve deeper into the art of rangoli, you can visit this resource for a broader understanding of its cultural significance.
About this design: Tipkyanchi Rangoli With 7X1 is a beginner-friendly pattern that comes together in just a few minutes. Once you have practised the tipkyanchi rangoli with 7×1 dot grid, you can scale it up for festival mornings or scale it down for a daily doorstep. Many learners on our channel make this tipkyanchi rangoli with 7×1 their go-to design once they get the rhythm of the curves.
Tipkyanchi Rangoli With 7X1 — Step by Step Guide
Read through the steps before you begin so the sequence feels familiar when you start drawing.
- Clear a flat surface and set down your dot grid using rice flour or chalk.
- Confirm the dot spacing is even — uneven dots are the biggest cause of wobbly curves.
- Begin tracing from the centre outward, following the curves shown in the video above.
- Fill the petals and sections with your chosen colours, working one area at a time.
- Finish the edges with a fine line for a sharp, photograph-ready result.
What You Will Learn
- Rangoli
- Muggulu
- Rangoli Designs
- Kolam
- Chukkala Muggulu
- Simple Rangoli
Frequently Asked Questions
How do I draw this rangoli?
The grid comes first. Use a soft chalk to dot the surface, count twice to confirm the spacing, then start connecting them following the video. Work from the centre outward.
Is this suitable for beginners?
Absolutely. You can pause and rewind the video at every step. The pattern is straightforward once you have the grid down.
What materials do I need?
White rice flour for the outline, coloured powders for the fill, and a clean dry floor. That is the essentials list — you can add a stencil if you prefer.
How long does it take?
3 min 14 sec of video, perhaps 20 minutes of practice. The curves take a couple of attempts to feel natural, then it speeds up considerably.
A reminder that beautiful art does not need expensive materials — just a steady hand, a clean surface, and a few pinches of rice flour.


Leave a Reply