Sankranti Special Chukkala Muggulu is a beautiful kolam pattern you can draw right at your doorstep — perfect for beginners and seasoned rangoli artists alike.

Sankranti Special Chukkala Muggulu 8*8 | Pongal Pot Kolam Pandaga Rangoli Design | RamRangoli Thank you so much for watching Channel
My Ram Rangoli Channel Contains : Rangoli Designs Sankranthi Muggulu
Diwali Rangoli Ratham Muggulu Kolam Designs
Muggulu Designs Chukkala Muggulu Easy Rangoli
Simple Rangoli Easy Rangoli Designs Dhanurmasam Muggulu
Melikala Muggulu Geethala Muggulu Sivarathri Muggulu
Tip: Use chalk to lightly mark your dot grid first — it wipes away cleanly once your rangoli is finished.
The Sankranti Special Chukkala Muggulu features a delightful 8×8 dot grid, perfect for celebrating the vibrant festival of Pongal. This design incorporates traditional elements, often portraying the auspicious Pongal pot, which symbolizes prosperity and abundance. The intricate patterns and use of white rice flour not only beautify the space but also invite positive energy into the home. For more ideas on Pongal-themed designs, consider exploring the Pongal Pot Kolam Special Rangoli Designs.
Creating the Sankranti Special Chukkala Muggulu is a wonderful way to express creativity while honoring cultural traditions. The design can be enhanced with vibrant colors or flower petals, making it stand out during the festive season. Beginners can find joy in practicing this design, as it allows for both simplicity and complexity. If you’re looking for smaller designs, check out the Daily Simple Small Rangoli 6x2x2dots Kolam for more inspiration. To learn more about this beautiful art form, visit this page on Rangoli.
Sankranti Special Chukkala Muggulu — Step by Step Guide
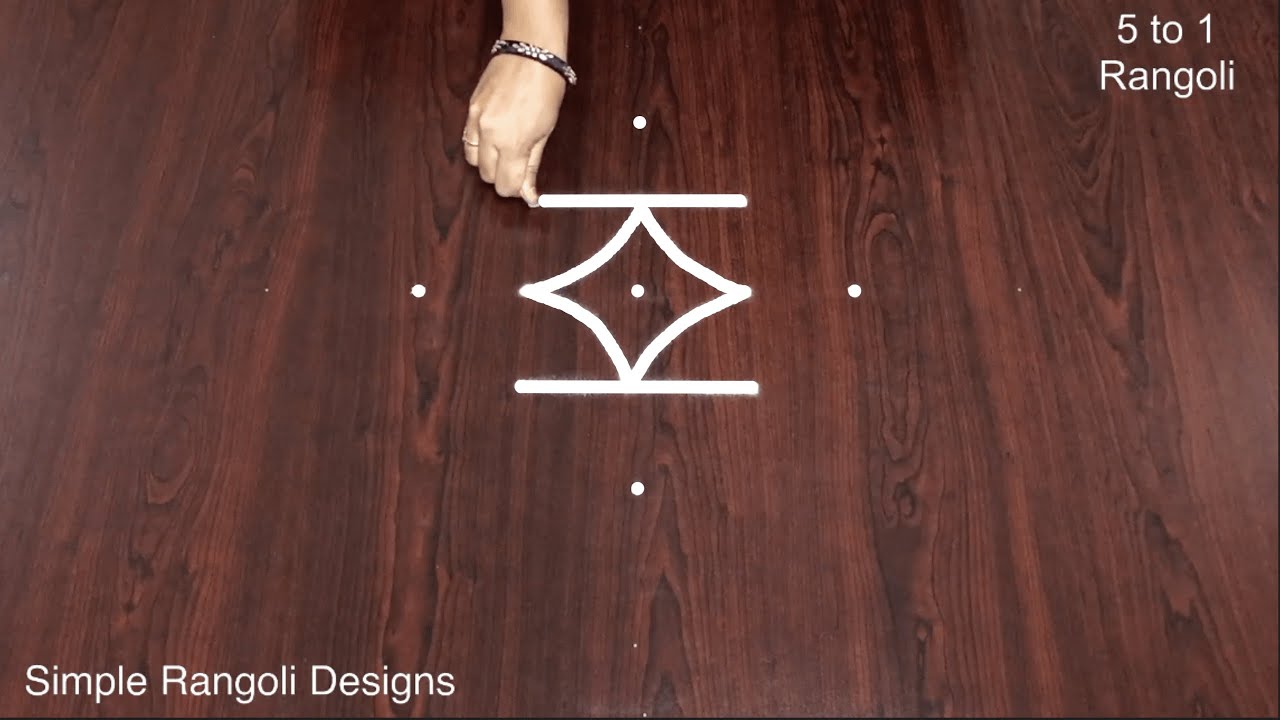
Follow the steps below to recreate this design at home. Pause the video whenever you need — there is no hurry.
- Clear a flat surface and set down your dot grid using rice flour or chalk.
- Confirm the dot spacing is even — uneven dots are the biggest cause of wobbly curves.
- Begin tracing from the centre outward, following the curves shown in the video above.
- Fill the petals and sections with your chosen colours, working one area at a time.
- Finish the edges with a fine line for a sharp, photograph-ready result.
What You Will Learn
- Sankranthi Muggulu
- Kolam For Pongal
- Pongal Muggulu
- Bhogi Muggulu
- Makar Sankranthi Rangoli
- Pongal Paanai Kolam
Frequently Asked Questions
How do I draw this rangoli?
Set down the dot grid in pencil or chalk, then follow the loops one petal at a time. If a curve goes off, wipe it and retry — kolam is forgiving.
Is this suitable for beginners?
Yes, and it is one we recommend to first-timers. The small grid keeps the design manageable while still teaching the core technique.
What materials do I need?
Rice flour, coloured rangoli powders, and a clean stretch of floor or paper. Some draw with chalk first to set the grid before powdering over it.
How long does it take?
The tutorial is 10 min 51 sec long. With practice the actual drawing settles around 10 minutes; the first time will likely take twice that.
Whenever you finish your version, share a photo with us. Seeing your work is the best part of running this channel.


Leave a Reply