If you enjoy dot-grid muggulu, 17 To 1 Makar is a satisfying pattern that comes together in just a few minutes.

Pongal big rangoli kolam 17 to 1 makar sankranthi chukkala muggulu | సంక్రాంతి ముగ్గులు Thank you so much for watching Channel
My Rangoli Channel Contains : Rangoli Designs Sankranthi Muggulu
Diwali Rangoli Ratham Muggulu Kolam Designs
Muggulu Designs Chukkala Muggulu Easy Rangoli
Simple Rangoli Easy Rangoli Designs Dhanurmasam Muggulu
Melikala Muggulu Geethala Muggulu Sivarathri Muggulu
Tip: Work from the centre outward. It keeps the symmetry honest and prevents the design from drifting off-balance.
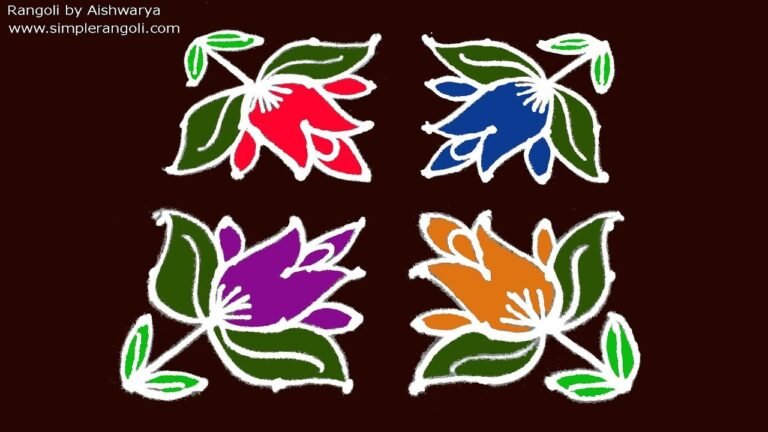
The 17 to 1 makar sankranthi chukkala muggulu is a traditional design celebrated during the Makar Sankranti festival, symbolizing the harvest season. This intricate kolam features a stunning arrangement of dots that gradually decrease, creating a visually stunning tapering effect. It can be a delightful challenge for beginners, as the design requires patience and precision. For more ideas, you might enjoy exploring the New Flower Rangoli Kolam and the Simple Pongal Pot Koalm.
Drawing chukkala muggulu not only enhances the festive spirit but also serves as a creative outlet for self-expression. The vibrant colors used in the design can brighten up any space, making it a beautiful addition to home decorations during Pongal. As you immerse yourself in this art form, you may find inspiration from the rich history of rangoli, which you can read about here. Each dot and line represents joy and prosperity, embodying the essence of the celebrations.
17 To 1 Makar — Step by Step Guide
Here is how to draw it, line by line. Take your time on the corners and the symmetry will take care of itself.
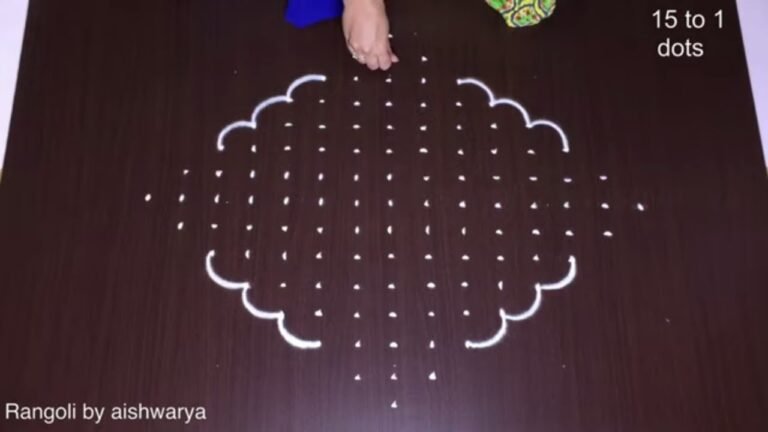
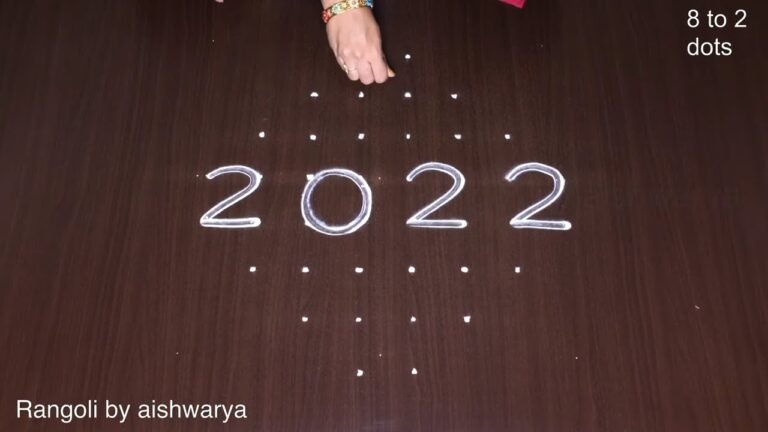
- Mark the 17-to-1 dot grid (a diamond: 17 dots in the middle row reducing by two each side to a single dot at top and bottom).
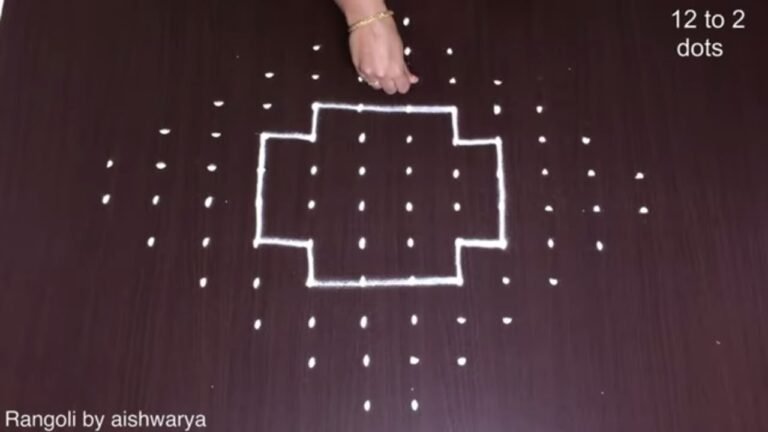
- Outline the outer diamond by joining the edge dots into a large rhombus, then draw a second line just inside it for a double border.
- Divide the inside into four equal cells (a 2×2 layout within the diamond).
- In each cell draw a flower of six to eight rounded petals around a dotted centre.
- On the outer sides of the diamond draw small bird/lamp motifs, a curved body with a dot eye and pointed wing/leaf tips, resting on the border.
- Add small curls at the left and right points of the diamond to finish.
What You Will Learn
- Simple Rangoli Designs
- Rangoli
- Muggulu
- Rangoli Designs
- Rangoli Kolam
- Kolam
Frequently Asked Questions
How do I draw this rangoli?
It looks complex but follows a simple rhythm: dots first, then loops. Mark the grid, take a breath, and trace the curves at a steady pace. The pattern emerges on its own.
Is this suitable for beginners?
Absolutely. You can pause and rewind the video at every step. The pattern is straightforward once you have the grid down.
What materials do I need?
Powder (white for outlines, colours for filling), a flat surface, and a dot stencil if you want absolute precision. Beyond that, just your hand and a steady pace.
How long does it take?
The video runs 3 min 18 sec. In practice, most learners take between 10 and 20 minutes — a little longer the first time, faster as the pattern becomes familiar.
Try it once, share your version with a friend, and keep exploring our collection — there is a design here for every festival, every entrance, and every skill level.
Leave a Reply