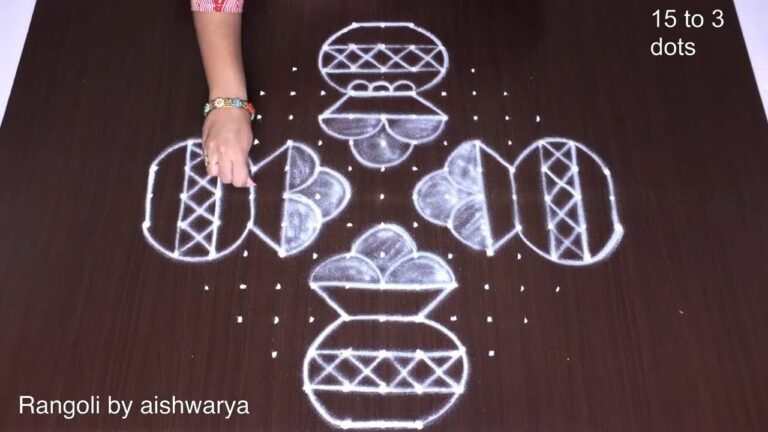
Looking to learn Pongal Butterfly Rangoli 15-1? This step-by-step guide walks you through every line, dot, and curve.

Pongal Butterfly Rangoli 15-1 | Sankranti Pulli Kolam New Chukkalu Muggu Thank you so much for watching Channel
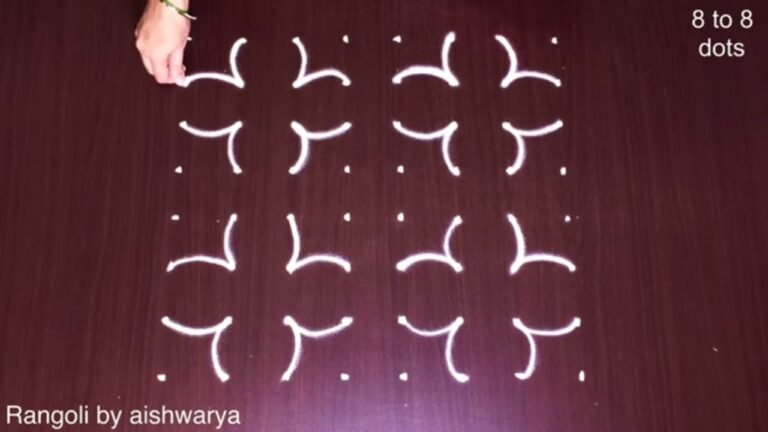
My Rangoli Channel Contains : 15 Pulli Kolam 15 to 1 dots Rangoli
15 Chukkala Muggulu 15 1 dots Rangoli with Colour Flower Rangoli with dots 15 1
15 dots Kolam Kolam 15 to 1 dots Rangoli Designs with dots 15 1
Kolam with dots 15 Don't forget to like, share, and subscribe for more Ram Rangoli videos.
Tip: Keep your powder bowl close to your dominant hand. Small movements give cleaner curves.
The Pongal Butterfly Rangoli 15-1 is a delightful design that perfectly captures the festive spirit of Pongal. With its 15-1 dot arrangement, this kolam not only showcases intricate patterns but also symbolizes the joy of harvest and the beauty of nature. The butterfly motifs incorporated in the design add a whimsical touch, making it an excellent choice for welcoming guests during the festival. For more inspiration, check out this Butterfly Rangoli for Festival that can complement your celebrations.
This kolam is best suited for beginners as it combines simplicity with elegance, allowing for easy execution while still making a significant visual impact. The vibrant colors often used in this design can brighten up any space, making it perfect for decorating your home during Pongal. If you’re interested in exploring similar styles, consider the Easy Pongal Pot Kolam for a festive flair that’s equally charming. To learn more about the cultural significance of these designs, visit this page on Rangoli.
Pongal Butterfly Rangoli 15-1 — Step by Step Guide
If you have drawn dot rangoli before, this will feel familiar. If you have not, the dot grid will guide you.
- Mark the 15-to-1 dot grid — a diamond field with a central row of 15 dots decreasing by two each row down to a single dot at the top and bottom points.
- Draw a full lotus in the centre: a ring of eight pointed petals around a small dot core, then curl a little spiral into each notch between petals so the bloom looks doubled.
- At each of the four diagonal corners draw a butterfly — two rounded wings meeting at a slim body, a curled feeler above and a small loop between the wings.
- At the top, bottom, left and right midpoints add a small five-petal flower with a tiny dot centre.
- Link the motifs with paired curved leaves running along the four edges so the diamond reads as one continuous border.
- Retrace the lines to even the white; leave it as a plain white kolam on the dark floor.
What You Will Learn
- 15 To 1 Dots Rangoli
- Pongal Butterfly Rangoli
- Sankranti Pulli Kolam With Dots
- 15-1 Dots Kolam
- Chukkalu Muggu Designs
- Rangoli With Dots
Frequently Asked Questions
How do I draw this rangoli?
Set down the dot grid in pencil or chalk, then follow the loops one petal at a time. If a curve goes off, wipe it and retry — kolam is forgiving.
Is this suitable for beginners?
It is one of the more forgiving designs in our collection. Beginners often pick it as a confidence-builder before moving on to larger grids.
What materials do I need?
You will need rice flour or rangoli powder (white, plus your choice of colours), a flat surface like a clean floor or courtyard, and optionally a dot stencil if you are new to grid-drawing.
How long does it take?
The tutorial is 7 min 34 sec long. With practice the actual drawing settles around 10 minutes; the first time will likely take twice that.
A reminder that beautiful art does not need expensive materials — just a steady hand, a clean surface, and a few pinches of rice flour.
Leave a Reply