Muggulu Designs For Pongal has become a favourite among learners on our channel — and once you try it, you will see why.

Simple Rangoli Designs presents: Simple Peacock Rangoli for Sankranthi Designs 19×1 Dots and New Muggulu for Pongal Kolam 🌸 In this video, learn a simple & easy rangoli step-by-step. Whether you need a daily rangoli for your home entrance or a beautiful festival rangoli, this design is perfect for beginners! Time: Just 6 minutes for instant, eye-catching beauty.
Style: Classic traditional Muggulu / Kolam vibes with a graceful touch. Perfect for: Everyday doorstep elegance, special Friday, quick festive entrances, or whenever you want your home to feel instantly blessed & welcoming. 🌟 Perfect occasions & styles:
Everyday Home Entrance Rangoli Special Friday Rangoli Pongal Kolam & Sankranti celebrations
Diwali Rangoli Lotus Rangoli Graceful Peacock Rangoli
Door Rangoli Designs Chukkala Muggulu (dot-based patterns) Easy Rangoli Designs / Rangoli with Dots
Chukkala Muggulu / Traditional Kolam Beginners Rangoli / Border Rangoli Latest Rangoli Trends
Tip: Practice on paper first if you are new to dot kolam. The grid is the same; only the surface changes.
Muggulu designs for Pongal often reflect the joyous spirit of the festival, characterized by intricate patterns and vibrant colors. This specific design, featuring a peacock motif, uses a simple 19×1 dot grid that is easy for beginners to follow. The graceful curves and flowing lines not only add elegance but also symbolize prosperity and good fortune, making it a delightful addition to your home during the celebration. For more inspiration, you can check out Lotus Flowers Rangoli Designs for Sankranti.
This kolam design is not only beautiful but also serves as a warm welcome to guests, reflecting the hospitality that is central to Pongal festivities. It can be easily created in under six minutes, allowing you to spend more time enjoying the celebrations with family and friends. For those looking for additional simple designs, exploring Every Day Morning Rangoli can provide more options to brighten your home year-round. To learn more about the art of rangoli, you can visit this page.
About this design: Muggulu Designs For Pongal is a beginner-friendly pattern that comes together in just a few minutes. Once you have practised the muggulu designs for pongal dot grid, you can scale it up for festival mornings or scale it down for a daily doorstep. Many learners on our channel make this muggulu designs for pongal their go-to design once they get the rhythm of the curves.
Muggulu Designs For Pongal — Step by Step Guide
If you have drawn dot rangoli before, this will feel familiar. If you have not, the dot grid will guide you.
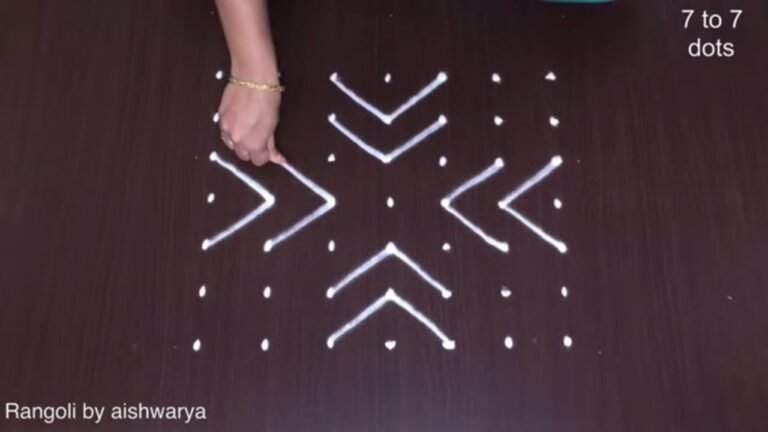
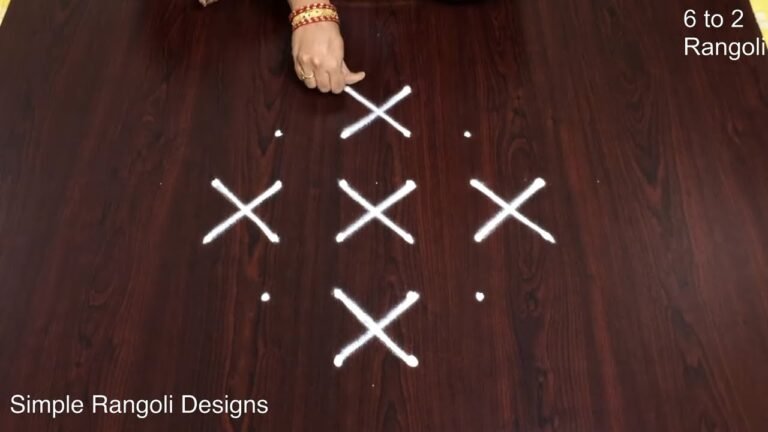
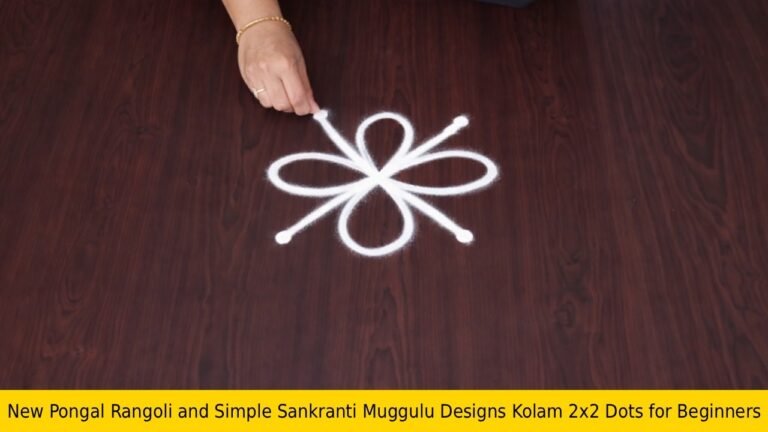
- Mark the dot grid.
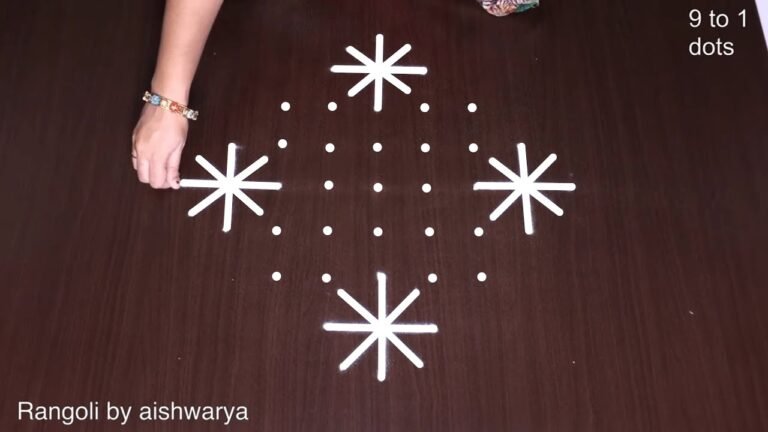
- Draw a small flower in the very center with short lines radiating out from it.
- Draw four peacocks around the center, one facing each direction (up, down, left, right), their curved bodies meeting to form a large diamond and their crested heads pointing out to the four tips.
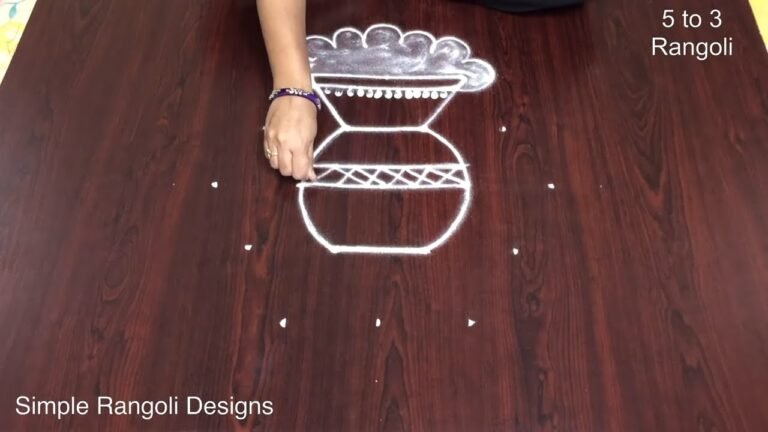
- Fill each peacock body with rows of scalloped feathers and a net of tiny dots, then draw a long curved tail sweeping behind each bird.
- Place a mango-leaf (paisley) shape between the peacocks, surrounding the central flower.
- Add curling tendril swirls at the four outer corners and small triangular tips at the points.
- Colour the peacock bodies green with white dotted feathers, the tails blue, and the central flower and paisley leaves pink/magenta.
What You Will Learn
- 19X1 Dots Rangoli
- Peacock Rangoli With Dots
- Sankranthi Muggulu Designs
- 19X1 Dots Kolam
- Pongal Kolam With Dots
- Peacock Kolam With Dots
Frequently Asked Questions
How do I draw this rangoli?
It looks complex but follows a simple rhythm: dots first, then loops. Mark the grid, take a breath, and trace the curves at a steady pace. The pattern emerges on its own.
Is this suitable for beginners?
Absolutely. You can pause and rewind the video at every step. The pattern is straightforward once you have the grid down.
What materials do I need?
Rice flour, coloured rangoli powders, and a clean stretch of floor or paper. Some draw with chalk first to set the grid before powdering over it.
How long does it take?
About 6 min 5 sec on screen, perhaps 15 minutes for a relaxed first attempt. By the second try most people are noticeably quicker.
Drawing kolam is as much about the practice as the result. Set aside ten minutes, follow the video, and enjoy the process.

Leave a Reply