Pongal Kundala Muggulu With is the kind of design that looks intricate but is genuinely beginner-friendly once you follow the dot grid.
For another beginner-friendly variation, try 9 To 1 Prathi Roju Vese Muggulu.
Sankranti Rangoli 🌼 Pongal Kolam 🌼 Pongal Kundala Muggulu with 14 to 2 dots Thank you so much for watching Channel
My Rangoli Channel Contains : Rangoli Designs Sankranthi Muggulu
Diwali Rangoli Ratham Muggulu Kolam Designs
Muggulu Designs Chukkala Muggulu Easy Rangoli
Simple Rangoli Easy Rangoli Designs Dhanurmasam Muggulu
Melikala Muggulu Geethala Muggulu Sivarathri Muggulu
Tip: Keep your powder bowl close to your dominant hand. Small movements give cleaner curves.
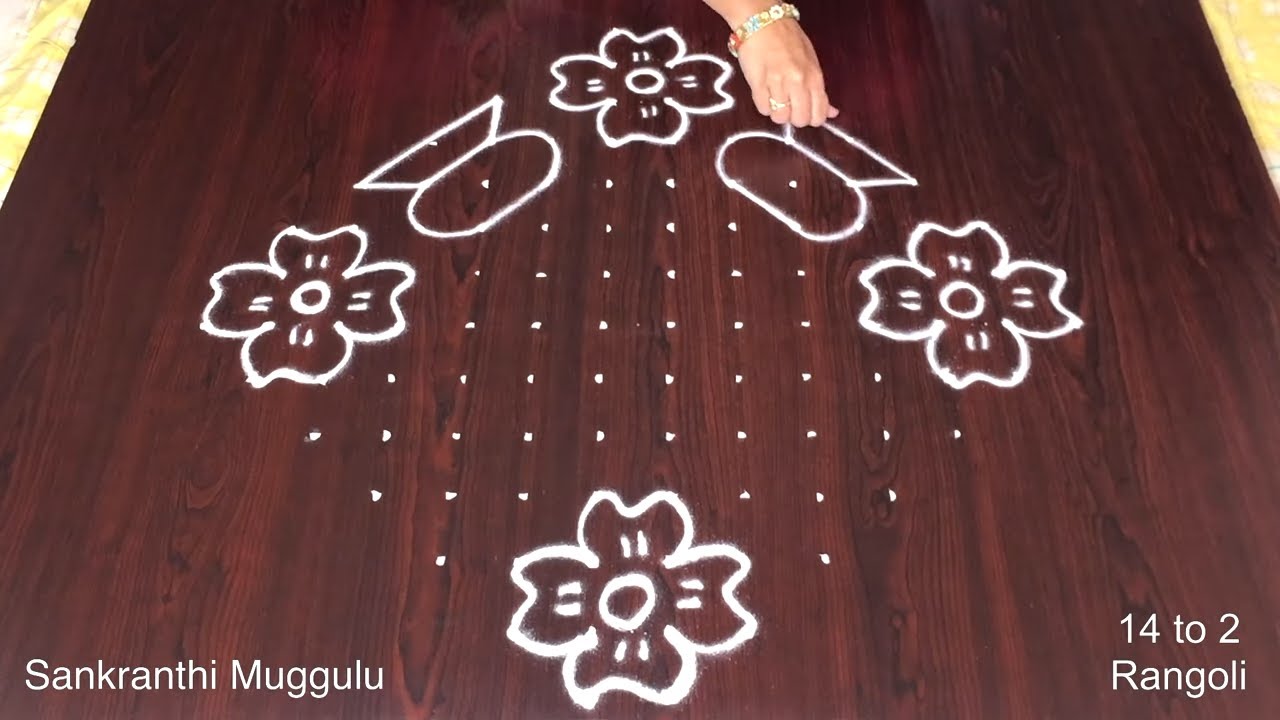
The Pongal Kundala Muggulu, designed with 14 to 2 dots, beautifully symbolizes the spirit of the Pongal festival, celebrating the harvest and the abundance of life. This intricate design is characterized by its circular motifs, which resemble pots, symbolizing prosperity and good fortune. As you create this muggulu, you can enjoy the rhythmic flow of drawing the curves, helping to connect with the festive atmosphere. For more inspiration, check out the 15 Se 1 Pongal Pot Kolam Colourful which also celebrates this joyous occasion.
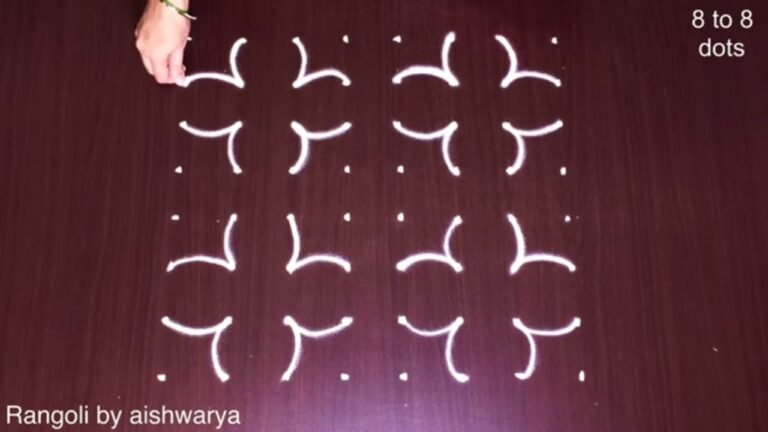
This muggulu style is perfect for beginners, as it combines simplicity with artistic expression. The process of creating the kundala pattern allows you to practice your skills while fostering a sense of community, as many families come together to create beautiful designs during Pongal. Understanding the significance of these patterns can enhance your appreciation for this traditional art form. If you’re interested in exploring more designs, consider the 8 to 8 Navratri Durga Pooja Kolam, which showcases another beautiful aspect of Indian culture and creativity. For a broader understanding of rangoli, you can visit this page.
14 To 2 Dots — Step by Step Guide
If you have drawn dot rangoli before, this will feel familiar. If you have not, the dot grid will guide you.
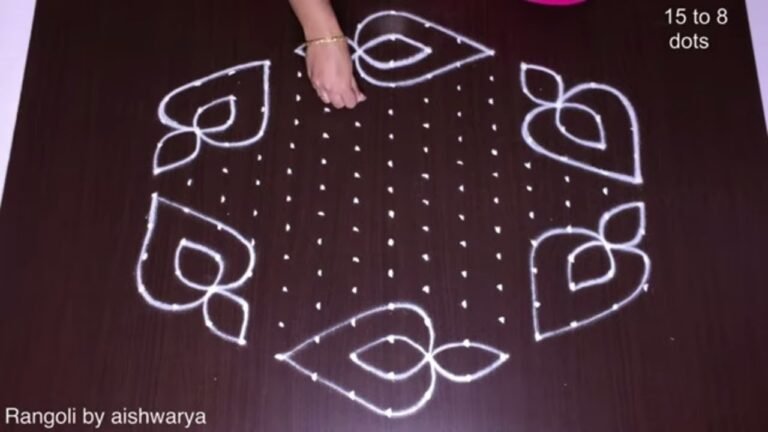
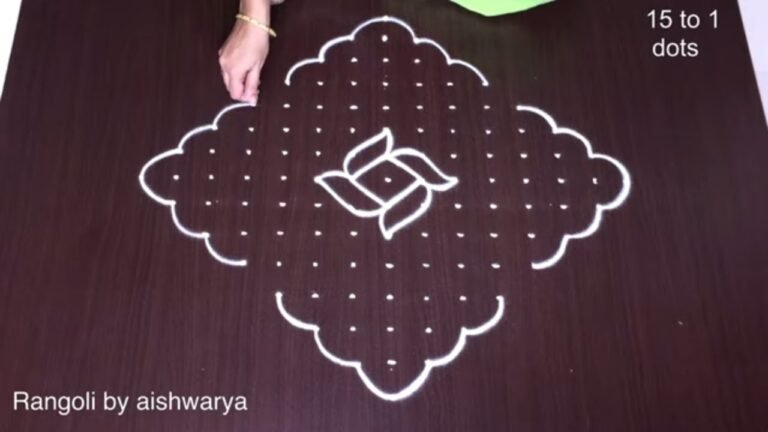
- Mark the 14-to-2 dot grid — a diamond pulli grid of 14 dots tapering to 2, giving a centre plus four sides and four corners for the motifs.
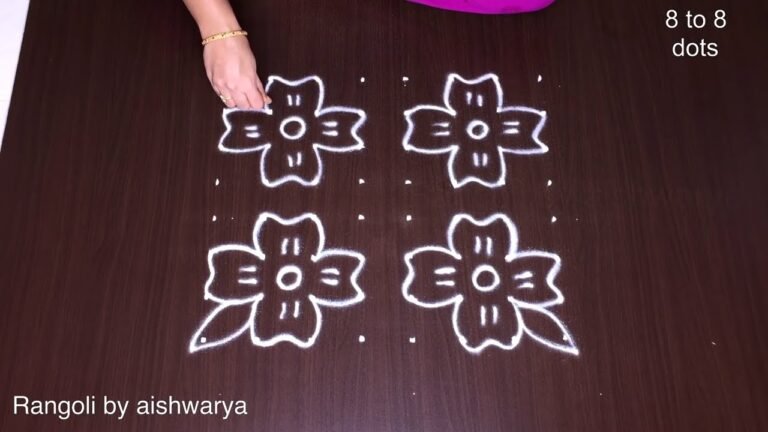
- In the centre draw a five-petal flower with rounded petals and a dotted round core (a short dash of dots in each petal).
- Add a matching five- or six-petal flower at the top, bottom, left and right of the grid, each with a dotted centre, so five flowers sit in a plus/diamond arrangement.
- In each of the four corners draw a paisley/oval motif filled with cross-hatched net lines and edged with rows of small dots, tucking a small curl or bud beside each.
- Link the flowers and corner motifs with short connecting curls and dotted lines so the whole muggulu reads as one balanced diamond.
- Redraw all outlines cleanly in white rangoli powder — the muggulu is drawn entirely in white, with the hatching and dot rows as the only detail.
What You Will Learn
- 14 To 2 Dots Rangoli
- Sankranti Pongal Kolam With Dots
- Pongal Kundala Muggulu Designs
- 14-2 Dots Kolam
- Festival Rangoli With Dots
- Rangoli With Dots
Frequently Asked Questions
How do I draw this rangoli?
Begin with the dot grid — this is the skeleton of the design. With rice flour or chalk, place each dot at equal intervals. Then trace the curves slowly, one section at a time.
Is this suitable for beginners?
Beginner-friendly is exactly the right description. The video walks through every line clearly and you can match the pace.
What materials do I need?
You will need rice flour or rangoli powder (white, plus your choice of colours), a flat surface like a clean floor or courtyard, and optionally a dot stencil if you are new to grid-drawing.
How long does it take?
5 min 28 sec of video, perhaps 20 minutes of practice. The curves take a couple of attempts to feel natural, then it speeds up considerably.
Half the skill of kolam is learning to slow down. Put on some music, give yourself the time, and let the curves come naturally.
Leave a Reply