Latest Pongal Rangoli Designs combines tradition with simplicity, making it one of the most rewarding designs to practice at home.
Sankranthi muggulu | Latest pongal rangoli designs | 13 to 1 Easy kolam Patterns Thank you so much for watching Channel
My Rangoli Channel Contains : Rangoli Designs Sankranthi Muggulu
Diwali Rangoli Ratham Muggulu Kolam Designs
Muggulu Designs Chukkala Muggulu Easy Rangoli
Simple Rangoli Easy Rangoli Designs Dhanurmasam Muggulu
Melikala Muggulu Geethala Muggulu Sivarathri Muggulu
Tip: Practice on paper first if you are new to dot kolam. The grid is the same; only the surface changes.
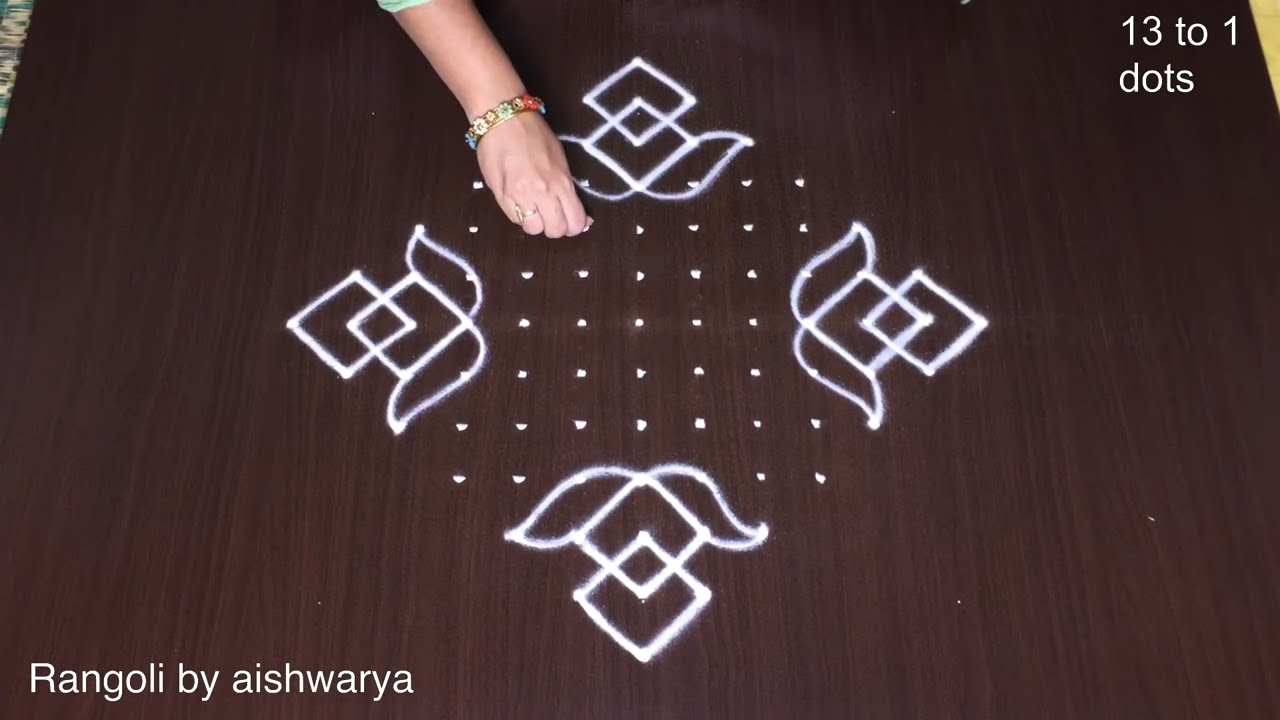
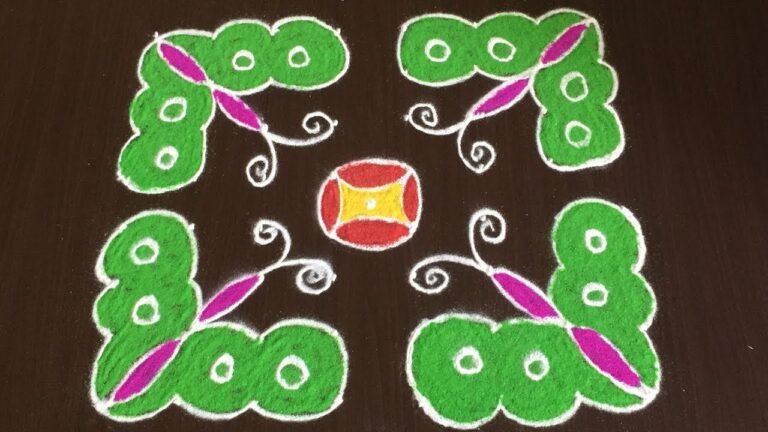
The latest Pongal rangoli designs celebrate the vibrant spirit of the festival with intricate patterns that embody joy and prosperity. Using a 13 to 1 dot layout, these kolams are perfect for beginners looking to enhance their skills while also embracing the cultural significance of Pongal. The designs often feature traditional motifs such as rice, sugarcane, and sun, symbolizing the harvest season. For further inspiration, you may explore Rangoli Designs For Sankranti With 13 To 7 Dots that can beautifully complement these festive creations.
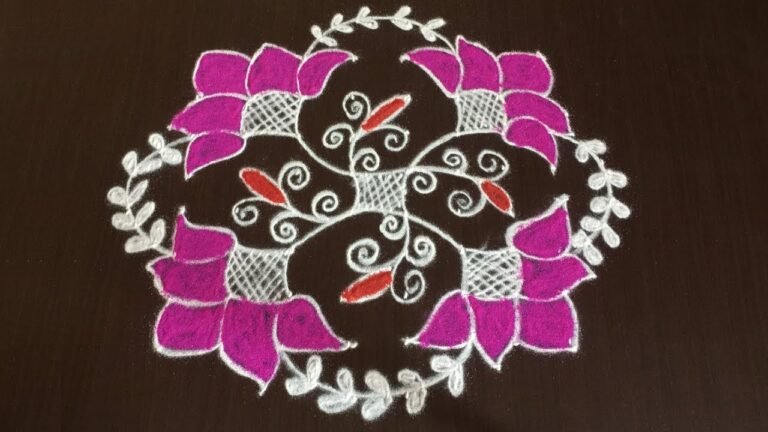
Creating these rangolis not only adds beauty to your home but also serves as a wonderful bonding activity with family and friends during the celebrations. The step-by-step patterns are designed to help novices gain confidence while experimenting with colors and shapes. If you’re looking for more creative ideas, consider checking out the Big Creative Deepam Rangoli for a unique twist on traditional designs. To learn more about this beautiful art form, visit Rangoli for a deeper dive into its history and significance.
Latest Pongal Rangoli Designs — Step by Step Guide
The video above shows the full sequence; the steps below summarise each stage so you can glance back as you draw.
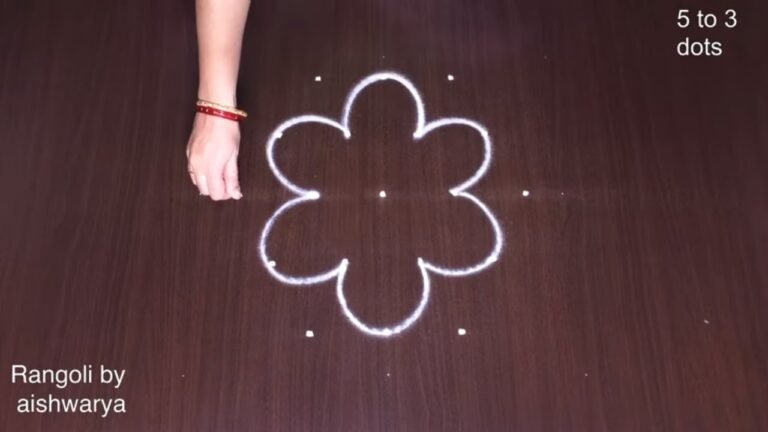
- Mark a 13-to-1 dot grid: a rhombus that tapers from 13 dots at the middle to a single dot at each point.
- At the centre draw a small eight-petal flower with a dotted middle.
- Around the centre draw four birds (parrots) in rotational pinwheel symmetry: each with a rounded body and a small head whose pointed beak turns toward the centre.
- From each bird sweep a long crescent wing/tail outward, giving the whole design its curved, spinning look.
- At the four outer corners draw a small square box set as a diamond and fill it with net hatching to frame the wingtips.
- Add short curved feather-strokes and small leaf tips along the wings to finish.
What You Will Learn
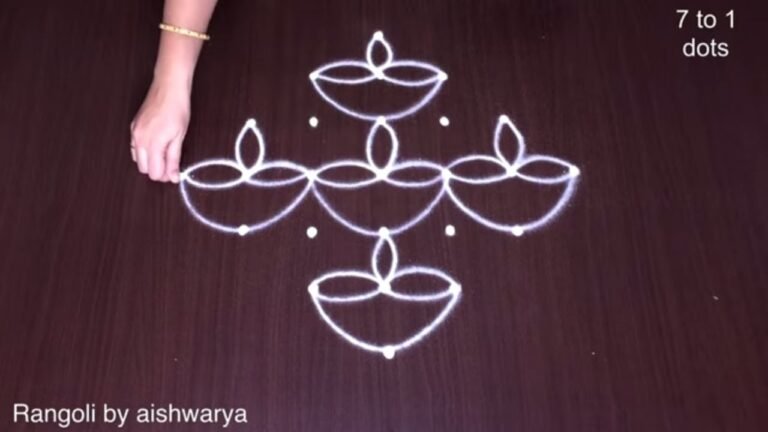
- 13 To 1 Dots Rangoli
- Sankranthi Muggulu Designs
- Pongal Rangoli With Dots
- 13-1 Dots Kolam
- Easy Kolam With Dots
- Rangoli With Dots
Frequently Asked Questions
How do I draw this rangoli?
Start by marking an even dot grid on a flat, clean surface. Once the grid is in place, connect the dots following the curves shown in the video. Even spacing between dots is the single biggest factor for a clean finish.
Is this suitable for beginners?
Yes, and it is one we recommend to first-timers. The small grid keeps the design manageable while still teaching the core technique.
What materials do I need?
Powder (white for outlines, colours for filling), a flat surface, and a dot stencil if you want absolute precision. Beyond that, just your hand and a steady pace.
How long does it take?
About 3 min 57 sec on screen, perhaps 15 minutes for a relaxed first attempt. By the second try most people are noticeably quicker.
Roll up your sleeves, grab a handful of rice flour, and give this design ten quiet minutes. The result is worth the small effort.
Leave a Reply