There is something timeless about Pongal Celebration Kolam — the symmetry, the rhythm of the dots, and the soft curves it produces.

Pongal Celebration Kolam New Festival | Flower Muggulu 13 1 Roja Poo Rangoli Thank you so much for watching Channel
My Rangoli Channel Contains : Rangoli Designs Sankranthi Muggulu
Diwali Rangoli Ratham Muggulu Kolam Designs
Muggulu Designs Chukkala Muggulu Easy Rangoli
Simple Rangoli Easy Rangoli Designs Dhanurmasam Muggulu
Melikala Muggulu Geethala Muggulu Sivarathri Muggulu
Tip: Use chalk to lightly mark your dot grid first — it wipes away cleanly once your rangoli is finished.
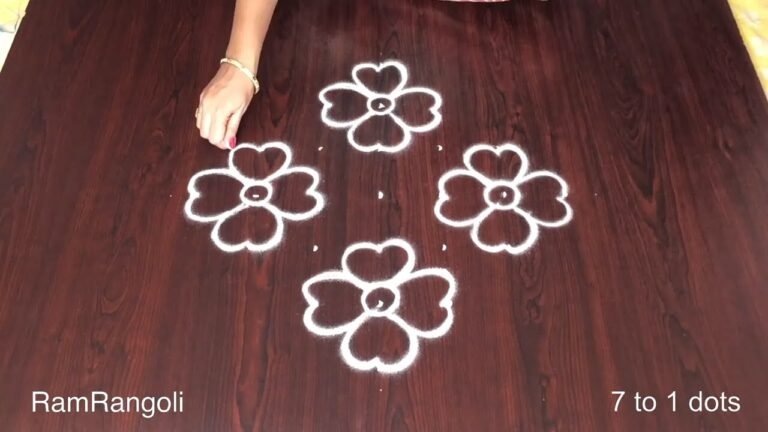
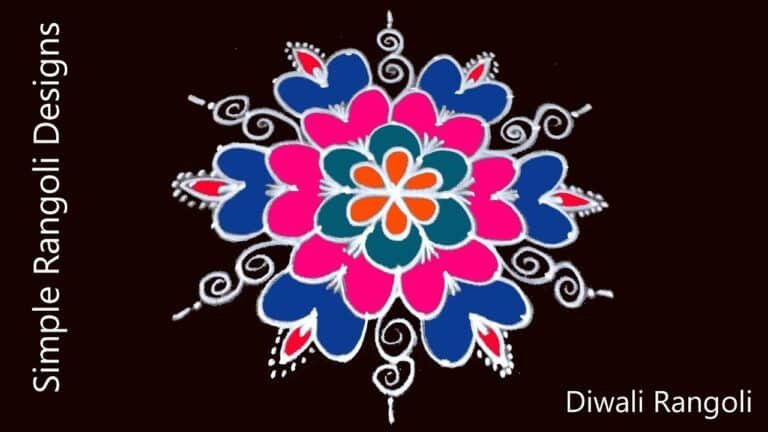
The Pongal celebration kolam is a vibrant and intricate design that symbolizes gratitude and joy during the harvest festival. Typically created with 13 dots arranged in a specific pattern, this kolam is adorned with floral motifs and traditional symbols that evoke the spirit of the season. This festive design not only enhances the entrance of homes but also serves as a welcoming gesture for guests, embodying the essence of the Pongal festivities. For those interested in exploring similar designs, the Lotus Flowers Rangoli Designs for Sankranti can provide additional inspiration.
Drawing a Pongal celebration kolam involves using rice flour, chalk, or colored powders, which are meticulously placed to create a masterpiece. Beginners may find joy in practicing this art form, as it allows for creativity and personalization. The use of colors signifies abundance and prosperity, making it a perfect representation of the festival’s themes. If you’re looking for more daily inspiration, the Every Day Morning Rangoli post offers a variety of simple designs suitable for everyday use. To understand more about the cultural significance of rangoli, visit this Wikipedia page.
Pongal Celebration Kolam — Step by Step Guide
Below is the step-by-step breakdown. The video covers the same sequence in real time.
- Mark the dot grid.
- In the centre draw a small flower inside a diamond as the core of the kolam.
- Around the centre draw four birds (parrot/peacock style), each with a curved body, a small beak and a round eye, spaced evenly and all facing the centre.
- From behind each bird sweep out long leaf-shaped tail feathers and pairs of pointed leaves so the birds sit in a spray of foliage.
- Finish the four outer corners with bold curling spirals.
- Double the outlines so the birds and leaves stand out as clean white lines.
What You Will Learn
- Simple Rangoli Designs
- Rangoli
- Muggulu
- Rangoli Designs
- Rangoli Kolam
- Kolam
Frequently Asked Questions
How do I draw this rangoli?
Begin with the dot grid — this is the skeleton of the design. With rice flour or chalk, place each dot at equal intervals. Then trace the curves slowly, one section at a time.
Is this suitable for beginners?
Yes, and it is one we recommend to first-timers. The small grid keeps the design manageable while still teaching the core technique.
What materials do I need?
White rice flour for the outline, coloured powders for the fill, and a clean dry floor. That is the essentials list — you can add a stencil if you prefer.
How long does it take?
Roughly 7 min 42 sec to watch end-to-end, and 10–20 minutes to draw yourself depending on grid size and how careful you are with the curves.
After you draw this, take a picture before the day blows it away. Kolam is impermanent by design, but a photo lets you revisit the version you drew.

Leave a Reply