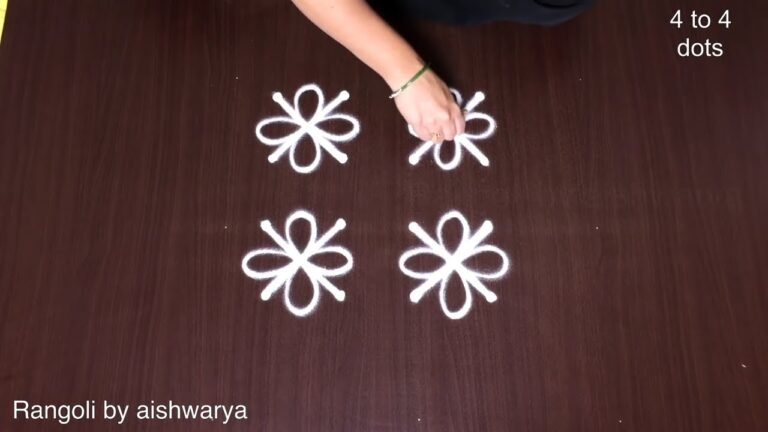
If you enjoy dot-grid muggulu, Pot Kolams For Pongal is a satisfying pattern that comes together in just a few minutes.

For another beginner-friendly variation, try Easy Pongal Pot Kolam.
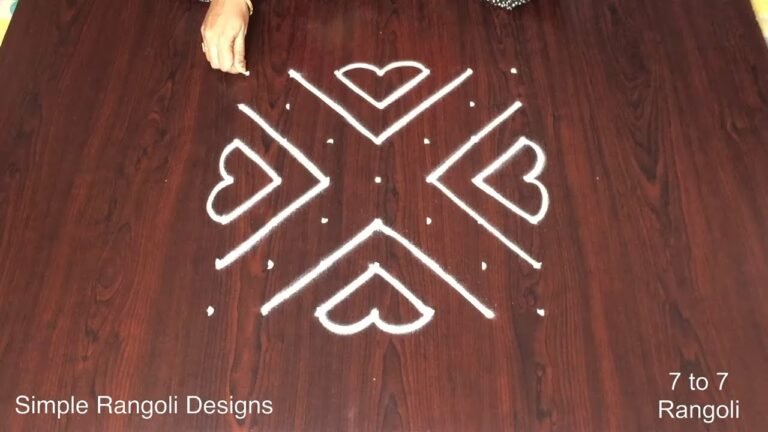
Draw This Rangoli for Bhogi Small | Chukkala Muggulu 7×7 Dots Pot Kolams for Pongal Thank you so much for watching Channel
My Rangoli Channel Contains : Rangoli Designs Sankranthi Muggulu
Diwali Rangoli Ratham Muggulu Kolam Designs
Muggulu Designs Chukkala Muggulu Easy Rangoli
Simple Rangoli Easy Rangoli Designs Dhanurmasam Muggulu
Melikala Muggulu Geethala Muggulu Sivarathri Muggulu
Tip: Work from the centre outward. It keeps the symmetry honest and prevents the design from drifting off-balance.
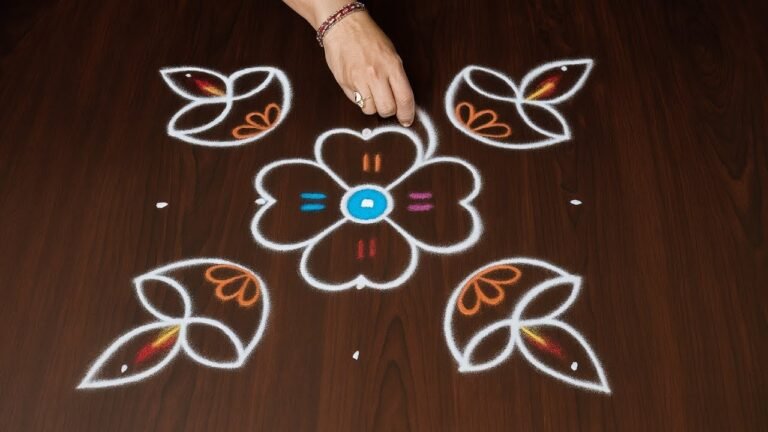
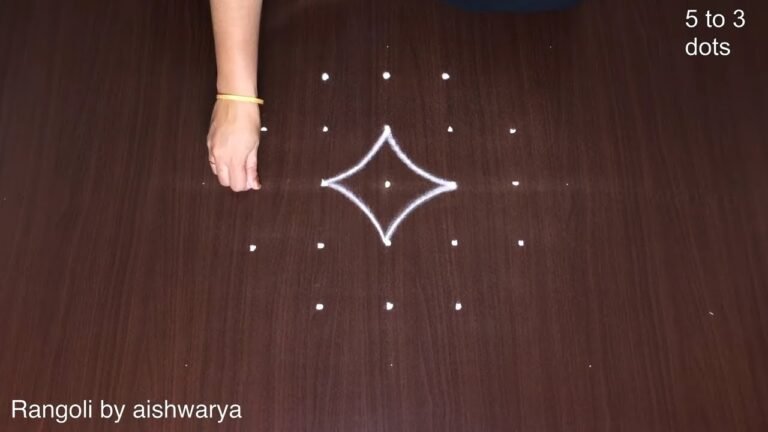
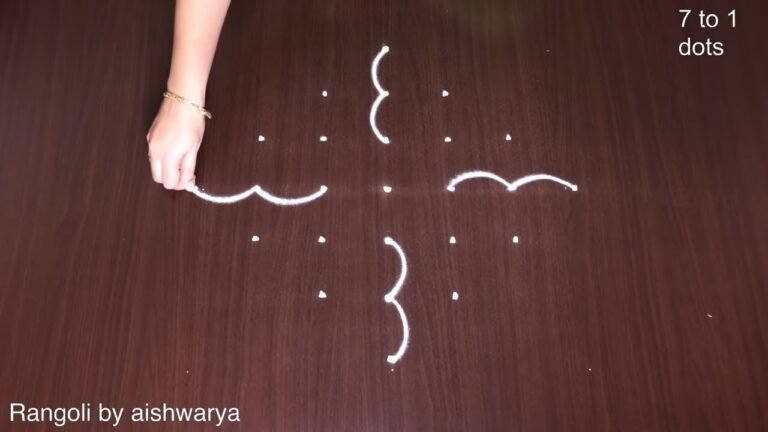
Pot kolams for Pongal, especially those designed with a 7×7 dot grid, are a beautiful way to welcome the festival of harvest. These intricate patterns often depict traditional clay pots filled with the bounty of the season, symbolizing prosperity and abundance. The process of creating a pot kolam can be meditative and enjoyable, making it an excellent choice for beginners. You can explore more about similar designs in our Pongal Pot Kolam Colourful post.
These kolams are typically drawn on the morning of Bhogi, a day dedicated to discarding old belongings and embracing new beginnings. The vibrant colors and detailed designs of pot kolams add joy and festivity to the household. For those looking to enhance their skills further, consider checking out our 8 to 8 Navratri Durga Pooja Kolam post, which offers unique patterns that can inspire your creativity. To learn more about the art of rangoli, visit this page.
Pot Kolams For Pongal — Step by Step Guide
Use the steps below as a reference card while the video plays. Most learners finish on the second attempt.
- Clear a flat surface and set down your dot grid using rice flour or chalk.
- Confirm the dot spacing is even — uneven dots are the biggest cause of wobbly curves.
- Begin tracing from the centre outward, following the curves shown in the video above.
- Fill the petals and sections with your chosen colours, working one area at a time.
- Finish the edges with a fine line for a sharp, photograph-ready result.
What You Will Learn
- Simple Rangoli Designs
- Rangoli
- Muggulu
- Rangoli Designs
- Rangoli Kolam
- Kolam
Frequently Asked Questions
How do I draw this rangoli?
It looks complex but follows a simple rhythm: dots first, then loops. Mark the grid, take a breath, and trace the curves at a steady pace. The pattern emerges on its own.
Is this suitable for beginners?
Absolutely. You can pause and rewind the video at every step. The pattern is straightforward once you have the grid down.
What materials do I need?
You will need rice flour or rangoli powder (white, plus your choice of colours), a flat surface like a clean floor or courtyard, and optionally a dot stencil if you are new to grid-drawing.
How long does it take?
A 9 min 41 sec video shows the complete sequence. On paper or floor, expect to spend around a quarter of an hour from grid to finished pattern.
Half the skill of kolam is learning to slow down. Put on some music, give yourself the time, and let the curves come naturally.
Leave a Reply