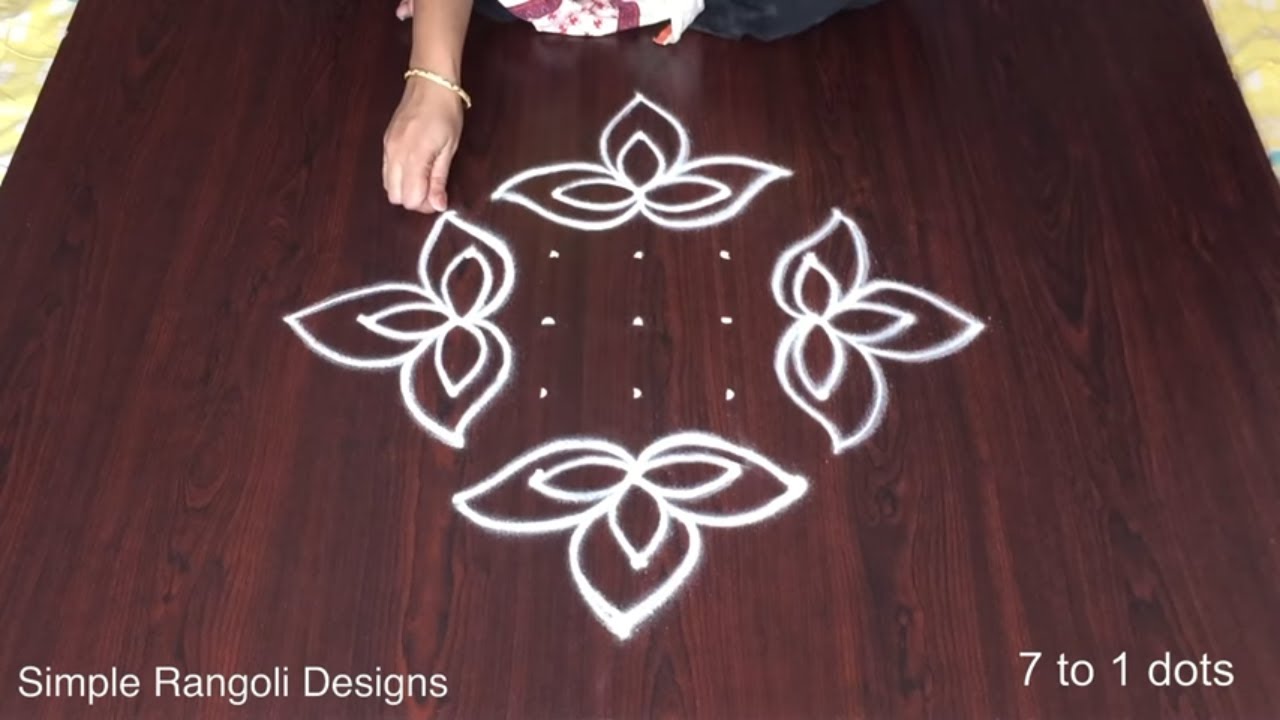
Drawing Simple Rangoli Designs For is a relaxing, almost meditative practice. The dots guide your hand and the design unfolds naturally.

Kolam for Pongal 🌹 Sankranthi Chukkala Muggulu 2024 🌹 Simple Rangoli Designs for Pongal Thank you so much for watching Channel
My Rangoli Channel Contains : Rangoli Designs Sankranthi Muggulu
Diwali Rangoli Ratham Muggulu Kolam Designs
Muggulu Designs Chukkala Muggulu Easy Rangoli
Simple Rangoli Easy Rangoli Designs Dhanurmasam Muggulu
Melikala Muggulu Geethala Muggulu Sivarathri Muggulu
Tip: Keep your powder bowl close to your dominant hand. Small movements give cleaner curves.
Simple rangoli designs for Pongal often focus on joyful themes that celebrate the harvest festival. One popular design includes a vibrant depiction of a pot filled with rice, symbolizing abundance and prosperity. This kolam can be beautifully created using 9 to 9 dots, allowing for intricate patterns that highlight the festive spirit. For those interested in variations, the Pongal Pot Kolam Special Rangoli Designs offers a wonderful exploration of different styles that capture the essence of this celebration.
Using bright colors like yellow, green, and orange enhances the visual appeal of your kolam, making it a delightful addition to your home during Pongal. Beginners can start with simpler patterns and gradually incorporate more complex designs as they gain confidence. To see more examples, the Daily Simple Small Rangoli 6x2x2dots Kolam provides inspiration for easy yet beautiful creations. For those interested in the rich cultural significance of rangoli itself, you can learn more from this Wikipedia article.
About this design: Rangoli Designs For Pongal is a beginner-friendly pattern that comes together in just a few minutes. Once you have practised the rangoli designs for pongal dot grid, you can scale it up for festival mornings or scale it down for a daily doorstep. Many learners on our channel make this rangoli designs for pongal their go-to design once they get the rhythm of the curves.
Rangoli Designs For Pongal — Step by Step Guide
Each step takes only a moment. The whole design comes together in just a few minutes once the grid is in place.
- Clear a flat surface and set down your dot grid using rice flour or chalk.
- Confirm the dot spacing is even — uneven dots are the biggest cause of wobbly curves.
- Begin tracing from the centre outward, following the curves shown in the video above.
- Fill the petals and sections with your chosen colours, working one area at a time.
- Finish the edges with a fine line for a sharp, photograph-ready result.
What You Will Learn
- Simple Rangoli Designs
- Rangoli
- Muggulu
- Rangoli Designs
- Rangoli Kolam
- Kolam
Frequently Asked Questions
How do I draw this rangoli?
Start by marking an even dot grid on a flat, clean surface. Once the grid is in place, connect the dots following the curves shown in the video. Even spacing between dots is the single biggest factor for a clean finish.
Is this suitable for beginners?
Absolutely. You can pause and rewind the video at every step. The pattern is straightforward once you have the grid down.
What materials do I need?
Rice flour, coloured rangoli powders, and a clean stretch of floor or paper. Some draw with chalk first to set the grid before powdering over it.
How long does it take?
Roughly 3 min 1 sec to watch end-to-end, and 10–20 minutes to draw yourself depending on grid size and how careful you are with the curves.
After you draw this, take a picture before the day blows it away. Kolam is impermanent by design, but a photo lets you revisit the version you drew.


Leave a Reply