This designs for sankranti muggulu tutorial walks you through every step from the dot grid to the final pattern.
Learn more about the tradition of Rangoli on Wikipedia.
There is something timeless about 6X2 Middle Dots Rangoli — the symmetry, the rhythm of the dots, and the soft curves it produces.
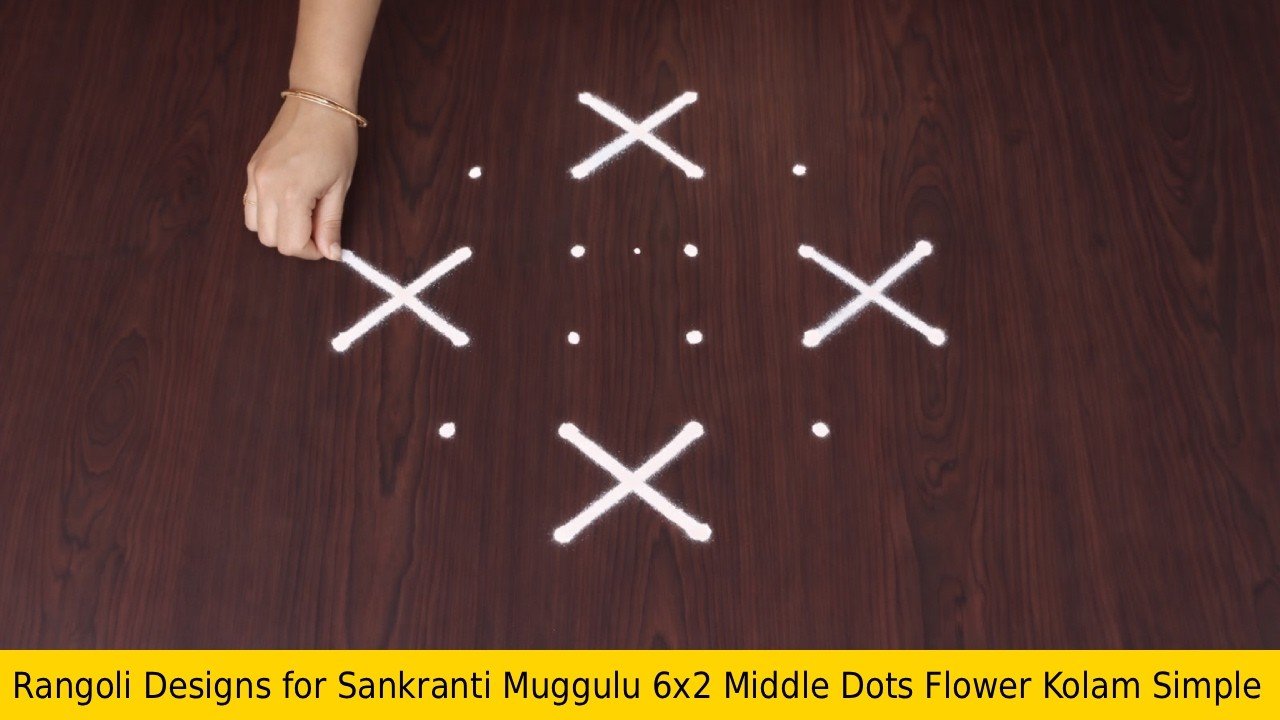
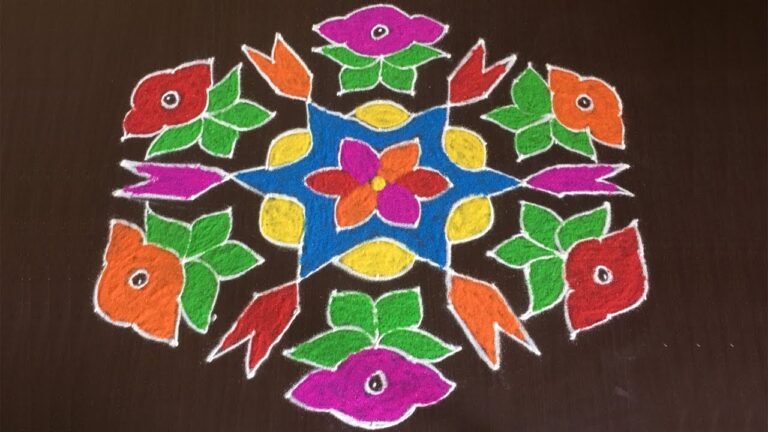
Looking for a small and simple kolam for Sankranti? This 6 by 2 middle dots flower rangoli is compact, festive, and easy to draw. In this video, I guide you step by step to create a 6×2 middle dot grid flower kolam specially designed for Sankranti decoration. The small rectangular layout makes it ideal for apartment entrances and limited spaces, while the middle dot alignment gives the design a balanced and unique appearance.
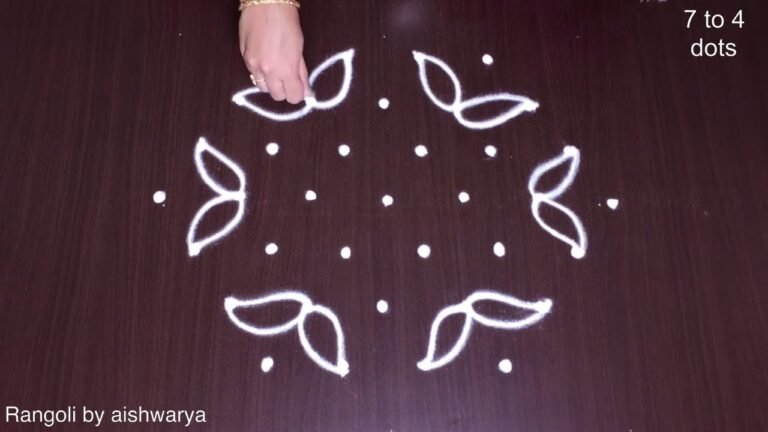
We begin by placing a neat 6 by 2 middle dot structure, carefully aligned to maintain symmetry and spacing. Then, the outer flower framework is formed by smoothly connecting the dots into curved and elegant shapes. Inner detailing enhances the floral pattern and gives the kolam a clean and complete finish. Even though the grid is compact, the final design looks festive and well-balanced. How to construct a proper 6–2 middle dot grid How to maintain symmetry in small kolams
How to create simple flower patterns using dots Tips to make Sankranti kolam neat and attractive This flower muggulu is perfect for Sankranti entrances, small verandas, and quick festive decoration. The structured grid ensures a clean result while keeping the design beginner-friendly.
Watch till the end to see the full transformation from simple dots to a complete flower kolam — the final reveal highlights a beautifully balanced Sankranti design. If you enjoy compact dot kolams, explore more 6 by 2 dots rangoli, Sankranti special muggulu, and simple festive patterns on the channel.
Tip: Use chalk to lightly mark your dot grid first — it wipes away cleanly once your rangoli is finished.
This design belongs to the broader tradition of rangoli and kolam art practised across South India. Explore more in our Muggulu for Sankranthi collection.
About this design: Designs For Sankranti Muggulu is a beginner-friendly pattern that comes together in just a few minutes. Once you have practised the designs for sankranti muggulu dot grid, you can scale it up for festival mornings or scale it down for a daily doorstep. Many learners on our channel make this designs for sankranti muggulu their go-to design once they get the rhythm of the curves.
Designs For Sankranti Muggulu — Step by Step Guide
Follow the steps below to recreate this design at home. Pause the video whenever you need — there is no hurry.
- Clear a flat surface and set down your dot grid using rice flour or chalk.
- Confirm the dot spacing is even — uneven dots are the biggest cause of wobbly curves.
- Begin tracing from the centre outward, following the curves shown in the video above.
- Fill the petals and sections with your chosen colours, working one area at a time.
- Finish the edges with a fine line for a sharp, photograph-ready result.
What You Will Learn
- 6X2 Middle Dots Rangoli
- Sankranti Muggulu Designs
- Flower Kolam With Dots
- 6X2 Dots Kolam
- Sankranthi Rangoli With Dots
- Rangoli With Dots
Frequently Asked Questions
How do I draw this rangoli?
The grid comes first. Use a soft chalk to dot the surface, count twice to confirm the spacing, then start connecting them following the video. Work from the centre outward.
Is this suitable for beginners?
Beginner-friendly is exactly the right description. The video walks through every line clearly and you can match the pace.
What materials do I need?
Powder (white for outlines, colours for filling), a flat surface, and a dot stencil if you want absolute precision. Beyond that, just your hand and a steady pace.
How long does it take?
A 3 min 1 sec video shows the complete sequence. On paper or floor, expect to spend around a quarter of an hour from grid to finished pattern.
After you draw this, take a picture before the day blows it away. Kolam is impermanent by design, but a photo lets you revisit the version you drew.

Leave a Reply