There is something timeless about Pot Rangoli Designs With — the symmetry, the rhythm of the dots, and the soft curves it produces.
Sankranthi Muggulu 2023 | Mattu Pongal Kolam | Pot Rangoli Designs with dots. This tutorial will show you how to draw Beautiful Indian traditional art sankranthi muggulu 2023 patterns using materials such as dry rice flour, colored sand or flower petals Rangoli designs by Aishwarya. Simple rangoli designs with dots Kolam pattern is created on the floor in living rooms or courtyards. Draw the Lines step by step as it is shown in this video and will be awesome Rangoli Design. 😲 The rangoli design for new year muggulu pattern here is one of the amazing latest simple kolam designs. Simple Rangoli Designs and easy rangoli designs by Aishwarya with dots for beginners and intermediate.
1. Bhogi Muggulu 2. Mattu Pongal Kolam 3. Easy rangoli designs
4. Rangoli design 5. Chukkala muggulu 6. Muggu designs
7. Muggulu Sankranthi Muggulu 8. Sankranti Rangoli 9. Sankranthi Muggulu
10. Kolam designs 11. Simple rangoli design 12. Muggulu designs
13. Pongal Kolam 14. Puratasi madham kolam 15. Simple sankranthi muggulu
Tip: Keep your powder bowl close to your dominant hand. Small movements give cleaner curves.
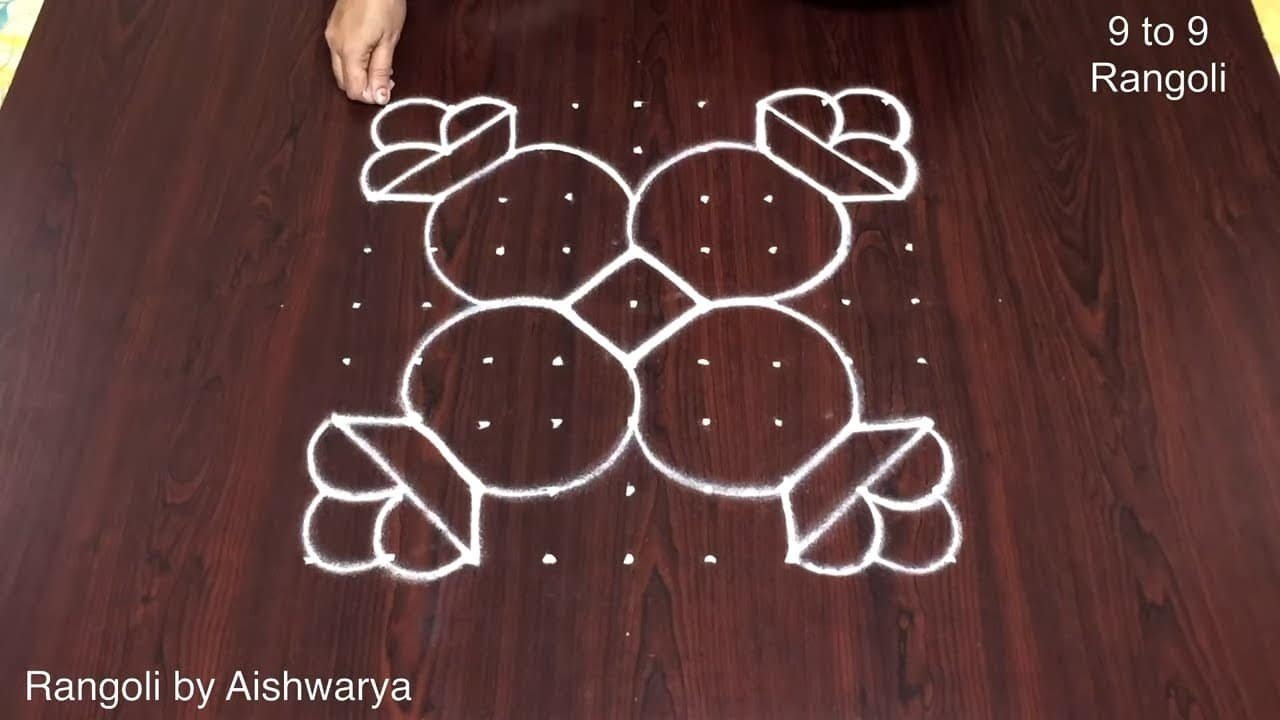
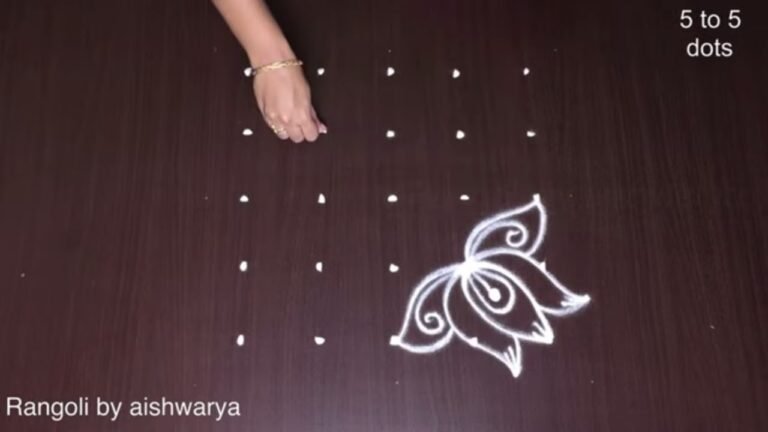
Pot rangoli designs with dots are a delightful way to celebrate Mattu Pongal, a festival dedicated to honoring cattle and the harvest. This style typically features a central pot surrounded by intricate patterns, showcasing the beauty of traditional Indian art. Using dry rice flour or colored sand, beginners can easily create stunning designs, as each dot adds depth and character. For those interested in exploring more ways to enhance their skills, check out Beautiful Rangoli With 7 Dots and Rangoli How to Draw 7 to 7.
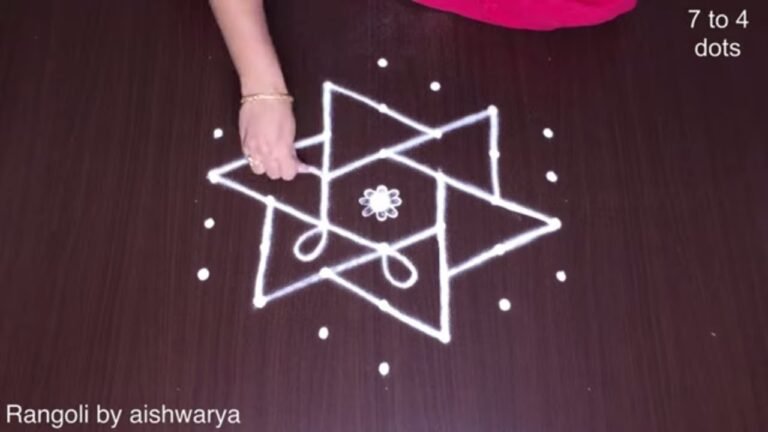
The simplicity of pot rangoli designs makes them accessible for everyone, from novice creators to seasoned artists. These patterns not only beautify homes but also bring a sense of community and celebration during the festive season. By incorporating various colors and floral motifs, individuals can reflect their personal style while adhering to traditional practices. To learn more about the significance and techniques of this beautiful art form, visit this link.
Pot Rangoli Designs With — Step by Step Guide
The video above shows the full sequence; the steps below summarise each stage so you can glance back as you draw.
- Clear a flat surface and set down your dot grid using rice flour or chalk.
- Confirm the dot spacing is even — uneven dots are the biggest cause of wobbly curves.
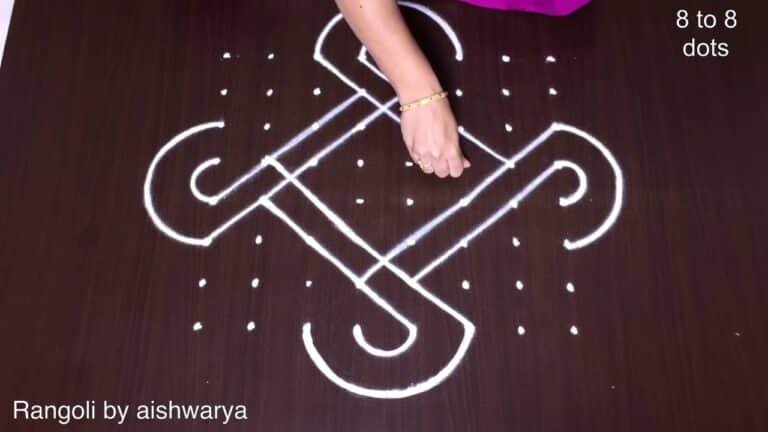
- Begin tracing from the centre outward, following the curves shown in the video above.
- Fill the petals and sections with your chosen colours, working one area at a time.
- Finish the edges with a fine line for a sharp, photograph-ready result.
What You Will Learn
- Simple Rangoli Designs
- Rangoli
- Muggulu
- Rangoli Designs
- Rangoli Kolam
- Kolam
Frequently Asked Questions
How do I draw this rangoli?
The grid comes first. Use a soft chalk to dot the surface, count twice to confirm the spacing, then start connecting them following the video. Work from the centre outward.
Is this suitable for beginners?
It is one of the more forgiving designs in our collection. Beginners often pick it as a confidence-builder before moving on to larger grids.
What materials do I need?
Just three things: powder (white plus any colours you want), a flat dry surface, and a few minutes of focus. A small bowl per colour helps keep things tidy.
How long does it take?
Roughly 4 min 30 sec to watch end-to-end, and 10–20 minutes to draw yourself depending on grid size and how careful you are with the curves.
Whenever you finish your version, share a photo with us. Seeing your work is the best part of running this channel.
Leave a Reply